
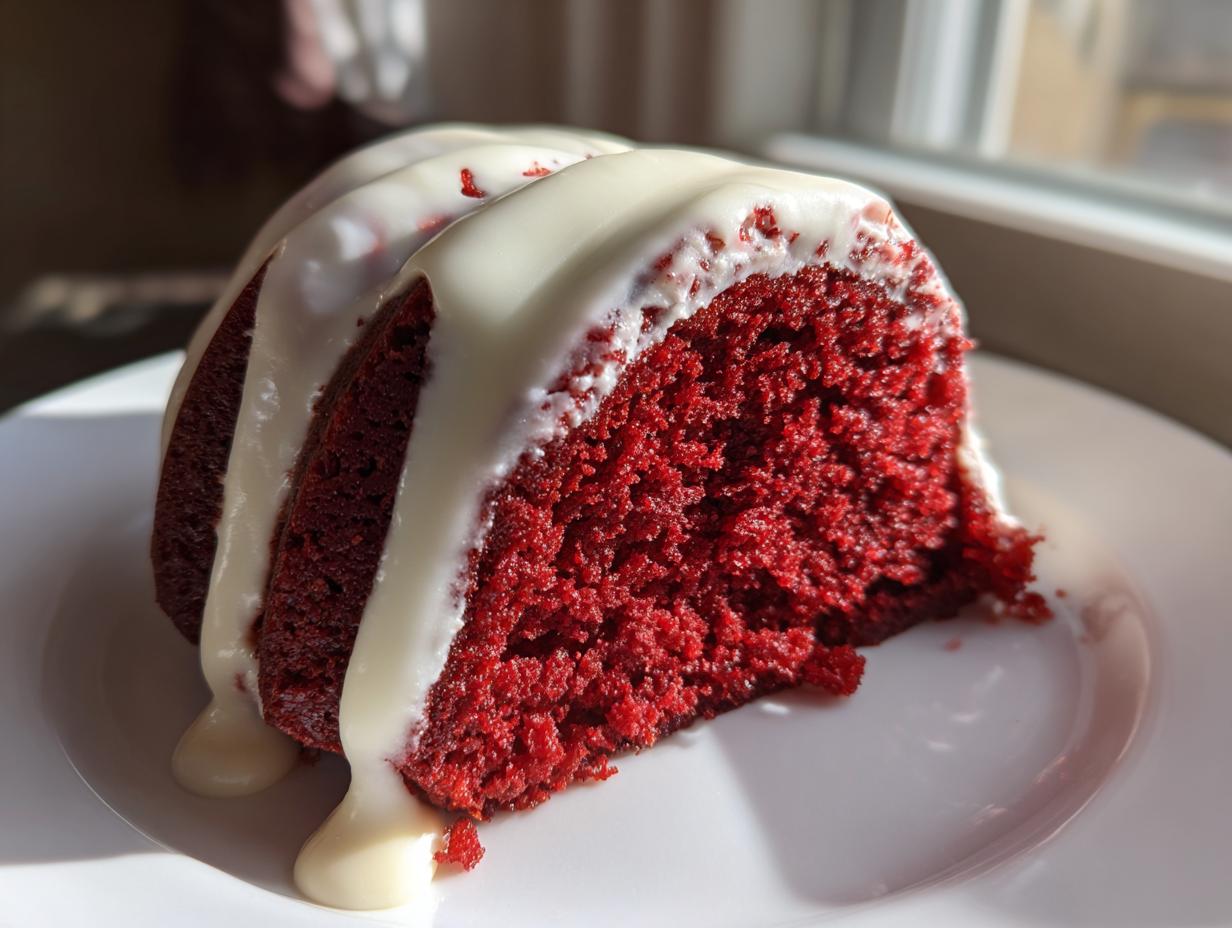
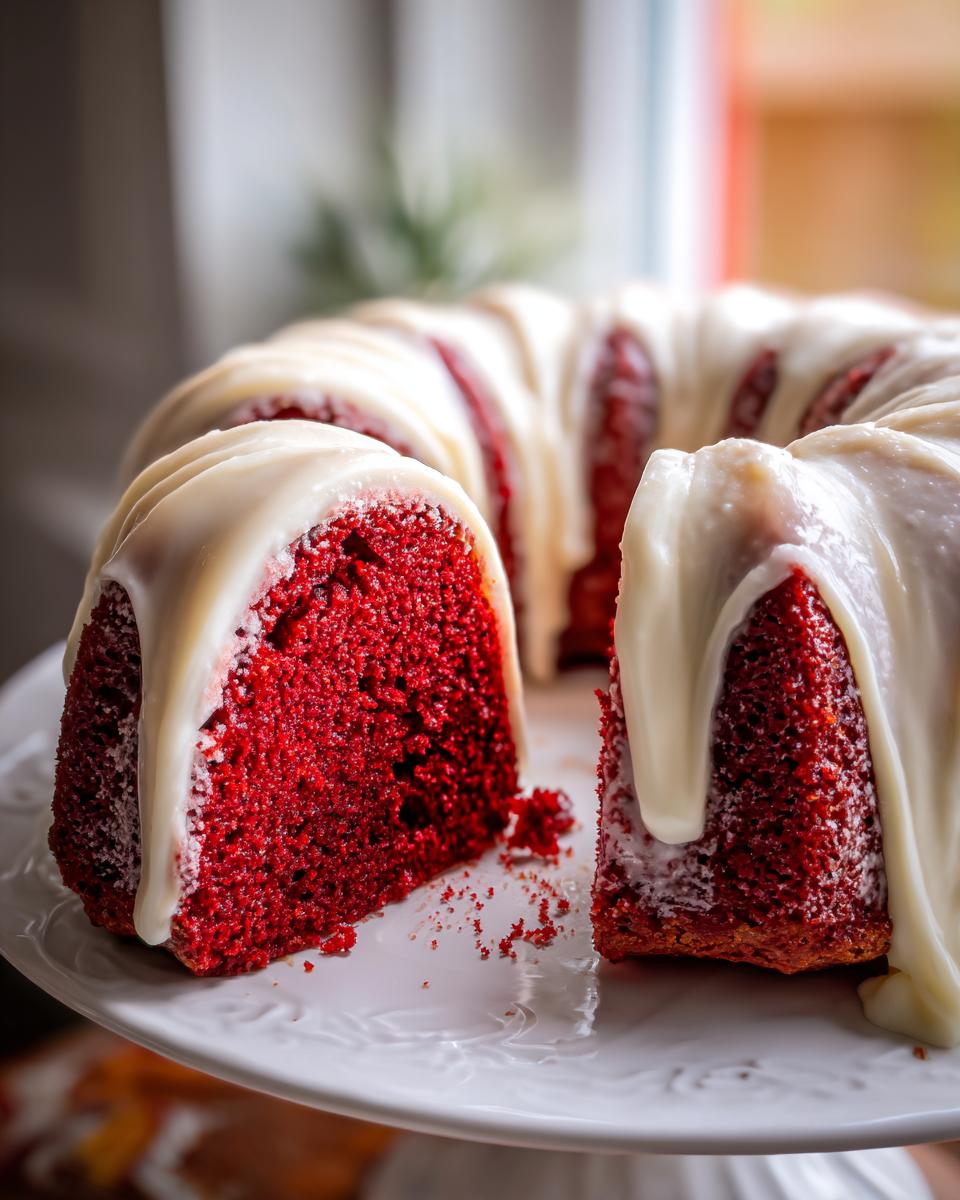
Stop settling for dry, dull cakes that look better on the box than they taste in real life! I truly believe that every home baker deserves that show-stopping dessert moment, which is why I’ve spent ages perfecting this creation. Forget those flimsy cake mixes; we are making the Ultimate Moist Red Velvet Bundt Cake from scratch, complete with the gorgeous, tangy cream cheese glaze everyone expects. Trust me when I say this recipe has been tested rigorously here in my kitchen—I won’t publish anything that doesn’t deliver incredible flavor and texture on the first try. If you want to know more about my testing process and why I focus on reliably delicious food, check out my story here. Get ready to nail that vibrant red color and tender crumb!
- Why This is the Best red velvet bundt cake Recipe You Will Make
- Gathering Ingredients for Your red velvet bundt cake
- Step-by-Step Instructions for the Moist Red Velvet Cake Baking
- Mastering the Cream Cheese Glaze for Bundt Cake
- Tips for a Showstopping red velvet bundt cake Presentation
- Storage and Reheating Instructions for Your red velvet bundt cake
- Ingredient Notes and Substitutions for Classic Red Velvet Baking
- Frequently Asked Questions About This red velvet bundt cake Recipe
- Share Your Impressive red velvet bundt cake Creations
Why This is the Best red velvet bundt cake Recipe You Will Make
Why do I stand by this red velvet bundt cake recipe over all the others? It comes down to three things: texture, deep flavor, and that iconic topping. We don’t mess around with dry cakes here; this is my guarantee that you’ll get a unbelievably tender crumb. This isn’t just another cake; it’s the benchmark for what a homemade Red Velvet should taste like.
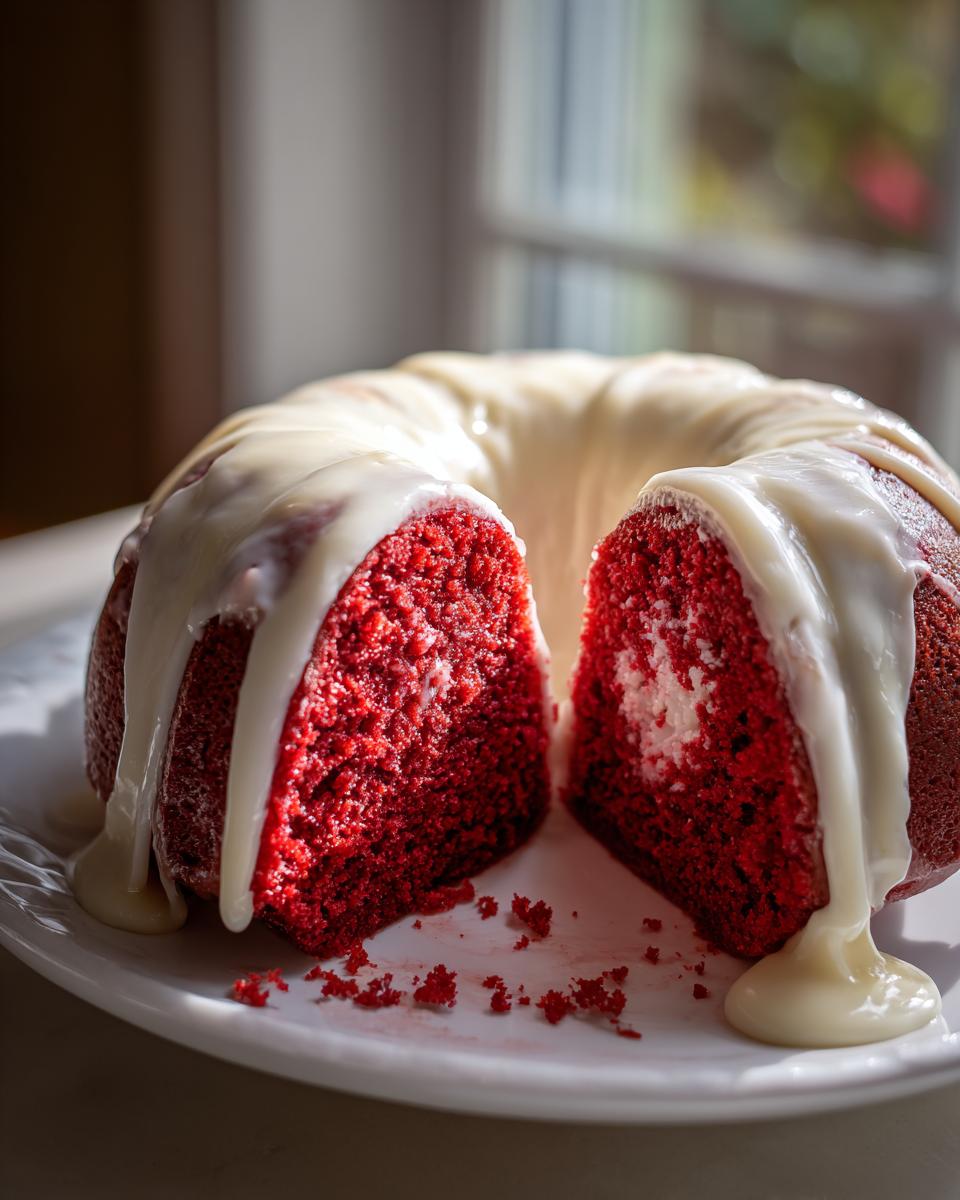
Achieving Unmatched Moist Red Velvet Cake Baking
The secret to that signature moist texture is actually quite simple—but it’s what separates this from any boxed mix. We use vegetable oil instead of relying just on butter. Oil coats the flour particles better, which means less gluten development, and wow, does that result in a light, tender velvet cake! Baking this recipe truly proves that a great From Scratch Red Velvet Cake is worth the small effort for superior results.
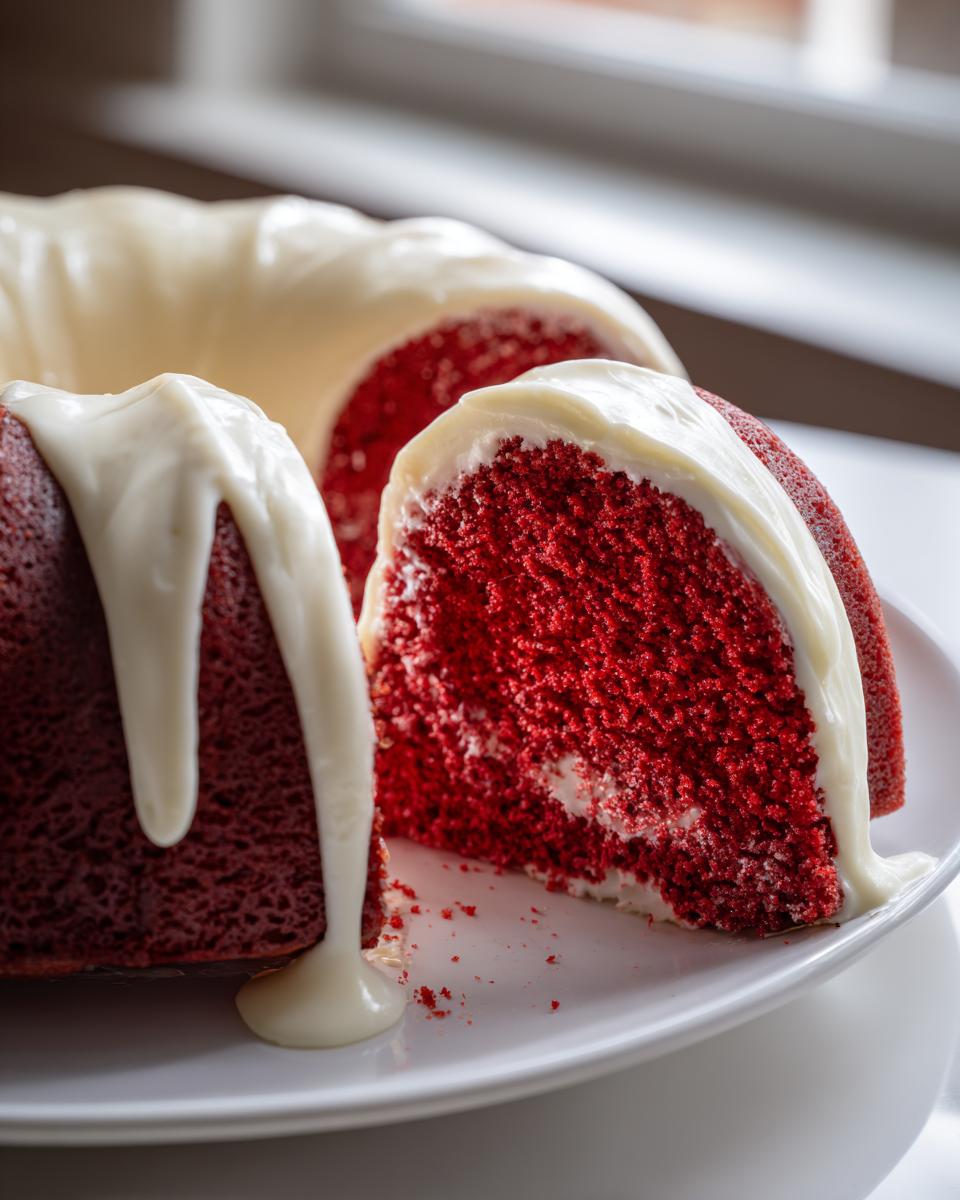
The Essential Tangy Cream Cheese Glaze for Bundt Cake
Honestly, what is Red Velvet without that perfect cream cheese tang? It’s not optional; it’s essential! My glaze is designed to be rich but pourable enough so it settles beautifully into the curves of the Bundt pan. This Cream Cheese Glaze for Bundt Cake cuts through the cake’s richness just perfectly, making every bite balanced and exciting.
Gathering Ingredients for Your red velvet bundt cake
I’ve listed everything you need right below, and I promise you, these are all standard grocery store finds. No specialty pantry trips needed! The key to turning these simple things into an impressive red velvet bundt cake is making sure you prep them correctly—especially temperature. Don’t just pull the cream cheese out of the fridge five minutes before you start mixing the glaze; we need things soft and happy for the best final product.
Cake Batter Ingredients
For the cake itself, make sure your eggs and buttermilk have about 30 minutes on the counter before you begin. A true tender velvet cake texture relies on combining these elements smoothly. Get your dry ingredients whisked really well before anything else happens. Here’s what you’ll need for the cake structure:
- 2 1/2 cups all-purpose flour
- 1 1/2 cups granulated sugar
- 1 teaspoon baking soda
- 1 teaspoon salt
- 1 tablespoon unsweetened cocoa powder
- 2 large eggs (room temperature!)
- 1 cup vegetable oil
- 1 cup buttermilk (room temperature!)
- 1 teaspoon white vinegar
- 1 teaspoon vanilla extract
- 1 to 2 teaspoons red food coloring (I always lean towards gel for that gorgeous, deep color)
Tangy Cream Cheese Glaze Ingredients
When it comes time for the glaze, the term ‘softened’ is crucial for the butter and cream cheese. If they aren’t soft, you’ll end up beating lumps, and nobody wants a lumpy drizzle! This topping is what truly makes this recipe stand out, so let’s treat these ingredients right.
- 1 (8-ounce) package cream cheese, softened until you can easily press a finger into it
- 1/2 cup (1 stick) unsalted butter, also softened
- 3 cups powdered sugar, sifted well to avoid clumps
- 1 teaspoon vanilla extract
- 1 tablespoon milk or heavy cream (we might need an extra splash later!)
Step-by-Step Instructions for the Moist Red Velvet Cake Baking
Okay, this is where the magic happens! Remember, we’re aiming for that famous tender crumb, so read these steps before you even turn on the oven. If you’re new to baking a Bundt cake from scratch, the prep work is everything. Following these steps precisely ensures your red velvet bundt cake comes out perfectly formed and beautifully moist, just like the ones you see in photos. We want a showstopper, not a sticky mess!
Preparing the Pan and Dry Mix
First things first: get that oven heating up to 350°F (175°C). Now, for the pan—this is non-negotiable for a Bundt! You need to grease *and* flour it really well. I hate seeing beautiful cakes stick in those nooks and crannies. Once the pan is ready, grab your big bowl and whisk together the flour, sugar, baking soda, salt, and cocoa powder until they look uniform. Keep that dry mix waiting patiently on the side.
Combining Wet Ingredients and Final Batter Mixing
In a separate bowl—medium size is fine—whisk your two eggs, the oil, the buttermilk, vinegar, vanilla, and all that bright red coloring. You want the color to be super even here. Once you pour this beautiful red liquid into the dry ingredients, mix it gently on low speed, maybe just until you see the last streaky line of flour disappear. Seriously, stop mixing! Overmixing is what develops gluten and turns our beautiful cake into a rubbery mess. We want that incredible texture you get from a great buttermilk red velvet recipe.
Baking and Cooling the red velvet bundt cake
Pour that lovely batter right into your prepared pan and pop it in the preheated oven. It usually takes between 45 and 55 minutes. I always start testing around the 45-minute mark with a wooden skewer inserted dead center. If it comes out clean, you are golden! The cooling process is just as important as the baking. Let the cake chill out in the pan on a wire rack for a full 15 minutes. After those 15 minutes, you invert it onto the rack to cool completely. If you try to glaze a warm cake, well, we both know how that ends!
For more tips on achieving moisture in baked goods, you might want to check out my thoughts on handling moisture in cake recipes!
Mastering the Cream Cheese Glaze for Bundt Cake
Now that the cake is safely cooling, let’s talk about the star topping: the glaze. This is usually the make-or-break moment for many bakers, but I promise you, making this Cream Cheese Glaze for Bundt Cake is so easy, especially since the butter and cream cheese are already softened from sitting out.
You are working with steps 8 and 9 from the instructions here. Start by beating that softened cream cheese and the stick of butter together in a bowl. You need them absolutely smooth and creamy before you introduce any sugar. If you skip this, you’ll be left trying to beat chunks out of your glaze later, and nobody has time for that drama. Just beat them until they look like pale, beautiful frosting base.
Slowly add the three cups of sifted powdered sugar. I mean slowly! Dumping it all in guarantees a sugar cloud explosion in your kitchen. Once it’s roughly combined, add the vanilla extract and your milk or cream. This is where you control the consistency. Are you aiming for a thick, almost frosting look, or do you want that dramatic drizzle effect? If it looks stiff, add maybe a half teaspoon of milk at a time until it loosens up just enough. You want it pourable but not watery.
The goal is a slightly thick, tangy river of deliciousness that cascades down your beautiful red cake. If you want to see how others have managed their glaze drizzle, check out this amazing version of a Red Velvet Bundt Cake for visual inspiration!
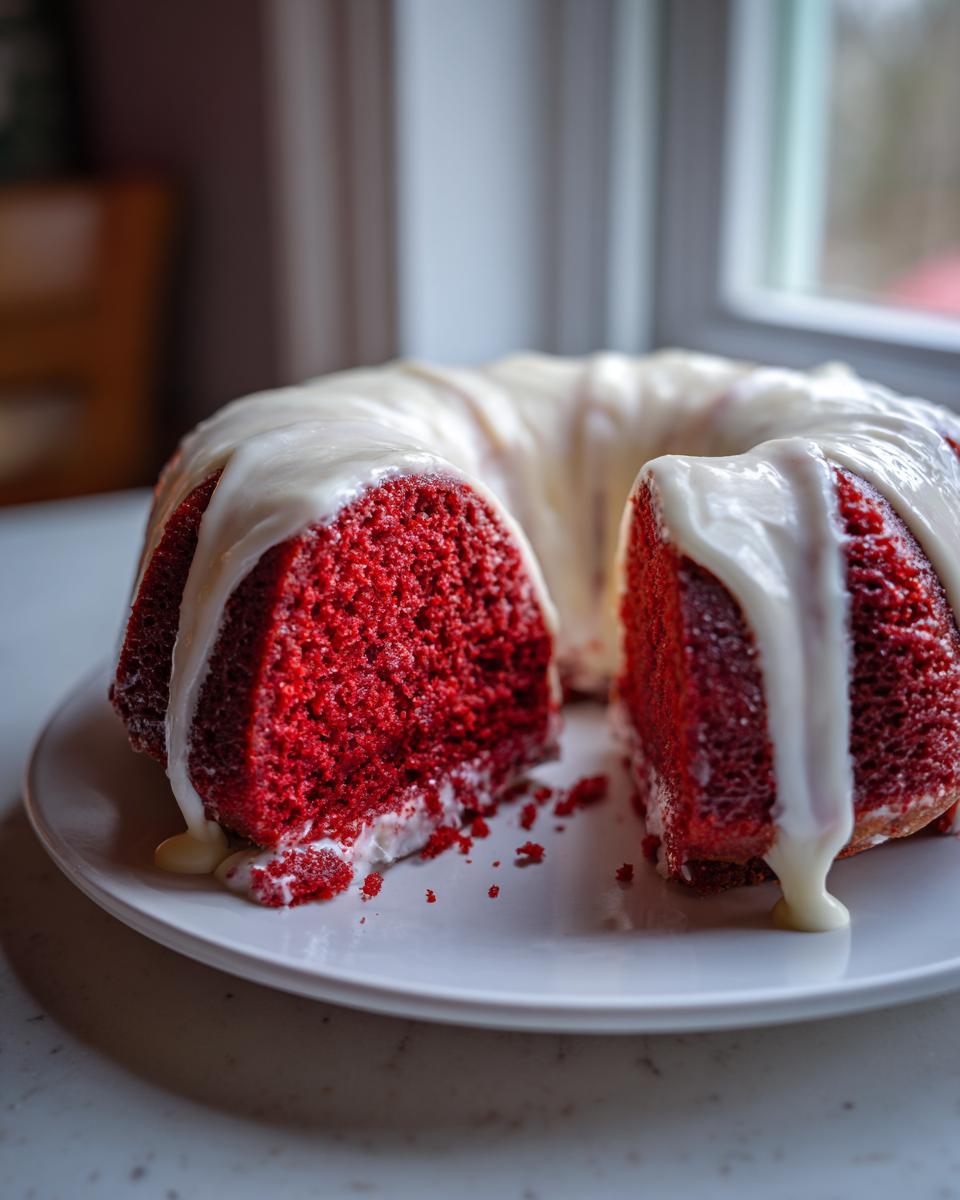
Tips for a Showstopping red velvet bundt cake Presentation
We’ve baked the moistest cake possible, and we’ve made the tangiest glaze—now we need to make it look absolutely worth the effort! This red velvet bundt cake is inherently beautiful because of its shape, but a few little tricks can push it from ‘great’ to ‘showstopping.’ When you present something this gorgeous, everyone immediately assumes you bought it from a fancy bakery!
Let’s talk color first. If you followed my earlier advice and used a quality gel food coloring instead of the watery drops, your cake already has that rich, deep crimson color that everyone expects. If your color looks a little faded after baking, don’t panic! You can always mix a tiny bit of gel coloring into your glaze, or even mix a few drops with a teaspoon of vodka and gently brush it onto the surface of the cooled cake before drizzling. It dries fast and really punches up that vibrant red hue.
The glazing technique is where you seal the deal for that ‘Wow!’ factor. Remember, the cake must be completely cool; otherwise, the glaze just melts into a thin puddle at the bottom of your platter. Use a spoon to drizzle the cream cheese glaze for bundt cake generously. You want thick ribbons running down the sides, pooling slightly in the grooves. Don’t try to cover every inch; those little valleys left open let the red color peek through, which looks fantastic.
For an extra special touch worthy of my collection of best dessert recipes, consider garnishes. For a holiday vibe, I love topping the glaze with a scattering of toasted pecans or even some small, sugared cranberries. If you’re serving this as an impressive red velvet dessert for a birthday, mini chocolate chips or a light dusting of cocoa powder just on the exposed edges of the cake work wonders. The contrast is what makes it visually pop!
Storage and Reheating Instructions for Your red velvet bundt cake
So you successfully made this gorgeous, moist red velvet bundt cake, and now you have leftovers? Excellent! Since we used that creamy topping, storage needs a little attention. You must keep this cake refrigerated because of the cream cheese glaze. Pop it under a good cake dome or loosely wrap the entire cooled cake in plastic wrap, making sure you don’t smash those beautiful drizzle details.
It keeps really well for about three to four days. If you want to serve a piece later, just take it out of the fridge about 30 minutes before slicing. Letting it come closer to room temperature really wakes up the oil and buttermilk flavors, making sure that tender texture shines through, making it taste fresh-baked again!
Ingredient Notes and Substitutions for Classic Red Velvet Baking
I always get questions about ingredient swaps because let’s be honest, sometimes you miss that one crucial item at the store. I am firmly dedicated to true Classic Red Velvet Baking, but I also know life happens! Since every component in this red velvet bundt cake plays a specific role, we need to be smart about substituting so we don’t ruin that delicate texture we worked so hard for.
The main thing people debate is the buttermilk, and for good reason—it’s key to the texture. If you are fresh out, don’t run to the store! You can easily make a substitute. I suggest this trick: measure one cup of regular milk, stir in one teaspoon of white vinegar or fresh lemon juice, and let it sit on the counter for about five minutes. It curdles slightly, and boom, you have what is essentially homemade buttermilk that works perfectly in this recipe. It activates the baking soda just right for that soft, tender velvet cake crumb.
Another common question is about the oil. I use vegetable oil because it keeps the cake incredibly moist for days, which is why this recipe rivals those great moist red velvet cake baking experiences you see online. If you absolutely prefer using butter instead of oil, you can substitute it, but I need to warn you: the result will be slightly less moist and a bit denser. Butter adds great flavor, but oil wins on sustained moisture!
If you want to dive even deeper into making incredible red velvet—especially figuring out what to do when you only have milk on hand—make sure you check out my detailed thoughts on creating the perfect Buttermilk Red Velvet Recipe!
Frequently Asked Questions About This red velvet bundt cake Recipe
I know when you are tackling an impressive red velvet dessert like this, you end up with a few lingering questions. That’s totally normal! I’ve collected the biggest questions I get about color, texture, and achieving that perfect, dense yet unbelievably moist bake that makes this red velvet bundt cake recipe so popular.
Can I make this red velvet cake without food coloring?
Oh, absolutely you can! But I have to be honest with you: you’ll miss out on the big visual payoff. Technically, red velvet is just a mild chocolate cake because it uses a small amount of cocoa powder. If you skip the coloring, you will end up with a lovely, slightly brownish-red cake that tastes fantastic—it’ll be a great, easy red velvet dessert!
However, what makes it ‘Red’ Velvet is that gorgeous, bright hue from the dye. If you skip it, you get a delicious, mild chocolate cake, but it won’t look like the classic holiday centerpiece you were probably aiming for!
What is the best way to get a Copycat Nothing Bundt Red Velvet texture?
This is my favorite question because it proves you’re aiming high! To get that signature tender crumb often associated with those famous bakery cakes, you need to focus on ingredient temperature and mixing procedure. Remember what I said? Make sure your eggs and buttermilk are truly at room temperature. This helps them emulsify with the oil perfectly.
And please, please, please don’t overmix the batter once the wet meets the dry! Mix only until the streaks disappear. That gentle handling keeps everything light, fluffy, and incredibly moist. It’s the secret to true tender velvet cake results!
Can I use this recipe for cupcakes instead of a Bundt pan?
Yes, you totally can! This moist red velvet cake baking recipe is fantastic for cupcakes, too. You just need to adjust the baking time significantly since the batter cooks faster in smaller portions. Fill your cupcake liners about two-thirds full.
Plan on baking them for about 18 to 22 minutes at the same 350°F. Check them right at 18 minutes. You can top these smaller delights with the same cream cheese glaze or use a classic piped frosting if you prefer! It’s such an easy red velvet dessert option when you don’t want a whole large cake sitting around.
If you’re curious about other recipes I test that focus on that copycat texture, take a look at my thoughts on the Copycat Nothing Bundt Red Velvet.
Share Your Impressive red velvet bundt cake Creations
I absolutely love seeing what you all create when you pull one of these beautiful cakes out of your own ovens! Seriously, when you bake this red velvet bundt cake, I want to know all about it. Did the glaze just cascade perfectly down the fluted sides? Was the color exactly the vibrant red you hoped for?
Don’t be shy! Leave a comment below and let me know how it went. Rate the recipe for your fellow bakers—did it live up to the hype? Hearing that you managed to pull off an impressive red velvet dessert that your family loved is the best part of my job! If you snapped a picture of your finished masterpiece, tag me on social media!
Sharing helps me figure out which recipes to re-test and refine for the next batch of Kings Cook readers. Your feedback is what keeps my process honest and ensures that every recipe, like this ultimate moist red velvet cake, is truly reliable. I can’t wait to hear about your kitchen triumphs! If you want to read more about my commitment to making sure every recipe works, you can always check out my story page anytime.
PrintUltimate Moist Red Velvet Bundt Cake with Tangy Cream Cheese Glaze
Bake an impressive, moist Red Velvet Bundt Cake from scratch. This recipe features a rich cocoa flavor and is topped with a tangy cream cheese glaze, perfect for any special occasion.
- Prep Time: 20 min
- Cook Time: 55 min
- Total Time: 75 min
- Yield: 12 servings 1x
- Category: Dessert
- Method: Baking
- Cuisine: American
- Diet: Vegetarian
Ingredients
- 2 1/2 cups all-purpose flour
- 1 1/2 cups granulated sugar
- 1 teaspoon baking soda
- 1 teaspoon salt
- 1 tablespoon unsweetened cocoa powder
- 2 large eggs
- 1 cup vegetable oil
- 1 cup buttermilk
- 1 teaspoon white vinegar
- 1 teaspoon vanilla extract
- 1 to 2 teaspoons red food coloring (gel preferred)
- 1 (8-ounce) package cream cheese, softened
- 1/2 cup (1 stick) unsalted butter, softened
- 3 cups powdered sugar, sifted
- 1 teaspoon vanilla extract
- 1 tablespoon milk or heavy cream
Instructions
- Preheat your oven to 350°F (175°C). Grease and flour a 10-cup Bundt pan well.
- In a large bowl, whisk together the flour, sugar, baking soda, salt, and cocoa powder. Set aside.
- In a separate medium bowl, whisk together the eggs, oil, buttermilk, vinegar, vanilla extract, and red food coloring until fully combined and the color is uniform.
- Pour the wet ingredients into the dry ingredients. Mix on low speed until just combined. Do not overmix the batter.
- Pour the batter evenly into the prepared Bundt pan.
- Bake for 45 to 55 minutes, or until a wooden skewer inserted into the center comes out clean.
- Let the cake cool in the pan on a wire rack for 15 minutes. Invert the cake onto the wire rack and let it cool completely before glazing.
- Prepare the glaze: In a medium bowl, beat the softened cream cheese and butter together until smooth.
- Gradually add the powdered sugar, beating until combined. Add the vanilla extract and milk or cream. Beat until the glaze is smooth and drizzle-able. Add more milk, a half teaspoon at a time, if the glaze is too thick.
- Drizzle the cream cheese glaze generously over the cooled cake. Allow the glaze to set before slicing and serving.
Notes
- For the deepest red color, use a high-quality gel food coloring instead of liquid drops.
- Buttermilk reacts with the baking soda to give the cake its tender texture. Do not substitute with regular milk unless you add 1 teaspoon of lemon juice or white vinegar and let it sit for 5 minutes first.
- To achieve a copycat Nothing Bundt Red Velvet texture, ensure all your wet ingredients are at room temperature before mixing.
Nutrition
- Serving Size: 1 slice
- Calories: 450
- Sugar: 45g
- Sodium: 300mg
- Fat: 25g
- Saturated Fat: 8g
- Unsaturated Fat: 17g
- Trans Fat: 0g
- Carbohydrates: 55g
- Fiber: 1g
- Protein: 4g
- Cholesterol: 55mg