
Oh, aren’t holiday baking days the best? There’s just something magical about bringing out those vibrant sprinkles and that familiar scent of vanilla filling the kitchen. If you’re like me and you want cookies that look like you spent hours on them but are secretly super simple, you absolutely need to try making **pinwheel cookies**. These incredibly fun, colorful swirl cookies are my go-to because they use the genius slice-and-bake method. Trust me when I say that I have tested this red and green swirl design over and over again in my own kitchen to ensure you get that perfect, tight spiral every single time. Forget fussy cut-outs; these buttery beauties are pure holiday joy!
- Why These are the Best Slice and Bake Pinwheel Cookies for Your Holiday Tray
- Ingredients for Festive Pinwheel Cookies
- Step-by-Step Instructions: How to Make Pinwheel Cookies
- Expert Tips for Perfect Pinwheel Cookies Every Time
- Storage and Keeping Your Pinwheel Cookies Fresh
- Serving Suggestions for Your Beautiful Pinwheel Cookies
- Frequently Asked Questions About Pinwheel Cookies
- Estimated Nutritional Data for Pinwheel Cookies
- Share Your Festive Pinwheel Cookies Creations
Why These are the Best Slice and Bake Pinwheel Cookies for Your Holiday Tray
Seriously, these are the cookies that make people stop talking when they walk into a room. They look complex, right? Like you had to roll out, cut hundreds of tiny shapes, and painstakingly glue them together. Nope! Because these are **slice and bake cookies**, they are brilliant for making ahead for all those busy holiday events. If you’re looking for inspiration on decorating other festive shapes, check out my guide on sugar cookies for decorating!
The dough itself is a wonderfully rich, **buttery swirl cookie**. They bake up sturdy enough to handle being packed in favor tins, but they stay soft enough to melt in your mouth. I remember taking a plate of these to my friend Sarah’s big cookie exchange last year. She took one look and asked which specialty bakery they came from! When I told her I made them myself using this recipe, she was stunned. That feeling of accomplishment is exactly what I want Kings Cook to give you—impressive results with simple steps. They truly are the definition of **easy holiday cookies**.
Achieving the Perfect Colorful Swirl in Your Pinwheel Cookies
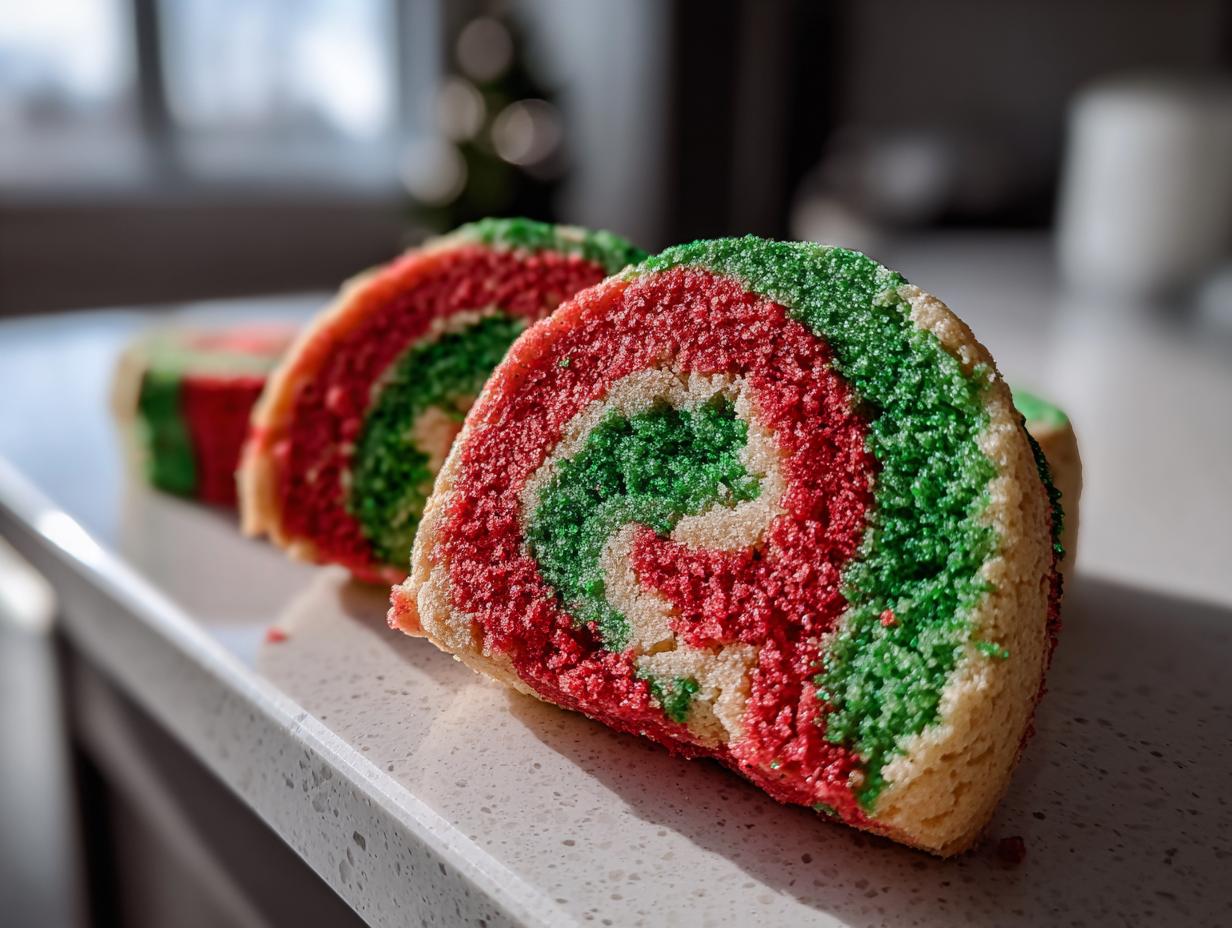
The secret sauce here is layering and commitment to the roll. You need three distinct colors—we use festive red, green, and plain white—rolled into rectangles that match size-wise. You stack them up, white in the middle, and you just have to commit to rolling that dough log super tightly. I’ve learned that if you use gel food coloring instead of the liquid drops, your colors stay vibrant and intense, which makes for much crisper, more striking **pinwheel cookies** when you slice them!
Ingredients for Festive Pinwheel Cookies
Okay, these cookies are built on a very simple, buttery sugar cookie base, which is fantastic because you probably have most of this stuff already! For the best results, pay attention to a couple of specific details—this is where we build that trust and ensure that swirl isn’t going to collapse. We need all-purpose flour, of course, and I like using quality baking powder for a little lift without spreading too much.
The butter absolutely must be softened—not melted and greasy, just soft enough to indent when you press it. And for the colors? Please use gel food coloring if you can find it for the red and green; it packs a punch without adding extra moisture to the dough, keeping those layers crisp. Don’t forget that touch of almond extract with the vanilla; it gives the cookies a lovely, sophisticated flavor that really screams ‘special occasion’!
- 2 1/2 cups all-purpose flour
- 1 teaspoon baking powder
- 1/2 teaspoon salt
- 1 cup unsalted butter, softened
- 1 1/2 cups granulated sugar
- 2 large eggs (make sure they are room temperature!)
- 1 teaspoon vanilla extract
- 1/2 teaspoon almond extract
- 1/4 teaspoon red food coloring (gel preferred for color intensity)
- 1/4 teaspoon green food coloring (gel preferred for color intensity)
Step-by-Step Instructions: How to Make Pinwheel Cookies
Alright, this is where we turn our ingredients into potential holiday magic! The actual baking part is fast, but we need to be patient with the chilling time. That waiting period is non-negotiable if you want clean, stunning **pinwheel cookies** that actually look like swirls and not just blobs of colored dough!
Start by mixing your dry stuff—flour, baking powder, and salt—in a bowl. Whisk it up; that just helps everything distribute nicely. In your big mixer bowl, cream that softened butter and sugar until it’s wonderfully fluffy. You know it’s ready when it gets nice and pale. Then, slowly beat in your eggs, followed by that lovely vanilla and almond extract combination. Now, we divide!
Here’s one of my biggest lessons from years of baking: I divide the wet dough mixture equally into three bowls. One stays white, one gets the red coloring, and the last one gets the green. Mix each one gently when you add the dry mix back in—we’re aiming for what looks like a thick play-dough consistency. In my experience, if you overmix the dough after adding the flour, you end up with tough cookies, and we want tender, **rolled cookie dough dessert** here!
- In a medium bowl, whisk together the flour, baking powder, and salt. Set aside.
- In a large bowl, beat the softened butter and granulated sugar with an electric mixer until light and fluffy, about 3 minutes.
- Beat in the eggs one at a time, mixing well after each addition. Stir in the vanilla and almond extracts.
- Divide the dough mixture evenly into three separate bowls.
- Leave the first bowl plain (this will be the white dough). Add the red food coloring to the second bowl and mix until the color is uniform. Add the green food coloring to the third bowl and mix until the color is uniform.
- Gradually add half of the dry ingredient mixture to each of the three dough bowls, mixing on low speed until just combined. You will have three separate colored doughs.
Preparing the Three Dough Portions for Your Pinwheel Cookies
We need three equal-ish doughs to make this work, so weighing them out loosely helps, but honestly, just eyeballing it works fine if you’re careful. Mix in the coloring gently until the red looks like a gemstone and the green is forest-y and rich. Remember, you only want to incorporate the color; the minute it’s uniform, stop mixing! Don’t forget to check out how I approach mixing heavy butters in my chewy oatmeal raisin cookie recipe for reference on that first creaming step.
Assembling and Chilling the Pinwheel Cookies Log
Take your first rectangle of dough—let’s say the white one—and slap a piece of plastic wrap down. Roll it out into that 8×10 inch rectangle shape. Repeat for red and green, trying hard to keep them the same size so your final layers stack flat! Now, layer them up: Red on top of white, and green on top of red. Gently press that stack down. Then, starting from a long side, roll it up as tightly as you possibly can—this is what creates that fantastic swirl when slicing. Wrap it tight in plastic and into the fridge it goes for a minimum of three hours. Seriously, longer is safer for clean **how to make pinwheel cookies**!

Once it’s firmly chilled, preheat your oven to 375°F (190°C) and get those baking sheets ready with parchment paper. I always give my oven about 15 minutes to come up to temp because I’ve found my home oven runs a little cool, helping prevent spread in these buttery types of cookies. Slice that log into about 1/4-inch rounds and lay them out on the trays. I put mine about two inches apart because even though this is a slice-and-bake dough, they still puff up a little! Bake for just 8 to 10 minutes. You want the edges set—light gold—but the center should feel soft when you touch it lightly. If you bake them too long, they get hard, and we want that perfect tender center. Pop them onto a cooling rack after 5 minutes on the hot tray. You can see a great step-by-step visual guide on slicing these marvels over at Cloudy Kitchen!
Expert Tips for Perfect Pinwheel Cookies Every Time
So, sometimes things don’t go exactly to plan during baking, right? Don’t sweat it! I’ve gathered a few tricks from my own testing that make these **festive cookie designs** foolproof. If you find your dough getting sloppy while you’re trying to get those perfect slices, just pop that log back into the freezer for about 10 minutes. A quick chill sets up the dough enough so you can slice it cleanly without squishing the swirl—that’s my top tip for keeping the rings tight!
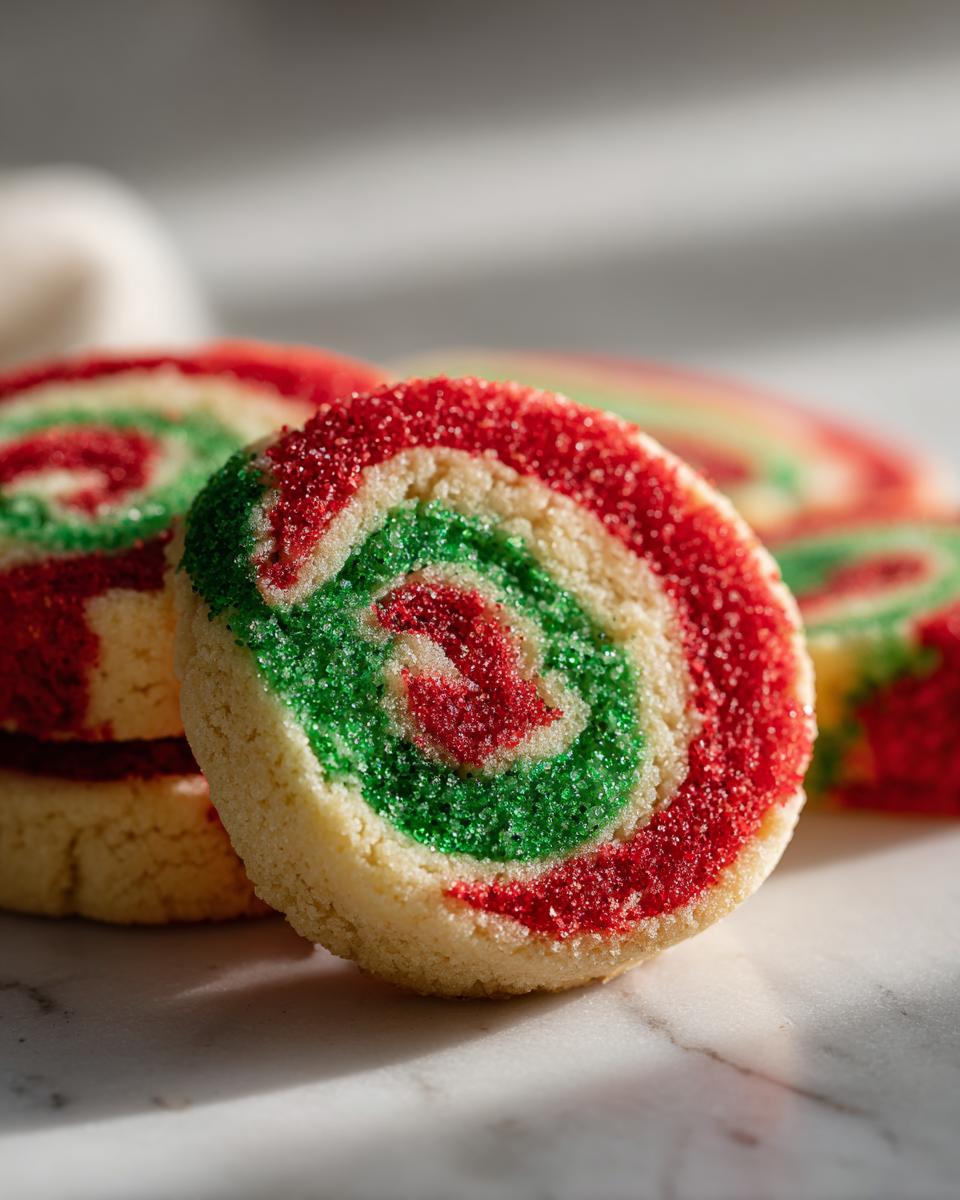
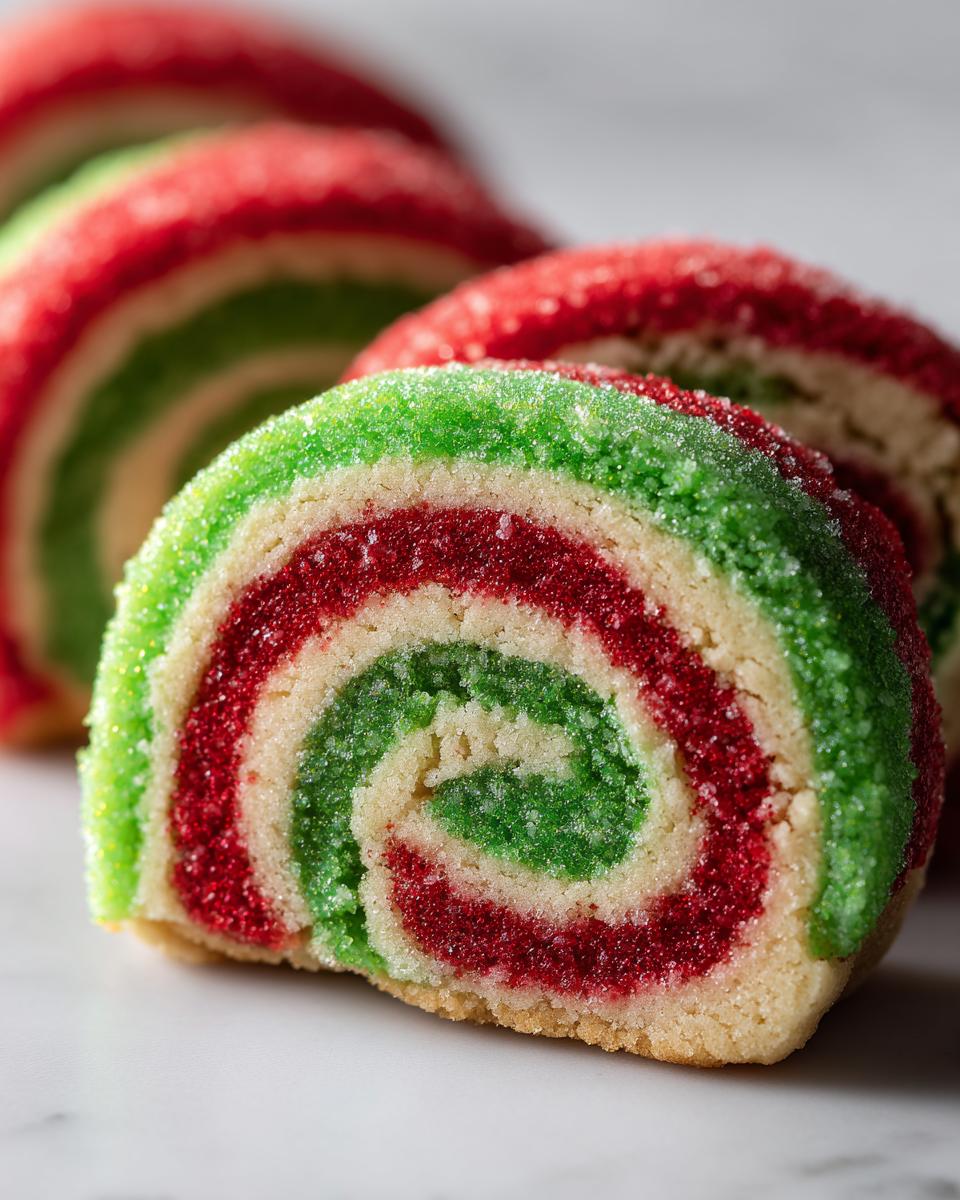
Also, if you want to really go all out for the holidays, take the tightly wrapped, chilled log and roll it gently in red and green nonpareil sprinkles before you wrap it again. It gives the outside of the cookie a glittery, sugary crunch! I use this frosting-free decorating trick for almost all my simple holiday baking. For more general tips on baking buttery dough that holds its shape, you can always check out my processes for classic chocolate chip cookies, too.
Variations on Classic Pinwheel Cookies
If red and green isn’t quite your aesthetic, you can swap out the colors easily! My favorite alternative is the chocolate-vanilla swirl. If you decide to do this, take one of the dough sections and skip the coloring, instead whisking in about two tablespoons of cocoa powder until it’s fully incorporated. That gives you a fantastic, rich contrast. For something completely different but just as swirly, you can adapt this dough into a yummy Snickerdoodle swirl recipe by adding cinnamon sugar to the colored layers instead of food coloring.
Storage and Keeping Your Pinwheel Cookies Fresh
One of the best parts about using this slice-and-bake method is knowing you can bake whenever you feel like it! If you’ve got the log wrapped up tight, it’ll happily hang out in the fridge for up to five days. If you decide you need them later, like when you’re making my moist banana bread, you can freeze the log for up to three months. Once baked, these buttery swirl cookies stay wonderful for about a week if you keep them in a truly airtight container. Don’t let air get to our beautiful swirls!
Serving Suggestions for Your Beautiful Pinwheel Cookies
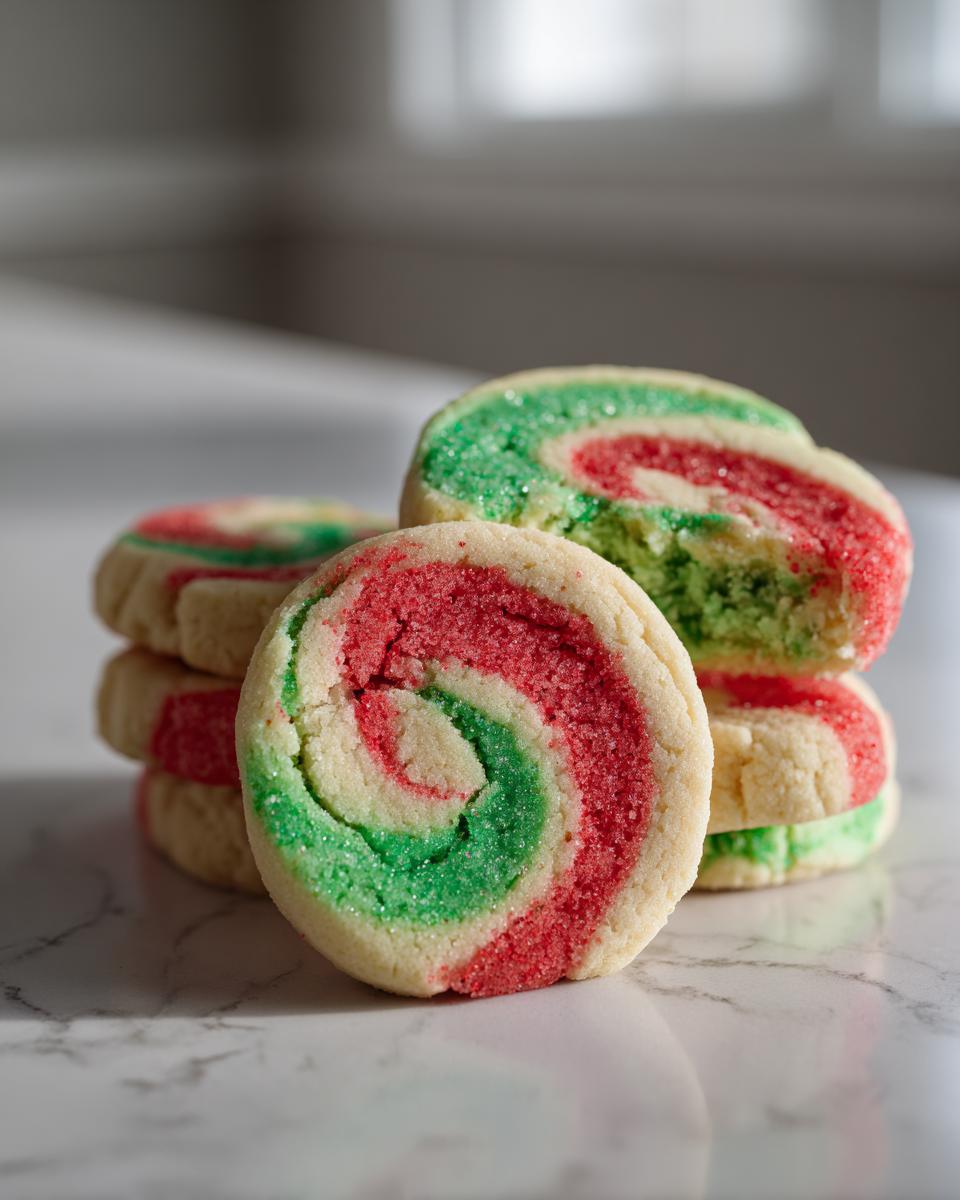
When it comes to serving these stunning **pinwheel cookies**, they really shine on a beautiful platter. They are perfect anchors for any holiday spread—think of them as the show-stopping element in your **Christmas cookie tray ideas**! Since they are so colorful and buttery, they need very little fuss. A simple dusting of powdered sugar on the plate is usually enough. I love serving them alongside a big pot of hot coffee or creamy milk, especially when I’m hosting. They make for such great **simple festive baking** because you can bake them days ahead and keep the presentation easy!
If you are looking for another easy addition to your tray, you should definitely try my apple cinnamon muffins recipe; the warm spice profile works great next to these swirls. You can see some amazing inspiration for holiday platters over at Inspired by Charm, too!
Frequently Asked Questions About Pinwheel Cookies
Whenever I share these cookie recipes, people always have a few classic questions pop up, usually about making sure that swirl stays perfect! I’ve gathered the most common ones here so you can bake with total confidence. Making these is much easier than they look, I promise!
Can I make these swirl cookies recipe ahead of time?
Yes, absolutely! Making the dough log ahead is actually the best way to bake them around the holidays. You can prepare the entire tri-color log, wrap it really tightly, and keep it in the fridge for almost a week. If you want them fresh out of the oven, slice and bake them the day you plan to serve them. If you freeze the log, you can slice them straight from frozen—they just need a few extra minutes in the oven!
What makes a good colorful swirl sugar cookies design?
This all comes down to creating even layers! You must roll out your three colors (red, white, and green in our case, or chocolate/vanilla if you switch it up) to roughly the same rectangle size. If one layer is much thinner than the others, when you roll the log, that thin layer will crumble or disappear completely. And then, roll it tight! Think of rolling a jelly roll cake—you don’t want any air pockets in there, or your beautiful spiral will end up looking spotty. For more recipe ideas to bake ahead, take a peek at my easy pumpkin bread recipe!
My dough feels too sticky to slice cleanly, help!
That happens if your kitchen is warm or if you rushed the chilling process. The most important thing for clean slices is a rock-solid log. If it’s too soft, it squishes when the knife hits it. Just wrap that partially chilled log back up tightly and pop it into the freezer for 10 to 15 minutes. It only needs to firm up enough so the knife glides through without dragging the layers apart. This small pause saves your beautiful **colorful swirl sugar cookies** design!
Estimated Nutritional Data for Pinwheel Cookies
Baking is all about joy, and while these treats are certainly indulgent, I wanted to give you a rough idea of what’s in one of these beautiful cookies. Remember, these values are just estimates based on the ingredients I use, and they can change depending on your butter brand or how thick you slice them! If you use my chocolate chip cookie recipe as a base, the numbers will look slightly different, too.
Here is the general breakdown:
- Serving Size: 1 cookie
- Calories: 135
- Sugar: 12g
- Fat: 7g
Please use this information just as a guide—the best thing about these **pinwheel cookies** is how much happiness they bring to the table!
Share Your Festive Pinwheel Cookies Creations
I truly hope these festive **pinwheel cookies** make your holiday tray sparkle! If you loved making them, please leave a star rating below so others know how great this recipe is. I’m Kate, and I can’t wait to hear how they turned out for you! Ask me anything in the comments! You can always see more about my mission over on my About page.
PrintFestive Christmas Pinwheel Cookies (Slice and Bake)
Make these colorful, buttery pinwheel cookies with easy slice-and-bake dough. The red and green swirl design is simple to achieve and perfect for holiday cookie trays.
- Prep Time: 30 min
- Cook Time: 10 min
- Total Time: 3 hours 40 min
- Yield: About 3 dozen cookies 1x
- Category: Dessert
- Method: Baking
- Cuisine: American
- Diet: Vegetarian
Ingredients
- 2 1/2 cups all-purpose flour
- 1 teaspoon baking powder
- 1/2 teaspoon salt
- 1 cup unsalted butter, softened
- 1 1/2 cups granulated sugar
- 2 large eggs
- 1 teaspoon vanilla extract
- 1/2 teaspoon almond extract
- 1/4 teaspoon red food coloring (gel preferred)
- 1/4 teaspoon green food coloring (gel preferred)
Instructions
- In a medium bowl, whisk together the flour, baking powder, and salt. Set aside.
- In a large bowl, beat the softened butter and granulated sugar with an electric mixer until light and fluffy, about 3 minutes.
- Beat in the eggs one at a time, mixing well after each addition. Stir in the vanilla and almond extracts.
- Divide the dough mixture evenly into three separate bowls.
- Leave the first bowl plain (this will be the white dough). Add the red food coloring to the second bowl and mix until the color is uniform. Add the green food coloring to the third bowl and mix until the color is uniform.
- Gradually add half of the dry ingredient mixture to each of the three dough bowls, mixing on low speed until just combined. You will have three separate colored doughs.
- On a sheet of plastic wrap, place the white dough. Cover it with another sheet of plastic wrap and use a rolling pin to roll it into a rectangle approximately 8×10 inches.
- Repeat the rolling process for the red dough and the green dough, making sure all three rectangles are roughly the same size.
- Place the red dough rectangle directly on top of the white dough rectangle. Place the green dough rectangle on top of the red dough. Gently press the layers together.
- Starting from one of the long edges, tightly roll the layered dough into a log. Wrap the log tightly in plastic wrap.
- Chill the dough log in the refrigerator for at least 3 hours, or until firm enough to slice cleanly.
- Preheat your oven to 375°F (190°C). Line baking sheets with parchment paper.
- Remove the dough from the refrigerator. Using a sharp knife, slice the log into 1/4-inch thick rounds.
- Place the cookie slices about 2 inches apart on the prepared baking sheets.
- Bake for 8 to 10 minutes, or until the edges are lightly set. Do not overbake; the centers should remain soft.
- Let the cookies cool on the baking sheet for 5 minutes before transferring them to a wire rack to cool completely.
Notes
- For extra festive cookies, roll the chilled dough log in red and green nonpareil sprinkles before slicing.
- If you want a classic chocolate swirl instead of red/green, omit the food coloring and mix 2 tablespoons of cocoa powder into one dough portion.
- If the dough becomes too soft while slicing, return it to the freezer for 10 minutes.
Nutrition
- Serving Size: 1 cookie
- Calories: 135
- Sugar: 12
- Sodium: 75
- Fat: 7
- Saturated Fat: 4
- Unsaturated Fat: 3
- Trans Fat: 0
- Carbohydrates: 17
- Fiber: 0
- Protein: 2
- Cholesterol: 30