
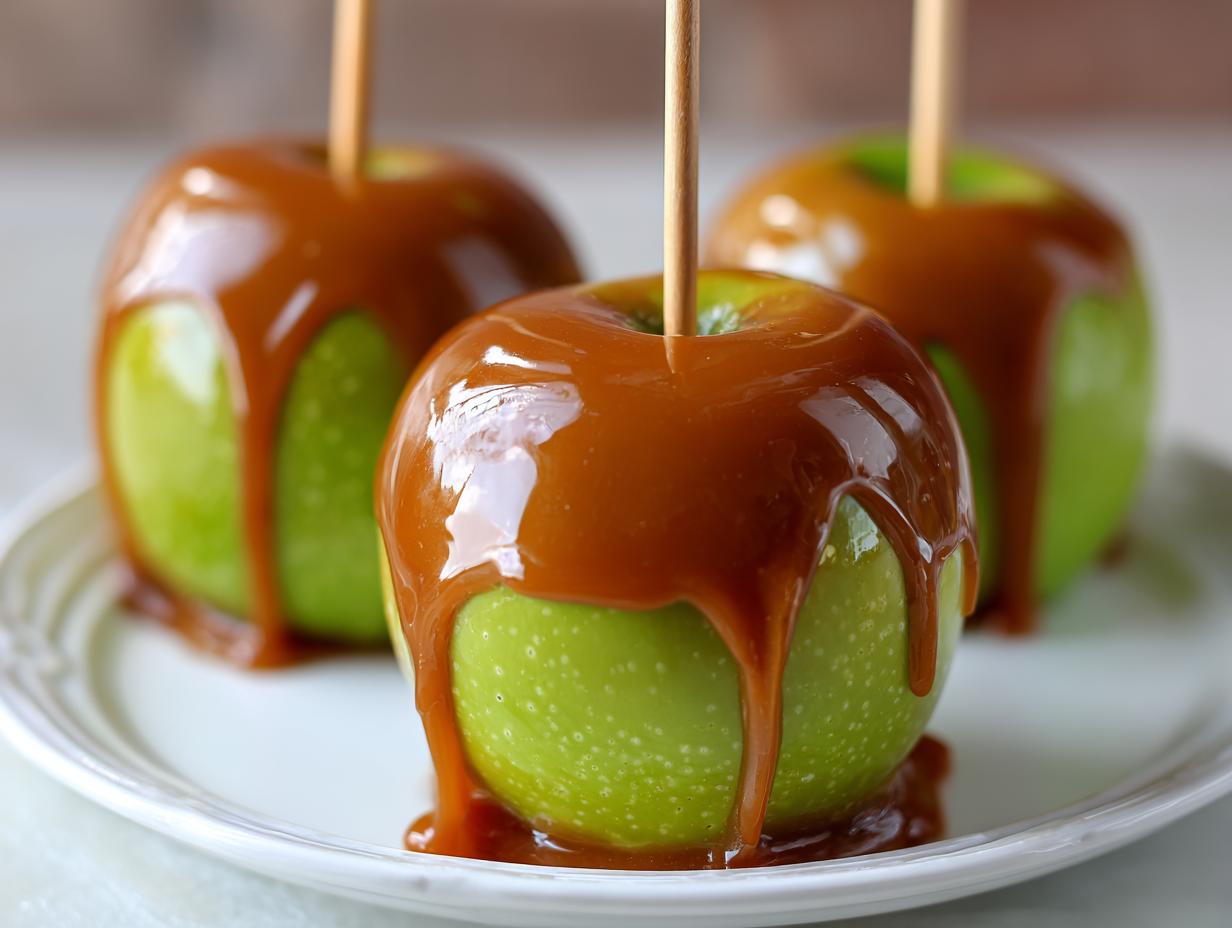
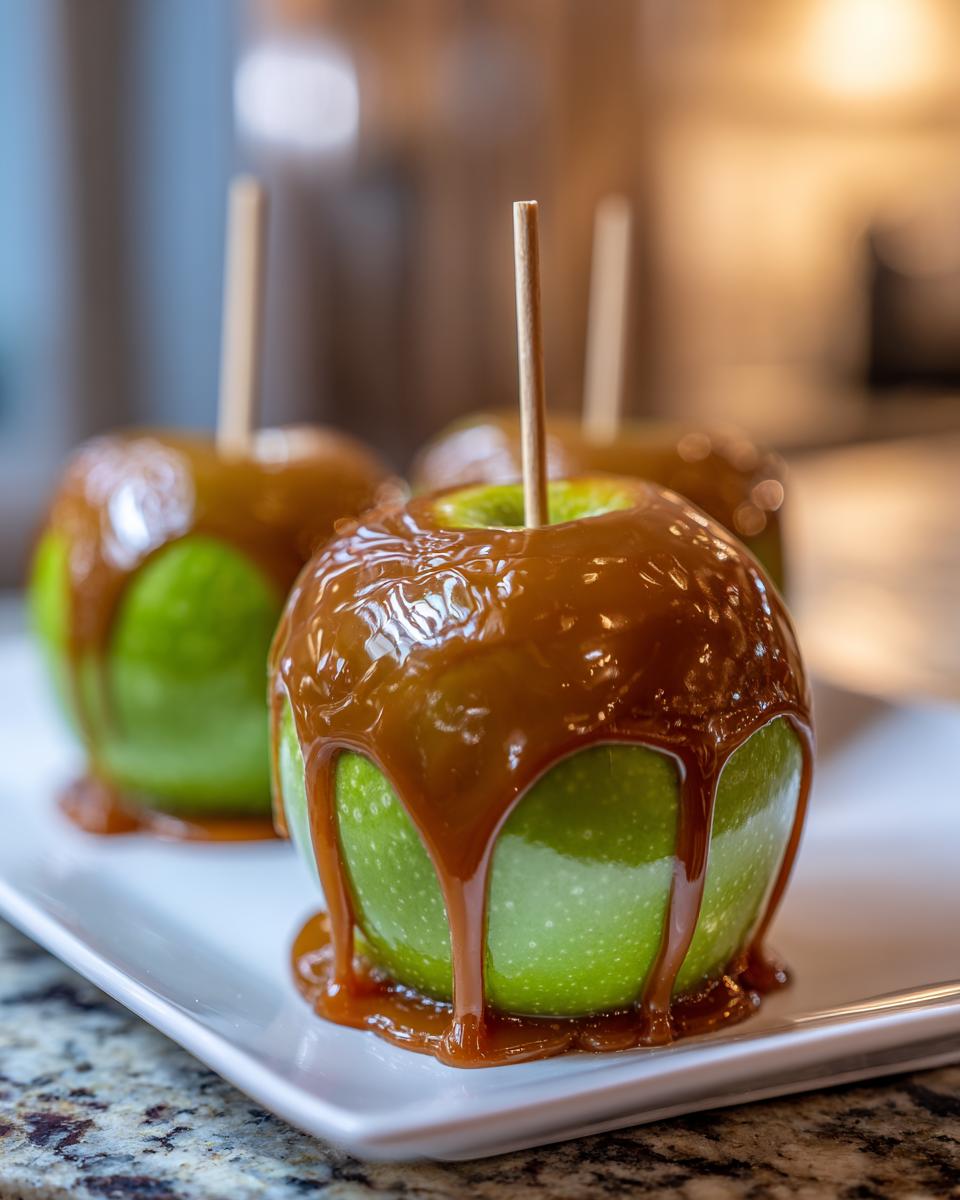
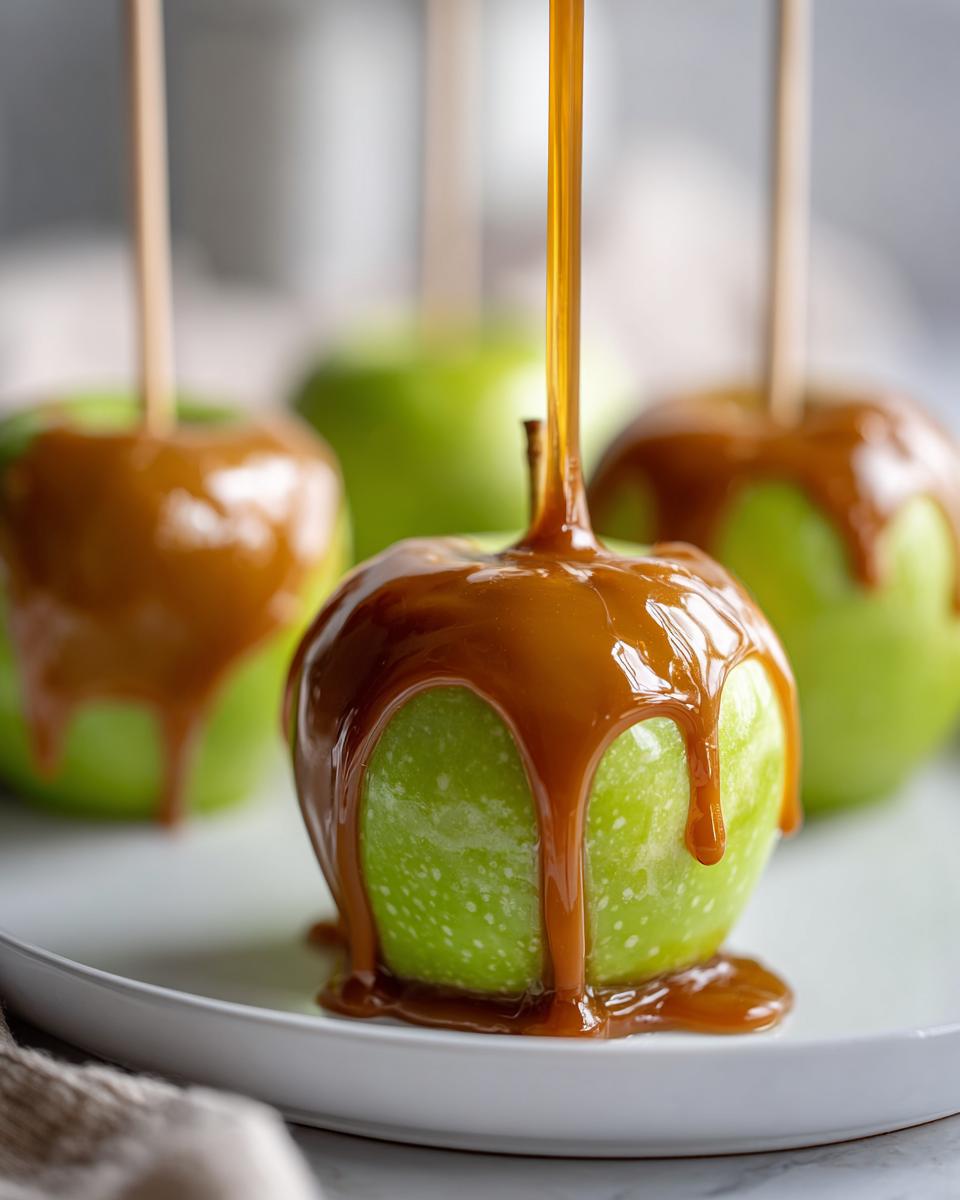
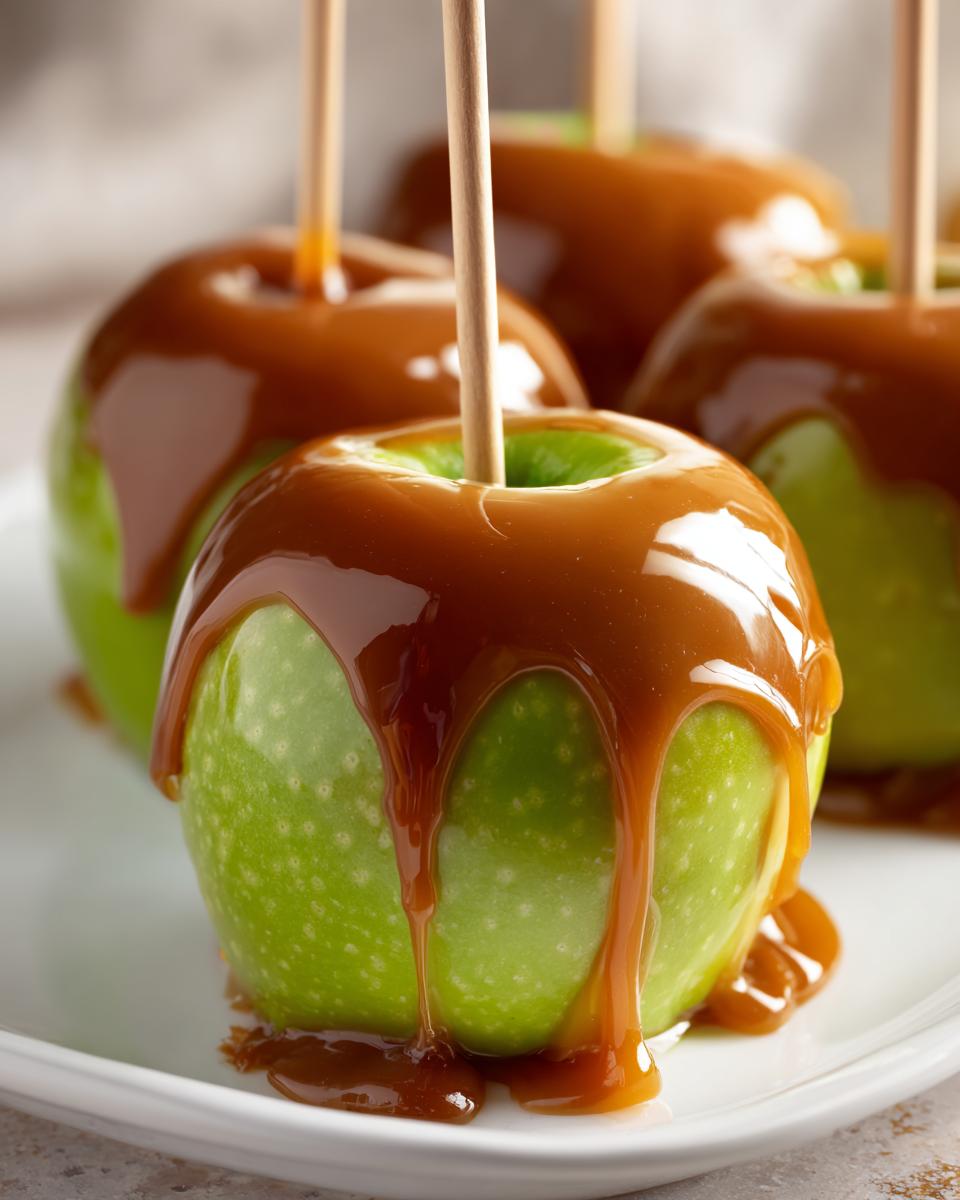
Oh my gosh, friends, can you just smell it? That perfect, crisp air mixed with the scent of cinnamon and sugar? When fall rolls around, my kitchen practically demands to be covered in sticky, gooey goodness, and nothing—I mean *nothing*—compares to making your own homemade caramel apples right on the stovetop. Forget those waxy, hard store-bought versions; we are going for that perfect, chewy, clingy caramel every single time.
I promise you, this isn’t just another recipe floating around out there. When I created this guide for the absolute best homemade caramel apples, I tested batches until my arms felt like mush—all to make sure that when you tackle this, you get the payoff: a rich, fall-perfect treat that tastes like it came from a gourmet candy shop but using simple ingredients. Trust me, my testing process guarantees you won’t end up with runny caramel!
- Why This Is the Best caramel apple Recipe You Will Make
- Ingredients for Perfect homemade caramel apples
- Essential Equipment for Your caramel apple Project
- Step-by-Step Instructions: how to make caramel apples
- Tips for Success with Your caramel apple Toppings
- Storing and Serving Your caramel apple Treats
- Frequently Asked Questions About Making caramel apple
- Nutritional Estimates for This caramel apple Recipe
- Share Your Autumn apple Treats
Why This Is the Best caramel apple Recipe You Will Make
I get it; making caramel can feel scary. It involves hot sugar, and nobody wants to ruin a whole batch of their favorite apple pie ingredients just because the caramel wouldn’t set right! But honestly, this is my go-to method because it’s my no-fail caramel recipe. I made at least five messy batches before I settled on this formula because I needed to guarantee two things: that the caramel was perfectly chewy caramel apples texture, and that it actually stayed put!
This approach is all about hitting the soft-ball stage perfectly, which is why the thermometer matters so much. When my family does our annual pumpkin patch trip, these are the treats we bring, and I can’t stand serving anything gloppy or runny. Following these specific steps ensures that beautiful, glossy coating clings to the crisp apple without sliding off when you take that first amazing bite.
Key Features of Our caramel apple Recipe
- Perfect Stickiness: We promise the caramel grips the apple every time, especially if you prep the fruit right!
- Ideal Texture: Not rock-hard like candy, but delightfully chewy and smooth.
- Accessible Ingredients: Everything needed is in a standard grocery store pantry.
- Taste Balance: The rich cooked sugar perfectly complements the tartness of the apple.
Ingredients for Perfect homemade caramel apples
Okay, so we are making the star of the show: the caramel sauce itself! Honestly, the results you get here depend entirely on using quality ingredients—I’m talking real butter, not that spread stuff, and good brown sugar. When you’re making something this decadent, there’s really no room to cut corners if you want truly gourmet caramel apples.
The apples themselves need to be firm! We need that sweet-and-tart contrast, so don’t grab anything too soft. And yes, we need corn syrup; it’s vital for getting that gorgeous, non-grainy, chewy caramel apples texture that won’t harden like a jawbreaker. Here’s what you need to grab before you turn on the heat:
The Apples & Sticks:
- 6 large, firm apples (I swear by Granny Smith or Honeycrisp for the best sweet and tart apple dessert balance!)
- 6 wooden or paper lollipop sticks
The Caramel Base:
- 1 cup (2 sticks) unsalted butter
- 2 cups light brown sugar, packed tightly into the cup
- 1 cup light corn syrup—this is what keeps it smooth!
- 1 (14 ounce) can sweetened condensed milk
- 1 teaspoon pure vanilla extract
- 1/2 teaspoon salt
Optional Toppings (This is where you get creative!):
- Chopped pecans or walnuts
- Colorful sprinkles for a festive look
- Mini chocolate chips (perfect for making chocolate dipped caramel apples later)
- Coarse sea salt for sprinkling right on top after dipping
Essential Equipment for Your caramel apple Project
Look, you only need a few things, but you absolutely cannot skip a couple of these tools if you want that perfect, non-messy outcome. Trust me, I learned the hard way trying to eyeball the temperature once!
For the best results with this classic fall dessert, you need to pay attention to your cooking vessel and measuring tools. A heavy-bottomed pan is your friend here because it distributes heat evenly, which stops the sugar from scorching on the bottom while you’re waiting for it to reach temperature.
Must-Have Tools for Dipping
- Heavy-Bottomed Saucepan: This is crucial for preventing scorching while you cook the caramel mixture down. It keeps everything even, which matters a ton when dealing with hot sugar.
- Candy Thermometer: Okay, this one is non-negotiable. If you want that perfect, firm-but-chewy caramel that actually sticks, you have to know exactly when you hit the soft-ball stage (245°F). Eyeballing it just leads to sadness!
- Dipping Sticks: You need something sturdy to hold onto! The lollipop sticks work perfectly for the standard whole apple dip.
- Parchment Paper: Get a sheet ready to go! Once dipped, you need a clean, non-stick surface to place your finished gourmet caramel apples on so they can cool and set up beautifully.
Step-by-Step Instructions: how to make caramel apples
Alright, this is where the magic happens for our homemade caramel apples! We have our ingredients ready, our thermometer is set, and our parchment paper is waiting patiently. I’m going to walk you through this in three distinct parts: prepping the apples (which is more important than you think!), cooking that beautiful caramel sauce, and then the fun part—dipping! You can check out more inspiration over at Delicious Corner for some initial ideas, but my method below is the one that keeps everything perfectly sticky.
Don’t rush through the apple prep, seriously. If you do this right, your caramel will stick like glue. If you skip a step here, you’ll end up with apples floating sadly in a pool of caramel later. We need perfect adhesion for these autumn apple treats!
Preparing the Apples for the caramel apple Coating
First things first: wash your apples really well. But here’s the secret tip I learned that makes all the difference: those beautiful Granny Smiths often have a little wax coating left from the store, and that wax is the enemy of good dipping! To get rid of it, bring a pot of water to a boil. You’re going to dip each apple—stems and all—into that boiling water for exactly five seconds. Just long enough to lift that waxy layer.

Immediately pull the apples out and dry them *completely*. I mean bone-dry. Use paper towels and pat them down everywhere. Once they are dry, take the stems out and firmly push your lollipop sticks right into the top core. Get them in there good and snug because you’ll be lifting the whole thing soon. If the apple is even a little damp, the caramel just won’t adhere, and that’s when you get the dreaded slide!
Cooking the No-Fail caramel recipe
Now, let’s make the sauce! Grab that heavy saucepan and plop in your butter, brown sugar, corn syrup, and sweetened condensed milk. Put it on medium heat and stir constantly until that sugar completely dissolves. You’ll know it’s ready when the mixture looks smooth and starts to bubble gently.
Here’s the rule I always follow: once it hits a rolling boil, you stop stirring! If you stir, you risk sugar crystals forming on the side of the pan, and those sharp little crystals can cause the whole batch to seize up later. Keep an eye on the sides of the pan, though. If you see any stray crystals, use a pastry brush dipped in clean water to gently wash them back down into the bubbling goodness. We are aiming for exactly 245 degrees Fahrenheit on your thermometer. That’s the sweet spot for that perfect, soft-ball texture. It usually takes about 15 to 20 minutes once you hit the boil. If you don’t have a thermometer? You’re relying on time, which is trickier, but you’re looking for a deep golden color that resists separating when you gently lift some of the sauce.
Dipping and Setting Your gourmet caramel apples
Once you hit that 245°F mark, pull that pot right off the heat immediately! Stir in your vanilla and salt—it might sizzle a little, that’s fine. Now, this is crucial: you must let the caramel cool down for about five to ten minutes. If you dip when it’s too hot, it will just run right off your perfectly prepped apple! You want it thick enough to leave a nice, substantial coat.
Tilt your saucepan a bit so you can easily submerge the apple. Dip it in, turning slowly to coat every bit. Lift the apple out and let the excess drip back into the pot for a few seconds. If you’re adding nuts or sprinkles—and you should be!—do it right now, while the caramel is still wet. If you’re making the easy caramel apple slices recipe variations, just dip the chunks! Place the finished beauties immediately onto your waiting parchment-lined baking sheet. Don’t skip this part; otherwise, you’ll be scraping sticky messes later. Pop them into the fridge for at least half an hour to fully set before anyone tries to sneak one!
Tips for Success with Your caramel apple Toppings
This is seriously the most fun part of making these amazing autumn apple treats! Once the caramel has set just a little—before it goes completely hard in the fridge—it’s time to dive into the world of caramel apple toppings. We already listed nuts and sprinkles, but don’t stop there! Think about adding crushed vanilla wafers or Oreos for crunch, or even dusting them lightly with smoky sea salt right after you pull them out of the caramel.
The key is speed. Have your topping trays ready to go! You can either roll the dipped apple immediately in a shallow tray of toppings, or you can gently sprinkle them on top. If you wait too long, the caramel cools, and nothing will stick, which is just heartbreaking when you’ve worked so hard.
Variations: Chocolate Dipped caramel apple Ideas
If you want to take this straight to gourmet territory, you have to try dipping them in chocolate, too! But here’s the vital order of operations: you must let the caramel apple set completely first—usually about 30 minutes in the fridge. If you dip warm caramel into chocolate, it’s going to melt everything into a muddy mess.
Melt your favorite dipping chocolate (milk, dark, or white) gently. I usually use my microwave with short 30-second bursts, stirring in between. Once your caramel apple is firm, dip the bottom half—or drizzle artfully over the top—and let that set up again on fresh parchment paper. It’s a showstopper, and kids absolutely lose their minds over this double-layered indulgence. If you are looking for other great chocolate recipes in the fall, check out my guide on chocolate chip cookies!
Storing and Serving Your caramel apple Treats
Great! You’ve made the best batch of caramel apple perfection, and now you need to keep them looking magnificent until party time. Since these are made from scratch with real butter and cream, they don’t last quite as long as those waxy store-bought ones, but they sure taste better!
The best way to store your finished dipped apples is definitely in the refrigerator. Make sure they are placed on a tray or plate that keeps them from touching each other—otherwise, they’ll stick together, and you might lose half your beautiful topping when you try to separate them! They should hold up well for about a week if kept properly covered in the fridge, though honestly, they rarely last that long in my house!
When it’s time to serve them up, I always recommend letting them sit out on the counter for about 15 to 20 minutes before anyone digs in. Straight out of the fridge, the caramel can be a little too hard, and you risk cracking the coating or struggling to get that satisfying first bite. Letting them warm up just a touch brings the caramel back to that perfect, yielding, chewy texture we worked so hard to achieve.
Now, what if you made a huge batch and the leftover caramel in the pot got way too stiff after cooling? Don’t panic! You can absolutely save it. Just pop that saucepan back on the stovetop over very low heat. Stir gently until it loosens up enough for dipping again. Just be super careful: do not let it boil a second time once it has already set, or you’ll mess with the texture we worked hard to nail earlier!
Frequently Asked Questions About Making caramel apple
I know sometimes even with the best instructions, little questions pop up when you’re standing over a pot of boiling sugar! Don’t worry; that’s totally normal. Throughout all my testing for this perfect caramel apple recipe, I found a few common sticking points for people. Here are the answers to the most pressing ones I’ve heard from fellow bakers!
What is the best apple for a caramel apple?
If you want that amazing sweet-and-tart contrast, stick to a firm apple! My absolute favorites are Granny Smith because they are wonderfully tart, or Honeycrisp—they are wonderfully crisp and hold their shape perfectly. The firmness is key because it gives you something solid to dip into that hot caramel, and the tartness cuts through all that richness. It’s the perfect bite!
How do I stop the caramel from sliding off my caramel apple?
This comes down to two main things, and both are about cleanliness and timing! First, you *must* remove that factory wax, which is why I recommend that quick 5-second dip in boiling water before drying them completely. Second, you need to let the caramel cool down just a bit after you cook it. If it’s too hot and thin, it runs right off. You want it thick enough to coat heavily, which usually means letting it sit off the heat for about 5 to 10 minutes before you start dipping your apples.
Can I make the caramel sauce ahead of time for my caramel apple?
Technically, yes, you can make the cooked caramel sauce ahead of time, but listen closely: it will absolutely solidify into a rock once it cools! If you want to use it later, you need to reheat it very gently over low heat on the stovetop, stirring constantly until it loosens up to that perfect, dippable consistency again. Please, please, please do not let it return to a boil once it has already set, or you risk changing the texture entirely!
Nutritional Estimates for This caramel apple Recipe
Now, I know some of you are calorie counters, and while I think enjoying a delicious, homemade treat like this is 100% worth it—especially as a classic fall dessert—I always want to give you the full picture.
Keep in mind these numbers are just estimates based on breaking down the full recipe batch for 6 apples, using standard ingredient amounts. This isn’t coming from a lab, obviously, but it gives you a good baseline as you enjoy your perfect caramel apple dip or dipped treat. When you splurge on something this wonderful, it’s nice to know what you’re working with!
Here is the rough nutritional breakdown for one single, glorious serving (that’s one apple coated in our fantastic caramel):
- Calories: Around 550 per apple. That’s a hefty treat!
- Sugar: Expect about 85g. Yep, that’s the price of caramel greatness!
- Fat: Roughly 22g total, with about 14g coming from saturated fat (that’s from all that delicious butter!).
- Carbohydrates: Around 90g total.
- Protein: A modest 4g comes mainly from the condensed milk.
Again, this is an indulgence, not an everyday snack, but it’s made with real ingredients that you controlled, which always tastes better than anything pre-packaged. Enjoy it guilt-free!
Share Your Autumn apple Treats
Well, that’s it! We’ve conquered the candy thermometer, we’ve battled the potential wax coating, and now you have these stunning, sticky, chewy caramel apple masterpieces cooling on your counter. I truly hope that making this easy dessert for parties brought you as much joy as it brings my family every single autumn.
Now that you’ve mastered the recipe, I absolutely want to see what you did! Did you go wild with the caramel apple toppings? Did you manage to avoid scratching your dipping tool on the side of the pan? Tell me everything! Drop a comment below and let me know how these turned out for you, or if you’ve saved this recipe for future Halloween candy recipes.
If you’re feeling really proud of your work—and you absolutely should be—snap a picture of your finished tray of homemade caramel apples! Tag me on social media! Seeing your success stories is truly why I put all these hours into testing formulas here at Kings Cook. It’s all about turning that “I can’t” into “I did!”
If this recipe helped you succeed in the kitchen, please do me a huge favor and leave a 5-star rating right below the recipe card. And hey, if you loved this dessert and want to see more reliable, tested-to-perfection recipes, be sure to check out my About Page to see what else we’re cooking up!
Happy Autumn Cooking!
PrintThe Best Homemade Caramel Apples Recipe
Create classic, chewy homemade caramel apples with this reliable recipe. This guide provides simple steps for making a rich caramel that sticks perfectly to crisp apples, ideal for fall parties or gifting.
- Prep Time: 20 min
- Cook Time: 25 min
- Total Time: 45 min
- Yield: 6 servings 1x
- Category: Dessert
- Method: Stovetop Cooking
- Cuisine: American
- Diet: Vegetarian
Ingredients
- 6 large, firm apples (like Granny Smith or Honeycrisp)
- 6 wooden or paper lollipop sticks
- 1 cup (2 sticks) unsalted butter
- 2 cups light brown sugar, packed
- 1 cup light corn syrup
- 1 (14 ounce) can sweetened condensed milk
- 1 teaspoon pure vanilla extract
- 1/2 teaspoon salt
- Optional Toppings: chopped nuts, sprinkles, mini chocolate chips
Instructions
- Wash and thoroughly dry the apples. Remove the stems and insert a wooden stick firmly into the core of each apple.
- In a heavy-bottomed saucepan, combine the butter, brown sugar, corn syrup, and sweetened condensed milk.
- Heat the mixture over medium heat, stirring constantly until the sugar dissolves.
- Bring the mixture to a boil without stirring once boiling. Use a pastry brush dipped in water to wash down any sugar crystals that form on the sides of the pan.
- Continue to boil until the caramel reaches 245 degrees Fahrenheit (soft-ball stage) on a candy thermometer. This usually takes 15 to 20 minutes.
- Remove the saucepan from the heat. Stir in the vanilla extract and salt. Let the caramel cool slightly for about 5 to 10 minutes until it thickens enough to coat the apple well.
- Tilt the pan and dip each apple into the caramel, turning to coat completely. Lift the apple out and allow excess caramel to drip off.
- If using toppings, immediately roll the coated apple in your desired toppings or place it on a parchment-lined baking sheet.
- Place the finished caramel apples in the refrigerator for at least 30 minutes to allow the caramel to set completely before serving.
Notes
- For the caramel to stick, the apples must be completely free of wax and moisture. You can briefly dip them in boiling water for 5 seconds, then dry them immediately and completely before inserting the sticks.
- If the caramel becomes too stiff while dipping, return the pan to low heat briefly to loosen it, but do not let it boil again.
- For chocolate dipped caramel apples, let the caramel set completely, then dip the bottom half in melted chocolate and let it set again.
Nutrition
- Serving Size: 1 apple
- Calories: 550
- Sugar: 85g
- Sodium: 150mg
- Fat: 22g
- Saturated Fat: 14g
- Unsaturated Fat: 8g
- Trans Fat: 0g
- Carbohydrates: 90g
- Fiber: 2g
- Protein: 4g
- Cholesterol: 75mg