
Ever get that craving for warm, gooey, cheesy garlic breadsticks that taste *exactly* like the ones from your favorite pizza place? You know, the kind with that perfect soft interior and that stretchy, melty mozzarella that just makes everything feel right? Well, get ready, because we’re making those amazing cheesy garlic breadsticks right here, from scratch! I’m Kate Connolly, and here at Kings Cook, my whole mission is to help you feel super confident and totally happy in your own kitchen. You can learn more about my story here: about Kings Cook. Trust me, making these from scratch isn’t nearly as scary as you might think, and they’re absolute rockstars for family pizza night or even just a fun game day appetizer. Let’s do this!
- Why You'll Love These Cheesy Garlic Breadsticks
- Ingredients for Perfect Cheesy Garlic Breadsticks
- How to Make Cheesy Garlic Breadsticks From Scratch
- Tips for Success with Your Cheesy Garlic Breadsticks
- Make-Ahead and Freezing Your Cheesy Garlic Breadsticks
- Serving Suggestions for Your Cheesy Garlic Breadsticks
- Frequently Asked Questions about Cheesy Garlic Breadsticks
- Estimated Nutritional Information
- Share Your Cheesy Garlic Breadstick Creations!
Why You’ll Love These Cheesy Garlic Breadsticks
Seriously, what’s not to love about these garlic breadsticks? They’ve got:
- That easy from scratch factor – you won’t believe how simple they are!
- A speedy 1-hour rise so you’re not waiting around all day.
- An absolutely incredible, ooey gooey cheese pull that’ll make everyone happy.
- They’re perfect for pizza night, turning any meal into an event.
- And of course, they’re a total great game day appetizer crowd-pleaser!
Ingredients for Perfect Cheesy Garlic Breadsticks
Okay, so gathering your ingredients is honestly half the fun for these breadsticks. It’s all about getting that good stuff in there to make them taste *just right*. Here’s what you’ll need:
For the dough:
- 1 cup warm water (make sure it’s not too hot, around 105-115°F is perfect for waking up that yeast!)
- 2 ¼ teaspoons active dry yeast (this is what makes our dough puff up beautifully)
- 1 teaspoon granulated sugar (just a little bit to feed the yeast)
- 3 cups all-purpose flour, plus a little extra for dusting our counter when we knead
- 1 teaspoon salt (always brings out all the other flavors)
- 2 tablespoons olive oil, plus a little extra to grease our bowl
And for that amazing garlic-butter-cheese topping:
- 1 stick (yes, that’s ½ cup!) unsalted butter, all melted
- 4 cloves of garlic, minced super fine. Don’t be shy!
- ½ teaspoon dried Italian seasoning (for that classic pizza shop taste)
- ¼ teaspoon black pepper (just a tiny kick)
- 1 ½ cups shredded mozzarella cheese (this is our main star for that gooey pull!)
- ½ cup grated Parmesan cheese (for that salty, nutty punch)
- 2 tablespoons chopped fresh parsley (this is totally optional, but it makes them look so pretty!)
And of course, you’ll want some yummy marinara sauce or ranch dressing for dipping. Get it all ready, and we’ll be on our way to breadstick heaven!
How to Make Cheesy Garlic Breadsticks From Scratch
Alright, let’s get down to business and make these amazing cheesy garlic breadsticks recipe from scratch! It’s really not complicated, I promise. We start with making the dough, which is super straightforward.
Preparing the Dough for Your Cheesy Garlic Breadsticks
First things first, grab a big bowl and pour in that warm water. Sprinkle your yeast and sugar over the top. Give it a gentle stir and just let it hang out for about 5 to 10 minutes. You’ll know it’s ready when it gets all foamy and bubbly – that’s the yeast waking up and getting excited! Now, add in your flour, salt, and that 2 tablespoons of olive oil. Mix it all up until it just starts to come together into a shaggy dough. Turn it out onto a lightly floured surface and knead it for about 5-7 minutes. You’re looking for a dough that’s nice and smooth, maybe a little springy when you poke it. Then, just lightly grease a clean bowl, pop the dough in, turn it to coat, cover it up, and let it chill out for an hour in a warm spot until it’s nice and doubled in size. Easy peasy!
Shaping and Topping the Breadsticks
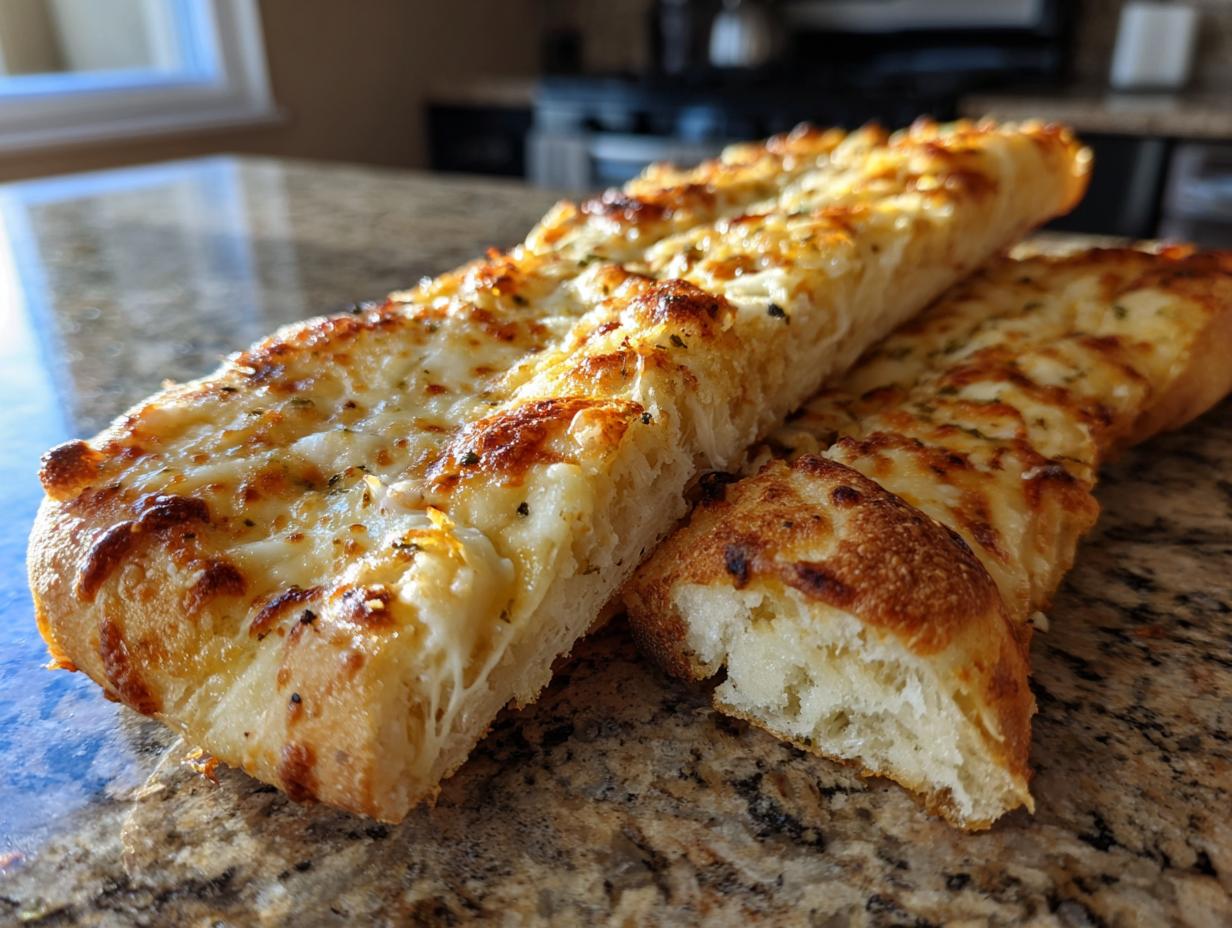
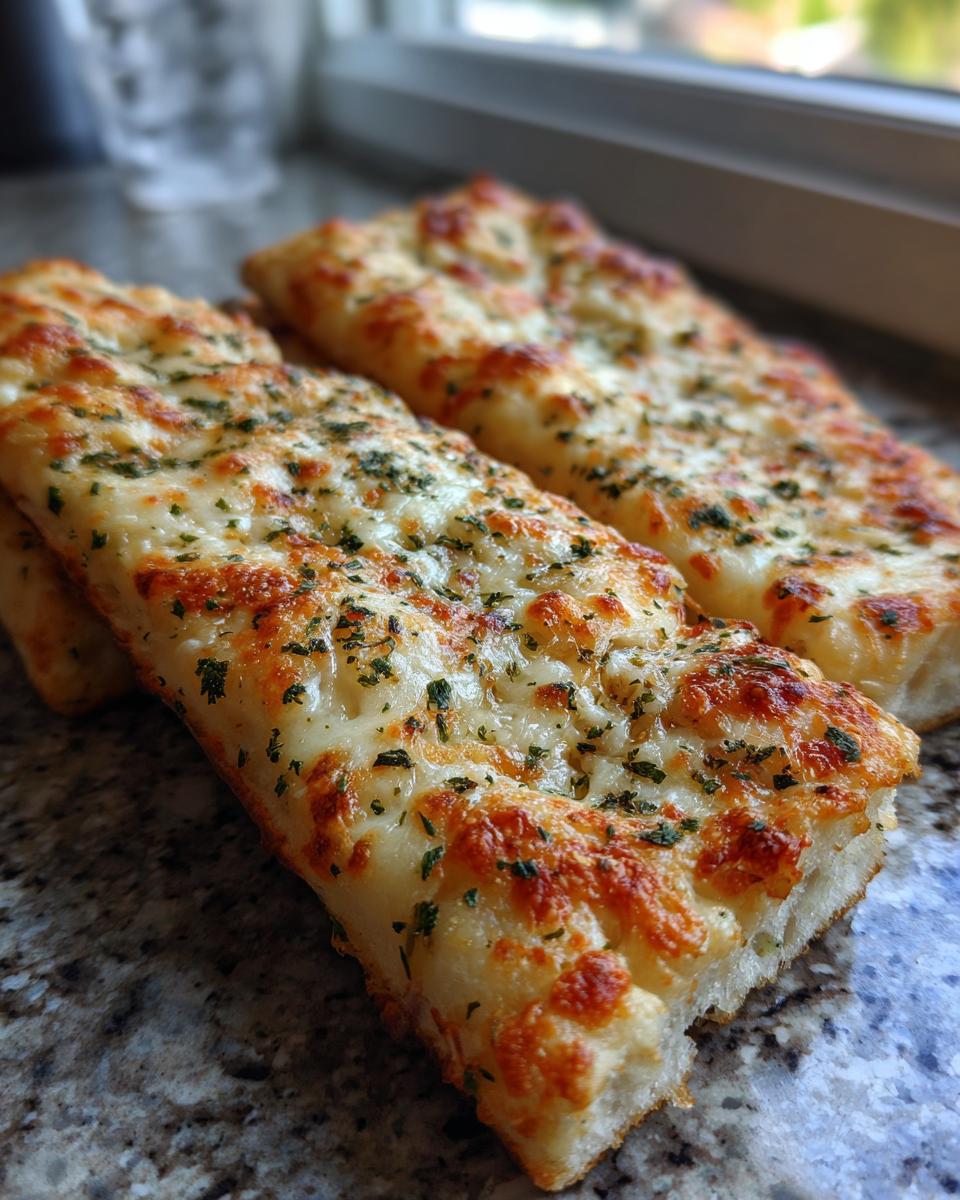
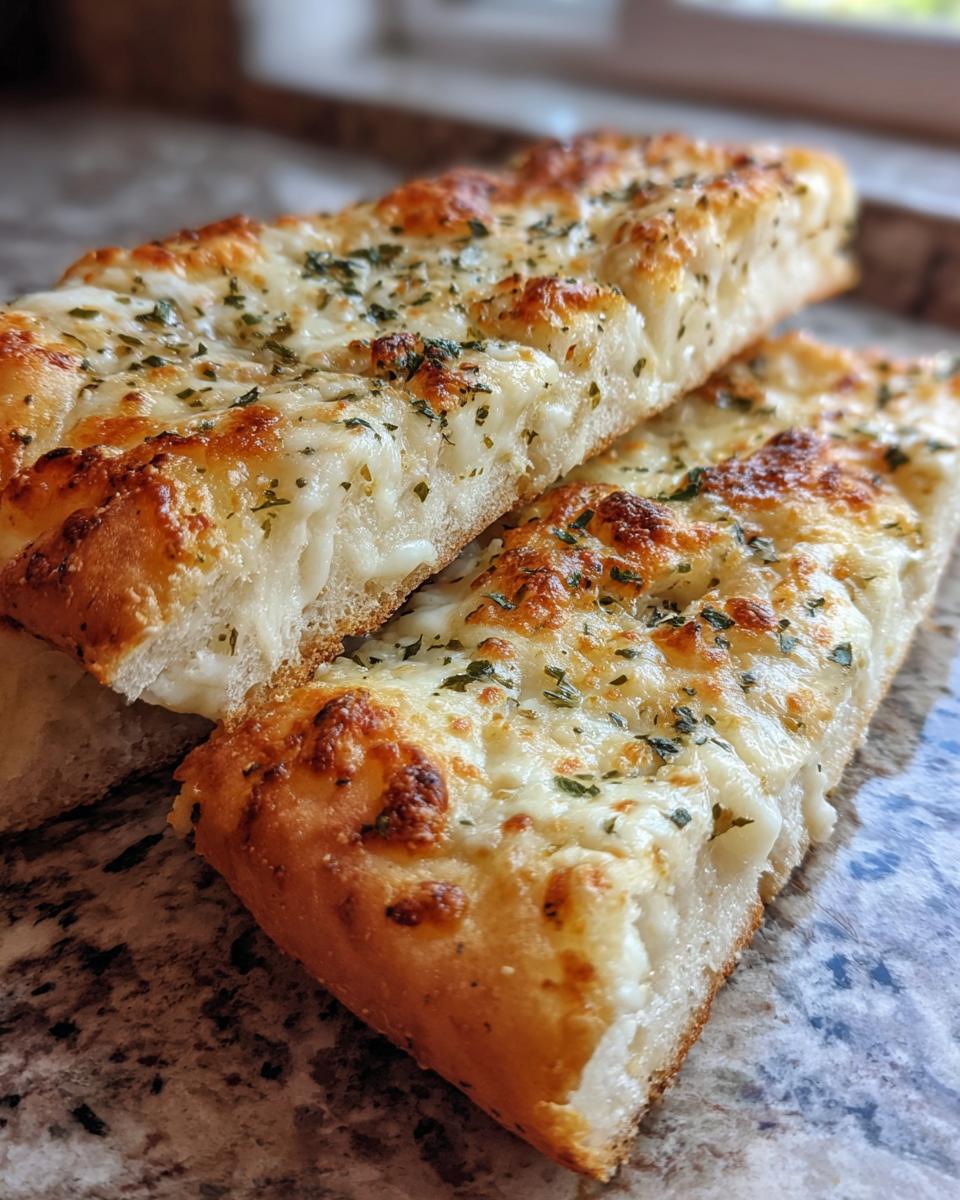
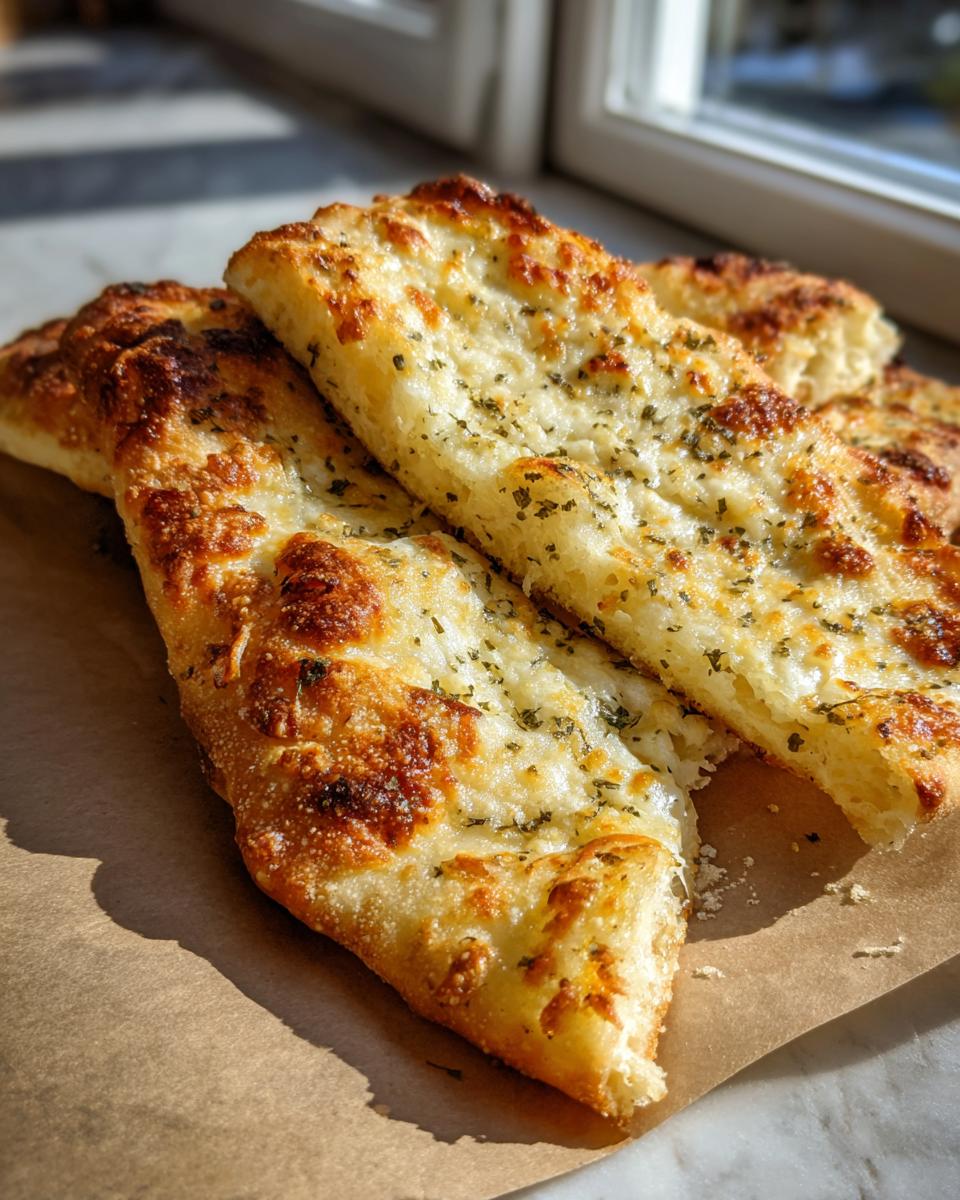
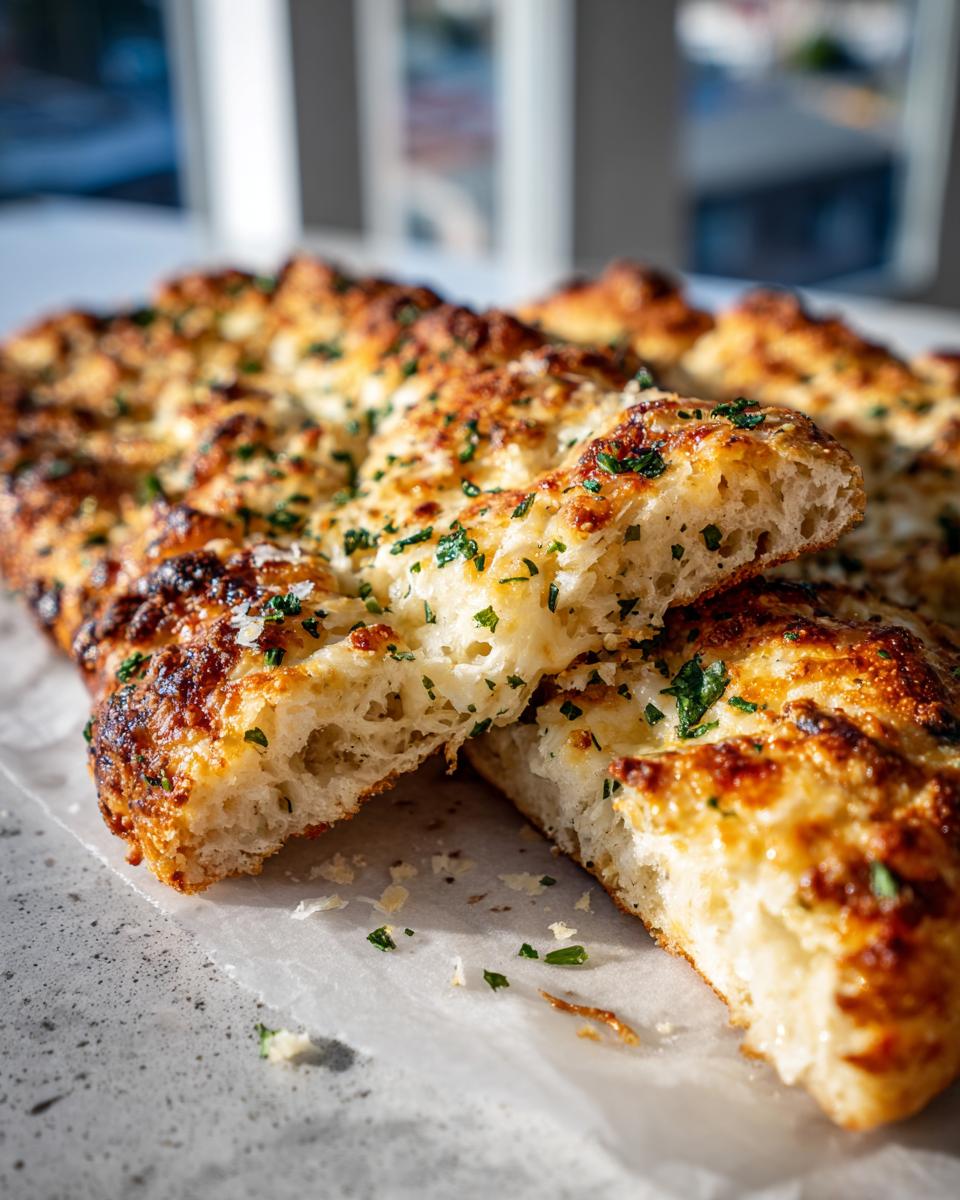
Once that dough has done its magic and doubled up, go ahead and punch it down gently. Turn it out onto your floured surface again. You want to roll or pat it into a rectangle, about 12 inches by 18 inches. Think of it like making a big, flat pizza dough canvas! Then, cut that into strips, about an inch wide. For our garlic butter topping – and this is the good part! – whisk together your melted butter, minced garlic, Italian seasoning, and that little pinch of pepper. Brush this glorious mixture all over your dough strips. Now for the best part: sprinkle that shredded mozzarella and grated Parmesan cheese all over the top. Make sure you get a nice, even layer so every bite is cheesy. This is where you get that perfect best cheese for breadsticks mozzarella parmesan combo!
Baking Your Cheesy Garlic Breadsticks to Perfection
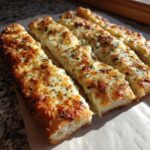
Get your oven preheated to a nice hot 475°F (that’s 245°C). Make sure your baking sheet is greased or lined with parchment paper so nothing sticks. Arrange your cheesy, garlicky dough strips on the sheet, leaving a little room between them so they don’t stick together too much. Pop them into that hot oven and bake for about 8 to 12 minutes. You’ll know they’re ready when they’re beautifully golden brown and that cheese is all melted and bubbly. That’s the secret to that perfect 475 degree cheesy breadsticks bake time! If you’re feeling fancy, sprinkle on a little fresh parsley before serving. And there you have it!
Tips for Success with Your Cheesy Garlic Breadsticks
You know, even though these are pretty straightforward, there are a few little things that really make them sing. For starters, that dough consistency is key! You want it smooth and elastic, so don’t be afraid to give it a good knead on that floured surface. And for the rise, finding a nice warm spot is important – maybe near a sunny window or even in a slightly warm (but turned off!) oven. This really helps the yeast do its thing and get that amazing puffiness. Seriously, that ‘ooey gooey cheese’ factor? It comes from making sure the cheese is evenly spread and gets nice and melty in that hot oven. And feel free to play around with our garlic butter ratio – I sometimes sneak in an extra clove or a bit more butter if I’m feeling extra decadent!
Make-Ahead and Freezing Your Cheesy Garlic Breadsticks
You know, sometimes life gets a little wild, and you just need to get ahead, right? The great news is that these cheesy garlic breadsticks are totally make-ahead friendly! You can totally get the dough all mixed and through its first rise, then just pop it into a greased bowl, cover it tight with plastic wrap, and stick it in the fridge. It’ll keep perfectly for up to 24 hours. Just bring it out about 30 minutes before you want to shape and bake it, and it’ll be good as new! If you’ve already baked them and have some leftovers (which rarely happens in my house, haha!), just let them cool completely, then stash them in an airtight container or freezer bag. To reheat, just pop them back into a moderate oven for a few minutes until they’re warm and that cheese is melty again. So handy!
Serving Suggestions for Your Cheesy Garlic Breadsticks
And now for the best part – dipping! These cheesy garlic breadsticks are just begging to be dunked. Of course, you can’t go wrong with classic marinara sauce or a cool, creamy ranch dressing. They’re honestly perfect as ‘family pizza night sides,’ stealing the show right alongside your pie, or they make fantastic ‘party dipping bread’ when you’ve got friends over. Enjoy!
Frequently Asked Questions about Cheesy Garlic Breadsticks
Got questions? I’ve got answers! It’s totally normal to have a few when you’re trying out a new-to-you recipe. Here are some common ones I get:
Can I use different cheeses for these breadsticks?
Oh, absolutely! Mozzarella and Parmesan are my go-to for that classic stretch and flavor, but feel free to mix it up! Provolone is yummy, or even a little bit of cheddar for a sharper taste. Just make sure you’re using cheeses that melt well. Stick to about 2 cups of shredded cheese total, and you should be golden!
My dough didn’t rise! What went wrong?
Don’t you worry about that! It usually comes down to the water temperature or the yeast itself. Make sure your water was warm, not hot – too hot can kill the yeast. Also, check the expiration date on your yeast! If it’s old, it might not be active anymore. Sometimes, a slightly cooler kitchen can slow things down too. If it’s a bit cooler, just give it a bit more time. It’ll get there!
How do I get them extra crispy?
If you love a little crunch, this batch bakes up pretty fantastically as is! But for extra crispiness, you could try baking them on a lower rack in the oven, or perhaps brush them with a little more butter *after* they come out of the oven. You could also skip the parsley sprinkle at the very end and give them just a minute or two more under the broiler – watch them like a hawk, though, because they can go from perfect to burnt real fast!
Can I make these gluten-free?
You know, I haven’t personally tested a gluten-free version of these exact breadsticks yet. Gluten-free dough can be a bit tricky because it behaves differently than traditional wheat flour dough. You’d likely need a good gluten-free flour blend formulated for baking and maybe some binder like xanthan gum. It would probably take a bit of experimenting to get the texture just right, but if you try it, I’d love to hear how it turns out!
Estimated Nutritional Information
Just a heads-up, these numbers are estimates, since everyone’s kitchen and ingredients can be a little different! But based on our recipe, you’re looking at about 250 calories per serving (that’s three of these glorious cheesy garlic breadsticks). You’ll get around 15g of fat, 8g of protein, and 22g of carbs. It’s always good to remember that using different ingredients or adding extra cheese can change these values a bit!
Share Your Cheesy Garlic Breadstick Creations!
I just love seeing what you all make in your kitchens! Seriously, have you whipped up these cheesy garlic breadsticks? I’d be thrilled to hear about it in the comments below. Tell me how they turned out, if you added any fun twists, or how great they were with your pizza! You can even share a pic with me over on social media – I’m always checking for those delicious creations. If you have any other questions or want to share more, feel free to reach out via my contact page. It makes my day knowing you’re enjoying these recipes!
PrintCheesy Garlic Breadsticks
Make pizza parlor-style cheesy garlic breadsticks with a soft interior and stretchy mozzarella. These are perfect as a side for pizza or as a game day appetizer.
- Prep Time: 20 min
- Cook Time: 12 min
- Total Time: 1 hr 32 min
- Yield: 24 breadsticks 1x
- Category: Appetizer
- Method: Baking
- Cuisine: American
- Diet: Vegetarian
Ingredients
- 1 cup warm water (105-115°F)
- 2 ¼ teaspoons active dry yeast
- 1 teaspoon granulated sugar
- 3 cups all-purpose flour, plus more for dusting
- 1 teaspoon salt
- 2 tablespoons olive oil, plus more for greasing
- 1 stick (½ cup) unsalted butter, melted
- 4 cloves garlic, minced
- ½ teaspoon dried Italian seasoning
- ¼ teaspoon black pepper
- 1 ½ cups shredded mozzarella cheese
- ½ cup grated Parmesan cheese
- 2 tablespoons chopped fresh parsley (optional)
- Marinara sauce or ranch dressing, for serving
Instructions
- In a large bowl, combine warm water, yeast, and sugar. Let stand for 5-10 minutes until foamy.
- Add flour, salt, and 2 tablespoons olive oil to the yeast mixture. Mix until a shaggy dough forms.
- Turn the dough out onto a lightly floured surface and knead for 5-7 minutes until smooth and elastic.
- Lightly grease a clean bowl with olive oil. Place the dough in the bowl, turning to coat. Cover with plastic wrap and let rise in a warm place for 1 hour, or until doubled in size.
- Preheat your oven to 475°F (245°C). Grease a baking sheet or line it with parchment paper.
- Punch down the risen dough. Turn it out onto a lightly floured surface and roll or pat it into a rectangle about 12×18 inches.
- Cut the dough into 1-inch wide strips.
- In a small bowl, whisk together the melted butter, minced garlic, Italian seasoning, and black pepper.
- Brush the garlic butter mixture generously over the dough strips.
- Sprinkle the mozzarella and Parmesan cheeses evenly over the buttered strips.
- Arrange the breadsticks on the prepared baking sheet, leaving a little space between them.
- Bake for 8-12 minutes, or until golden brown and the cheese is melted and bubbly.
- Sprinkle with fresh parsley, if desired. Serve immediately with marinara sauce or ranch dressing.
Notes
- For make-ahead, you can prepare the dough up to the first rise, cover, and refrigerate for up to 24 hours. Let it sit at room temperature for 30 minutes before proceeding with shaping and baking.
- To freeze, bake the breadsticks completely, let them cool, then freeze in an airtight container or freezer bag. Reheat in the oven until warm.
- Adjust the amount of garlic and butter to your preference.
Nutrition
- Serving Size: 3 breadsticks
- Calories: 250
- Sugar: 2g
- Sodium: 450mg
- Fat: 15g
- Saturated Fat: 7g
- Unsaturated Fat: 8g
- Trans Fat: 0g
- Carbohydrates: 22g
- Fiber: 1g
- Protein: 8g
- Cholesterol: 30mg