
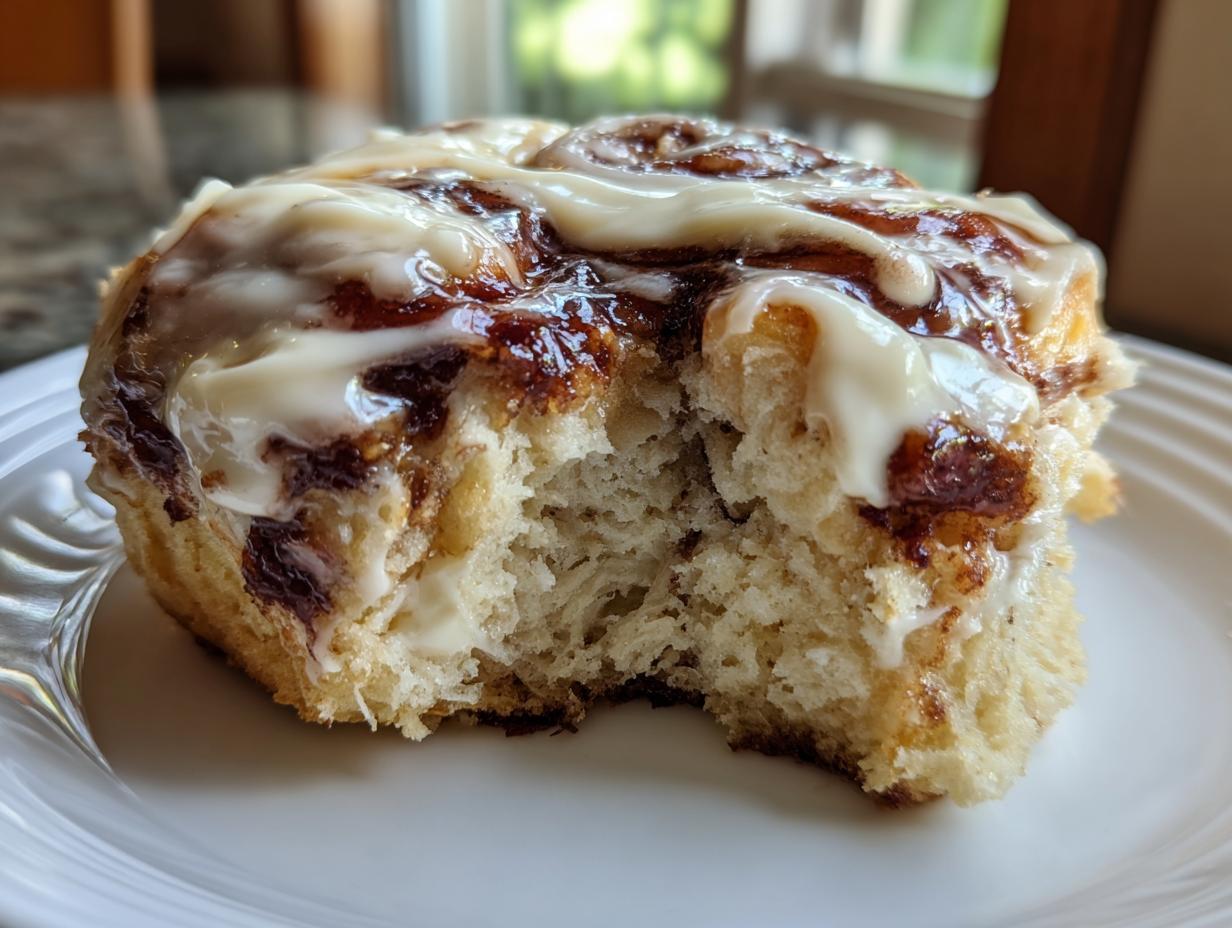
Listen to me: Those towering, soft, ridiculously gooey cinnamon rolls you see in bakeries? You can absolutely make them in your own kitchen, and I’m going to show you exactly how. Forget the dry, sad versions you’ve had before. When I developed this recipe in my kitchen, I focused intensely on one thing: creating the softest cinnamon rolls homemade that just melt in your mouth. Trust me, I know how staring at a yeast dough can feel intimidating, but that’s why I’ve broken this down step-by-step. If you struggled before, this is your turning point. I promise these bakery style cinnamon rolls at home will become your new signature bake!
- Why This Is the Best Homemade Cinnamon Rolls Recipe for You
- Essential Ingredients for Perfect Cinnamon Rolls Homemade
- How to Make Cinnamon Rolls Dough: Yeast Dough Cinnamon Rolls Instructions
- Crafting the Best Cinnamon Roll Filling for Gooey Cinnamon Rolls Recipe
- Baking Homemade Sweet Rolls: Timing and Temperature for Cinnamon Rolls Homemade
- Making Homemade Cream Cheese Frosting for Rolls
- Making Cinnamon Rolls Step by Step: Final Assembly and Serving
- Troubleshooting Common Issues with Cinnamon Rolls Homemade
- Frequently Asked Questions About Making Cinnamon Rolls Homemade
Why This Is the Best Homemade Cinnamon Rolls Recipe for You
I have tested so many variations, and I can honestly say this is the definitive best homemade cinnamon rolls recipe out there. I want you to feel like you’re pulling these straight from a professional oven, without any of the stress. We focus on making sure every component is fantastic.
- Incredibly soft dough that stays tender for days.
- A perfectly balanced, rich filling that doesn’t leak out.
- A foolproof method guaranteed to deliver giant, bakery quality results.
Ready to see the secrets behind this gooey goodness? You can check out my full recipe breakdown here to start gathering your supplies.
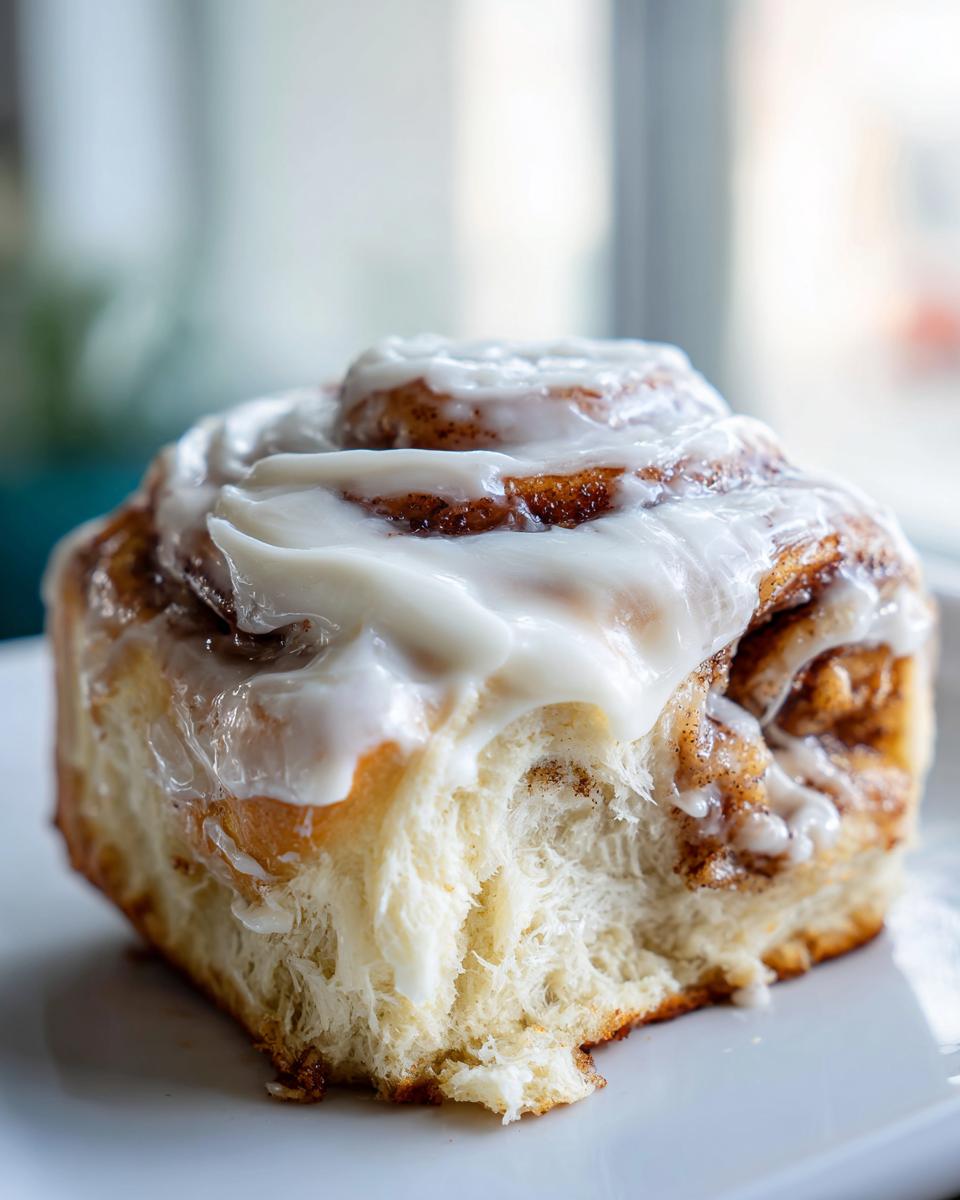
Achieving Fluffy Cinnamon Rolls From Scratch Texture
The secret to truly fluffy rolls is using yeast dough, period. Store-bought dough just can’t capture that incredible airiness we are aiming for when we make these fluffy cinnamon rolls from scratch. The yeast gives the dough its structure and lift.
But success starts before the kneading, so please don’t rush that step! Make sure your milk and eggs are at room temperature. That little bit of warmth helps wake up the yeast, ensuring you get a high, pillowy rise the first time around. It’s one of those small actions that makes a huge difference!
Essential Ingredients for Perfect Cinnamon Rolls Homemade
When we are aiming for bakery quality, we have to respect the ingredients. It sounds fancy, but honestly, it’s about using the right things at the right time for your cinnamon rolls homemade. You need yeast for that amazing lift, and quality butter for rich flavor. I went through a few batches before landing on the exact measurements that give you those glorious swirls.
If you’re curious about how some other spiced baked goods turn out, sometimes adding a little spice boost works wonders, like in my apple cinnamon muffins! But for these rolls, stick to my list below, because consistency is key here.
- 1 cup whole milk, warm (about 110°F)
- 2 1/4 teaspoons active dry yeast
- 1/2 cup granulated sugar, divided
- 1/2 cup unsalted butter, softened, divided
- 2 large eggs, room temperature
- 4 cups all-purpose flour, plus more for dusting
- 1 teaspoon salt
- 1/2 cup packed light brown sugar (for filling)
- 2 tablespoons ground cinnamon (for filling)
- 1/4 cup unsalted butter, melted (for filling)
- 8 ounces cream cheese, softened (for frosting)
- 2 cups powdered sugar (for frosting)
- 1 teaspoon vanilla extract (for frosting)
- 1 tablespoon milk or heavy cream (for frosting)
Ingredient Notes and Substitutions for Your Cinnamon Rolls Homemade
Let’s talk specifics so you don’t run into trouble! First, make sure that milk is warm, around 110°F. If it’s too hot, it kills the yeast! If you only have instant yeast, you can skip the activation step and mix it right in with the flour—just don’t forget to account for that missing teaspoon of sugar from the activation step.
Also, your eggs absolutely must be at room temperature. Cold eggs shock the dough and slow down that rise we are counting on. And for the filling? Use the best, most fragrant cinnamon you can find. It makes the whole difference in creating the best cinnamon roll filling flavor!
How to Make Cinnamon Rolls Dough: Yeast Dough Cinnamon Rolls Instructions
Okay, here is where we tackle the actual how to make cinnamon rolls dough. I know yeast can feel intimidating, but this recipe is so resilient. After you mix everything together—the foamy yeast mixture, the softened butter, eggs, flour, and salt—you need to knead it. Don’t skimp on this part! You’re mixing on medium speed (or by hand if you’re feeling energetic!) for about 5 to 7 minutes. You are looking for a dough that feels smooth and elastic, not sticky.
Once it’s smooth, put it into a lightly oily bowl and cover it up. Now comes the waiting game. We let this rise for about an hour to an hour and a half, or until it has visibly doubled in size. If your kitchen is chilly, here’s a little secret I use all the time: put the bowl in your oven, but just turn the oven light *on*. That tiny bit of residual heat is perfect for a cozy rise! You can find my tips for perfect yeast dough here, too.
Shaping and Cutting for Bakery Style Cinnamon Rolls at Home
When the dough is puffy, gently punch it down—feel that satisfying air release! Dust your counter lightly, because now we form the classic shape. Roll that dough out carefully into a large rectangle, aiming for about 12 inches by 18 inches. Don’t worry if it’s not perfect rectangles are not my strong suit either!
Next, brush on that melted butter we set aside, leaving about a half-inch border clear on one of the long sides. That border is important because it helps seal the deal! Now, sprinkle your cinnamon-sugar mix evenly over the butter. Starting from the long edge *opposite* that clean border, roll it up TIGHTLY into a snug log. Pinch that seam closed well—we don’t want any unraveling when these bake!
Once it’s sealed, take a sharp knife or unflavored dental floss and cut the log into 12 even pieces. Place them cut-side up in your prepared pan. Then, we let them hang out again for about 30 to 45 minutes. They should look puffy and feel soft to the touch before they go into the oven. That second rise is what makes them look professional—true bakery style cinnamon rolls at home!
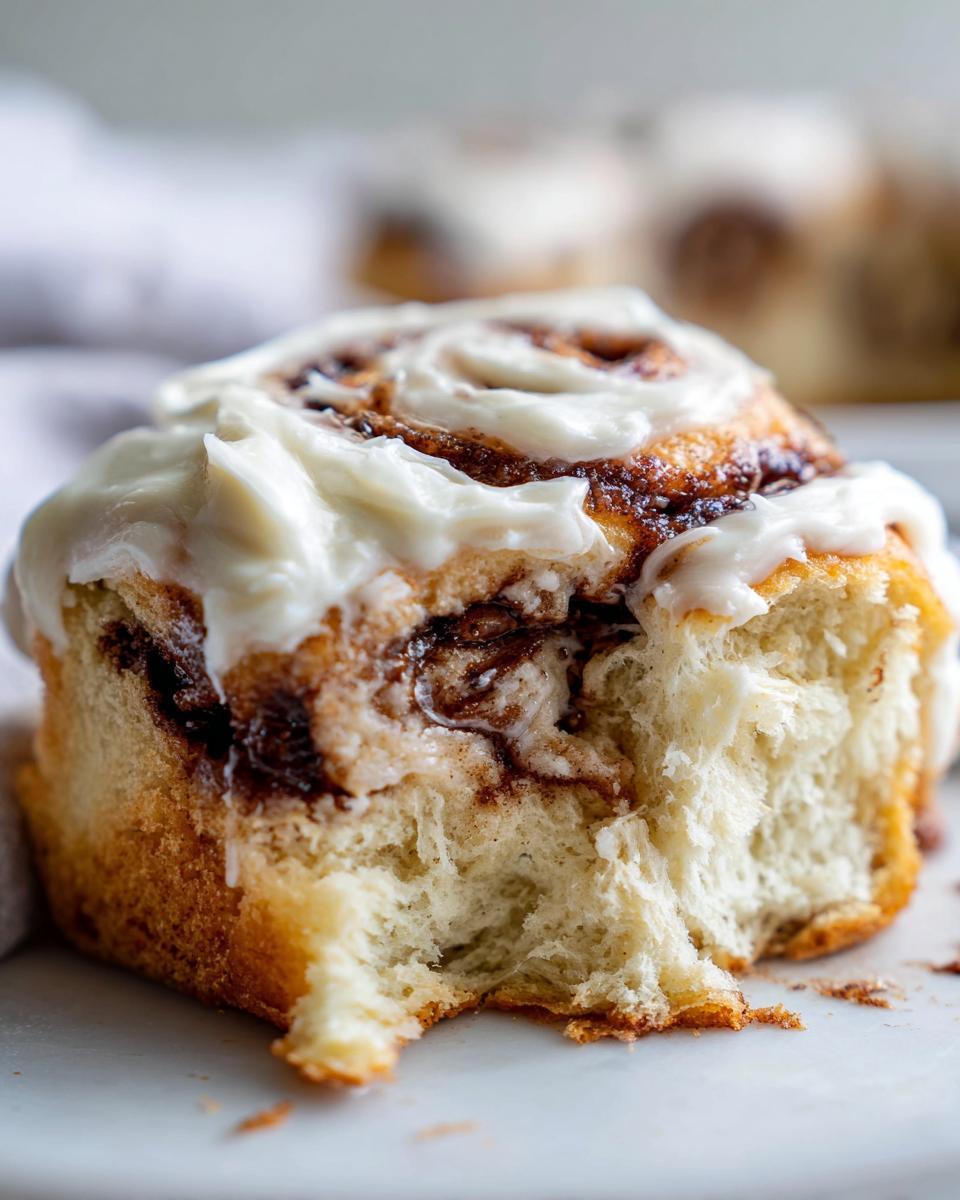
Crafting the Best Cinnamon Roll Filling for Gooey Cinnamon Rolls Recipe
Now we get to the heart of the flavor explosion! This is where we build the signature swirl that makes everyone grab an extra sweet roll. For the best cinnamon roll filling, you simply combine that packed light brown sugar with the ground cinnamon. Don’t skimp on the cinnamon; a rich, flavorful spice mix is non-negotiable for these babies!
You’ll brush that melted butter over the dough first, and then layer this sugar mix on top; it melts right into the butter to create the perfect sticky base. I also have a trick for anyone who dreams of extra gooey bottoms – and you can find out more about that in the next section on baking! If you love spiced flavors, you might also enjoy my recipe for cinnamon sugar pecans while you wait for your rolls to rise.
Baking Homemade Sweet Rolls: Timing and Temperature for Cinnamon Rolls Homemade
This part is the moment of truth! You’ve done all the hard work with the kneading and the rising, so we don’t want to mess it up now. Set your oven right now to 375°F (190°C). Make sure it’s fully preheated before those puffy rolls even think about going inside. Oven temperature consistency is everything when we are trying to achieve those softest homemade sweet rolls.
Bake the rolls for about 20 to 25 minutes. You are looking for them to be beautifully golden brown on top, but here’s the insider tip that separates the good rolls from the *amazing* rolls: don’t just rely on sight!
If you have an instant-read thermometer—and I highly recommend one for all your baking homemade sweet rolls adventures—you want the center of a roll to hit about 200°F. If they hit that temperature and they look perfectly golden, pull them out! Overbaking is the number one killer of moist cinnamon rolls, so better slightly underdone than dry, right?
If you’re interested in trying another baked good with a bit of spiced warmth while these are in the oven, you might check out my recipe for apple coffee cake—it’s a classic that always gets rave reviews!
Making Homemade Cream Cheese Frosting for Rolls
We’re almost done, and honestly, this part defines the whole experience! Slathering that tangy, sweet frosting on while the rolls are still warm is the best sensation. Forget the stuff in a can; making your own homemade cream cheese frosting for rolls takes literally five minutes, and the flavor payoff is huge!
First, and this is key, make sure your cream cheese is actually softened! If it’s even slightly cold, you will end up with lumps, and nobody wants a lumpy frosting swirl.
Take your softened cream cheese and beat it until it’s smooth. Then, start adding your powdered sugar slowly. I always beat it on a low speed first so I don’t end up with a sugar cloud explosion in my kitchen—trust me on this one. Once it’s mostly incorporated, add your vanilla extract, and then begin adding milk or heavy cream just a tiny bit at a time until you hit that perfect pourable, yet thick, consistency.

If you find yourself leaning toward a thinner glaze, add another splash of milk until it drizzles exactly how you like it. If you accidentally go too thin (oops!), just beat in a little more powdered sugar. If you prefer a slightly different sweet topping sometime, my recipe for vanilla buttercream is also super simple to adjust, but I always go back to the cream cheese tang for these rolls!
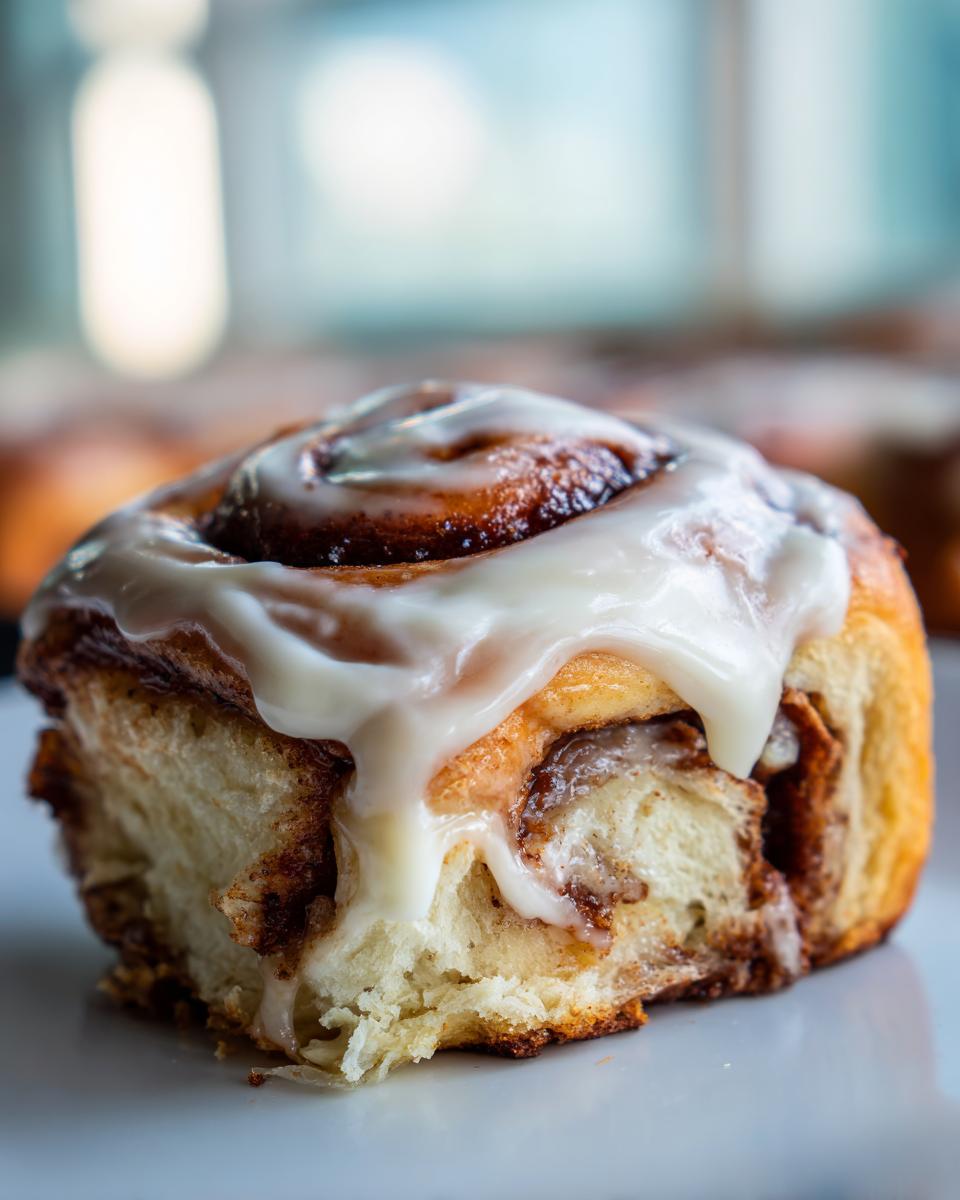
Making Cinnamon Rolls Step by Step: Final Assembly and Serving
We’re almost at the finish line, and this last step is the one I live for! Once your rolls come out of the oven and they are perfectly golden brown, you cannot wait too long to frost them. That slight warmth is what allows the cream cheese frosting to melt just a tiny bit and seep down between those luscious swirls. It’s the key to that gooey texture everyone fights over!
Don’t let them cool completely, or the frosting will just sit on top looking stiff. As soon as you can handle the pan safely, grab your frosting and spread it liberally across the entire top surface. It’s a wonderful feeling to apply that final touch to your beautiful cinnamon rolls homemade. Trust me, frosting warm rolls guarantees the softest outcome. Enjoy them while they are warm—that’s the very best way to eat them! If you need more ideas for your next brunch spread, take a look at my collection of breakfast and brunch recipes.
Troubleshooting Common Issues with Cinnamon Rolls Homemade
Okay, let’s talk about the moments when things don’t go exactly to plan. It happens to the best of us, even me! Baking involves science, and sometimes the humidity or the temperature of your kitchen throws things off. But please don’t stress! Every problem with your cinnamon rolls homemade has a fix, and we are going to walk through the most common ones right now so you can still enjoy those sweet rolls.
If you followed the recipe exactly but you still ended up with dry rolls, that’s usually an over-baking issue. Remember what I said about checking that internal temperature? If you catch them right at 200°F, they won’t dry out on you. You can always add more frosting to save a slightly firmer roll, but you can’t add moisture back once it’s gone!
Why Did My Cinnamon Rolls Not Rise?
This is almost always yeast trouble. If your yeast didn’t foam up when you added the warm milk, that’s your first clue—the milk was either way too hot and killed the yeast, or the yeast itself was old. If you suspect a cold kitchen, that second rise might take two hours instead of 45 minutes!
If you find your kitchen is always cold, especially in the winter months, remember my little trick? Put that covered bowl in the turned-off oven with just the light on. That gentle, steady warmth is the perfect environment for yeast to happily do its job and get you those beautiful, high rolls! Don’t let a slow rise discourage you; patience is part of the process.
Frequently Asked Questions About Making Cinnamon Rolls Homemade
I know you might still have questions floating around, and that’s totally normal when you’re diving into something brand new like making cinnamon rolls homemade from scratch. I’ve compiled the things folks ask me most often after they read through the main recipe. Think of this as your final little reassurance session before you pull those perfect rolls out of the oven!
My goal here is to make sure you feel totally ready to tackle these, whether you’re looking for an easy scratch cinnamon rolls method or you’re aiming for that award-winning, holiday centerpiece. If you are looking for other simple ways to make treats, check out my guide to easy scratch cinnamon rolls for other inspiration!
Can I make this a no-fail cinnamon roll recipe using instant yeast?
Yes, absolutely, you can! In fact, for some folks, using instant yeast is what finally makes this a truly no-fail cinnamon roll recipe because you don’t have to worry about the proofing step.
If you’re using instant yeast (also called rapid-rise), you don’t need to activate it in the milk first. Just skip Step 1 entirely! Mix the instant yeast right along with your flour, sugar, and salt, and then add your wet ingredients as normal. The dough will rise beautifully anyway, just maybe a tiny bit faster in the first rise since the yeast is already perfectly dispersed.
How far ahead can I prepare these easy scratch cinnamon rolls?
This is one of my favorite things about these rolls—they are brilliant for make-ahead mornings! If you want to serve these for a special brunch, you can definitely make these easy scratch cinnamon rolls ahead of time.
Follow all the steps through Step 7, cutting the rolls and arranging them neatly in your greased pan. Instead of letting them do that second 30-45 minute rise on the counter, cover the pan tightly with plastic wrap and pop the whole thing into the refrigerator. They can chill there overnight, which actually builds a deeper flavor!
The next morning, take the chilled rolls out of the fridge (while still covered) and let them sit on your counter for about an hour to warm up slightly before baking. Then, bake as directed! This method gives you that fresh-out-of-the-oven taste without having to wake up at 4 AM.
PrintBest Homemade Cinnamon Rolls Recipe: Soft and Gooey Bakery Style

Learn how to make the softest, fluffiest homemade cinnamon rolls from scratch with a rich, flavorful filling and classic cream cheese frosting. This no-fail recipe delivers bakery style sweet rolls every time.
- Prep Time: 45 min
- Cook Time: 25 min
- Total Time: 2 hours 55 min
- Yield: 12 servings 1x
- Category: Breakfast
- Method: Baking
- Cuisine: American
- Diet: Vegetarian
Ingredients
- 1 cup whole milk, warm (about 110°F)
- 2 1/4 teaspoons active dry yeast
- 1/2 cup granulated sugar, divided
- 1/2 cup unsalted butter, softened, divided
- 2 large eggs, room temperature
- 4 cups all-purpose flour, plus more for dusting
- 1 teaspoon salt
- 1/2 cup packed light brown sugar (for filling)
- 2 tablespoons ground cinnamon (for filling)
- 1/4 cup unsalted butter, melted (for filling)
- 8 ounces cream cheese, softened (for frosting)
- 2 cups powdered sugar (for frosting)
- 1 teaspoon vanilla extract (for frosting)
- 1 tablespoon milk or heavy cream (for frosting)
Instructions
- Activate the yeast: In a large bowl, combine the warm milk, yeast, and 1 teaspoon of the granulated sugar. Let stand for 5 to 10 minutes until foamy.
- Prepare the dough: Add the remaining granulated sugar, 1/4 cup of the softened butter, eggs, flour, and salt to the yeast mixture. Mix with a stand mixer or by hand until a shaggy dough forms. Knead for 5 to 7 minutes until the dough is smooth and elastic.
- First rise: Place the dough in a lightly oiled bowl, turning to coat. Cover with plastic wrap and let it rise in a warm place for 1 to 1.5 hours, or until doubled in size.
- Make the filling: While the dough rises, mix the brown sugar and ground cinnamon in a small bowl. Set aside.
- Shape the rolls: Gently punch down the risen dough. Turn it out onto a lightly floured surface. Roll the dough into a large rectangle, about 12 by 18 inches.
- Spread butter and filling: Brush the melted butter evenly over the dough surface, leaving a small border on one long edge unbuttered. Sprinkle the cinnamon-sugar mixture evenly over the buttered surface.
- Roll and cut: Starting from the long edge opposite the unbuttered border, tightly roll the dough into a log. Pinch the seam closed. Cut the log into 12 equal pieces.
- Second rise: Arrange the rolls, cut-side up, in a greased 9×13 inch baking pan. Cover loosely and let rise again in a warm spot for 30 to 45 minutes, until puffy.
- Bake: Preheat your oven to 375°F (190°C). Bake for 20 to 25 minutes, or until golden brown.
- Make the frosting: While the rolls bake, beat the softened cream cheese, powdered sugar, vanilla extract, and 1 tablespoon of milk until smooth and creamy. Add more milk if needed for desired consistency.
- Frost and serve: Remove the rolls from the oven. Immediately spread the cream cheese frosting generously over the warm rolls. Let them cool slightly before serving.
Notes
- For extra soft rolls, use room temperature ingredients, especially the milk and eggs.
- If your kitchen is cold, place the dough in a turned-off oven with the light on for the first rise.
- To prevent dry rolls, do not overbake; the internal temperature should reach about 200°F.
- If you want a gooier bottom, melt the remaining 1/4 cup of butter and mix it with 1/4 cup of brown sugar. Pour this mixture into the bottom of the pan before placing the cut rolls on top.
Nutrition
- Serving Size: 1 roll
- Calories: 450
- Sugar: 45
- Sodium: 300
- Fat: 24
- Saturated Fat: 14
- Unsaturated Fat: 10
- Trans Fat: 0.5
- Carbohydrates: 55
- Fiber: 2
- Protein: 7
- Cholesterol: 75