
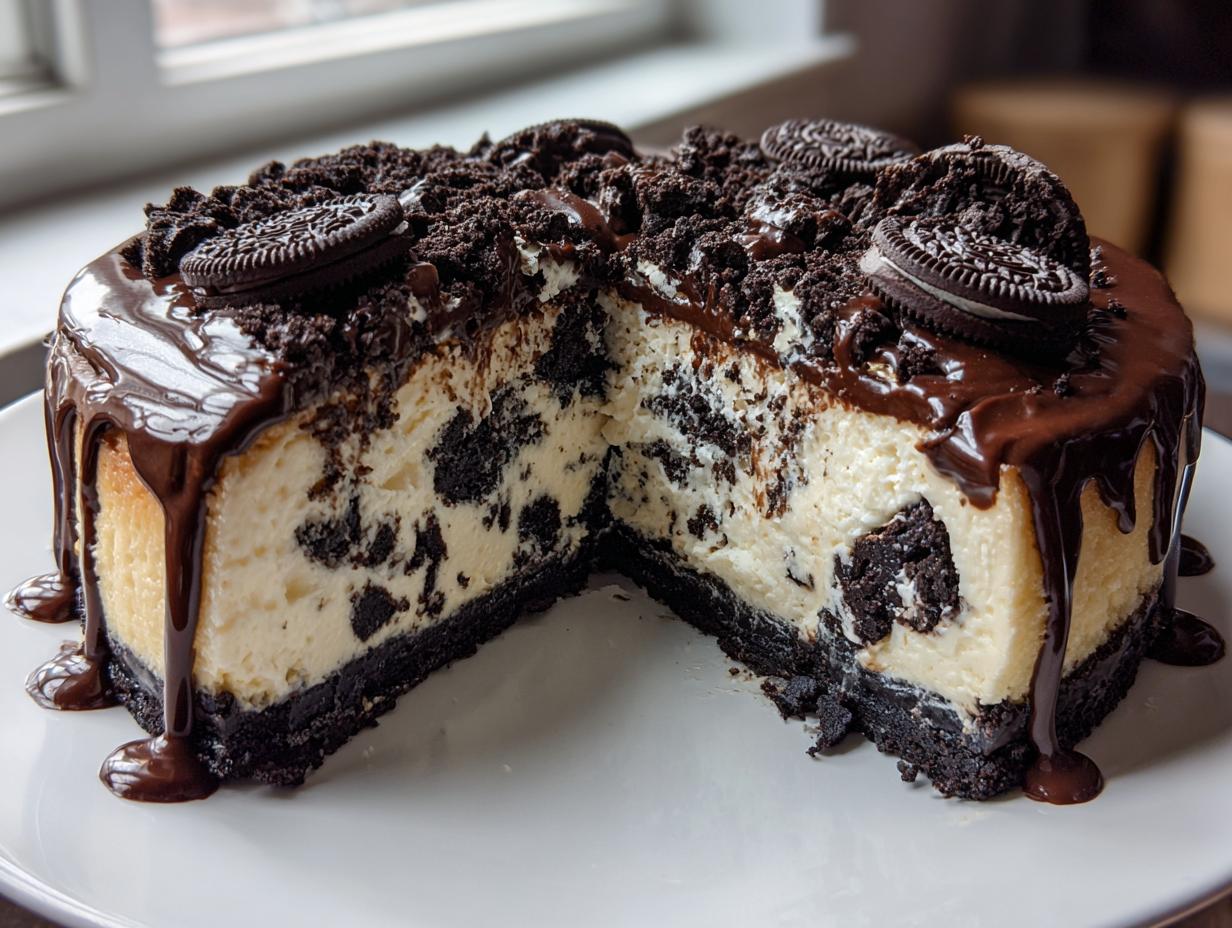
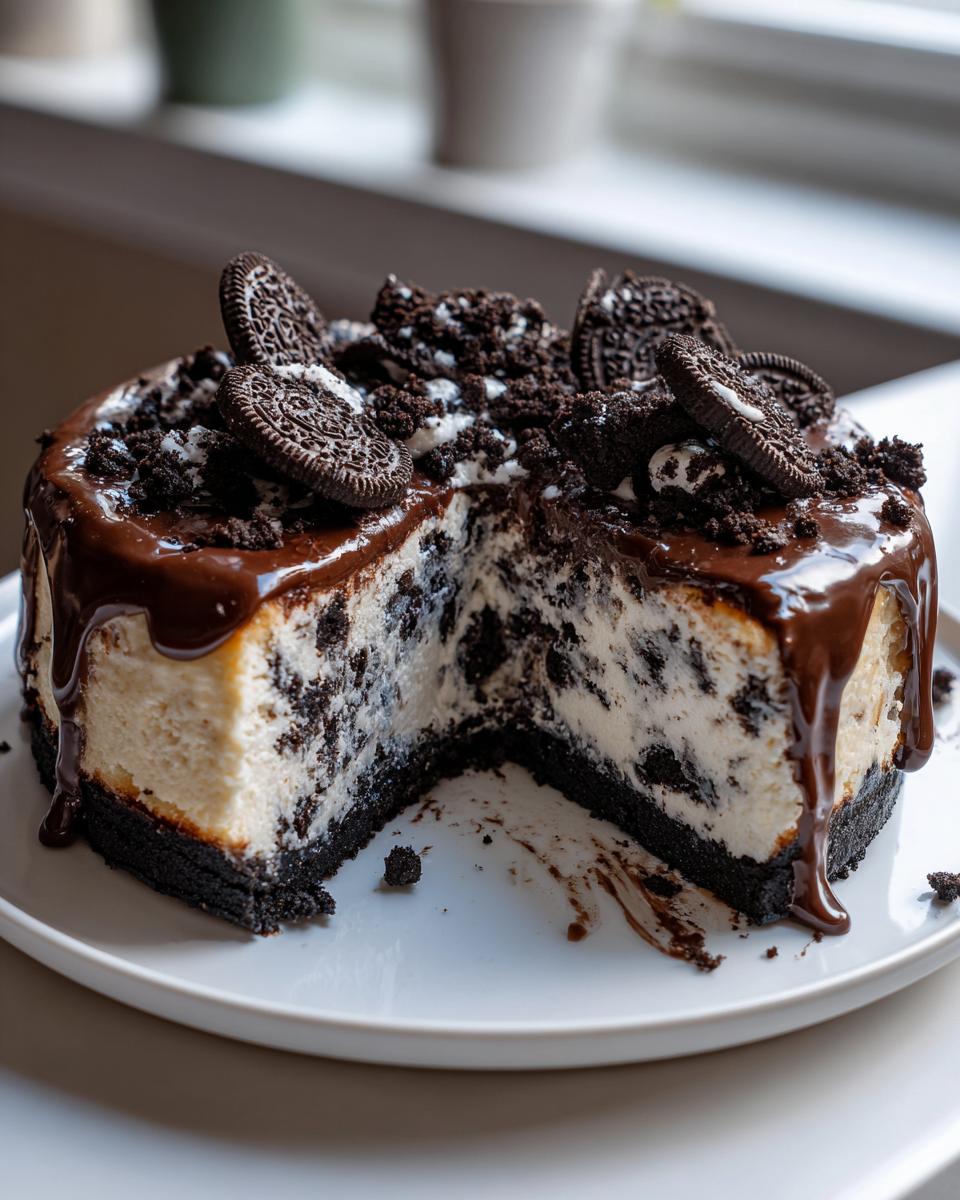
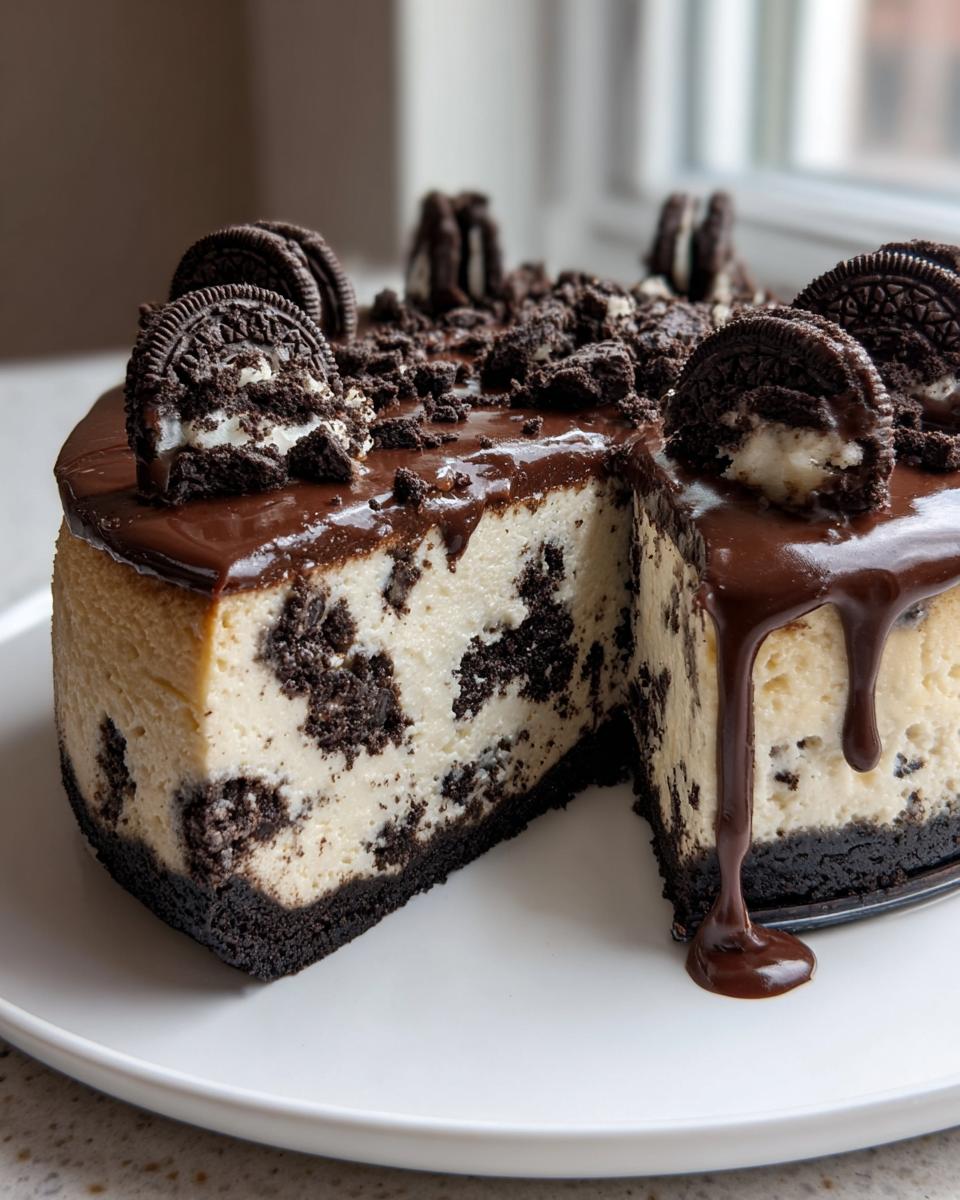
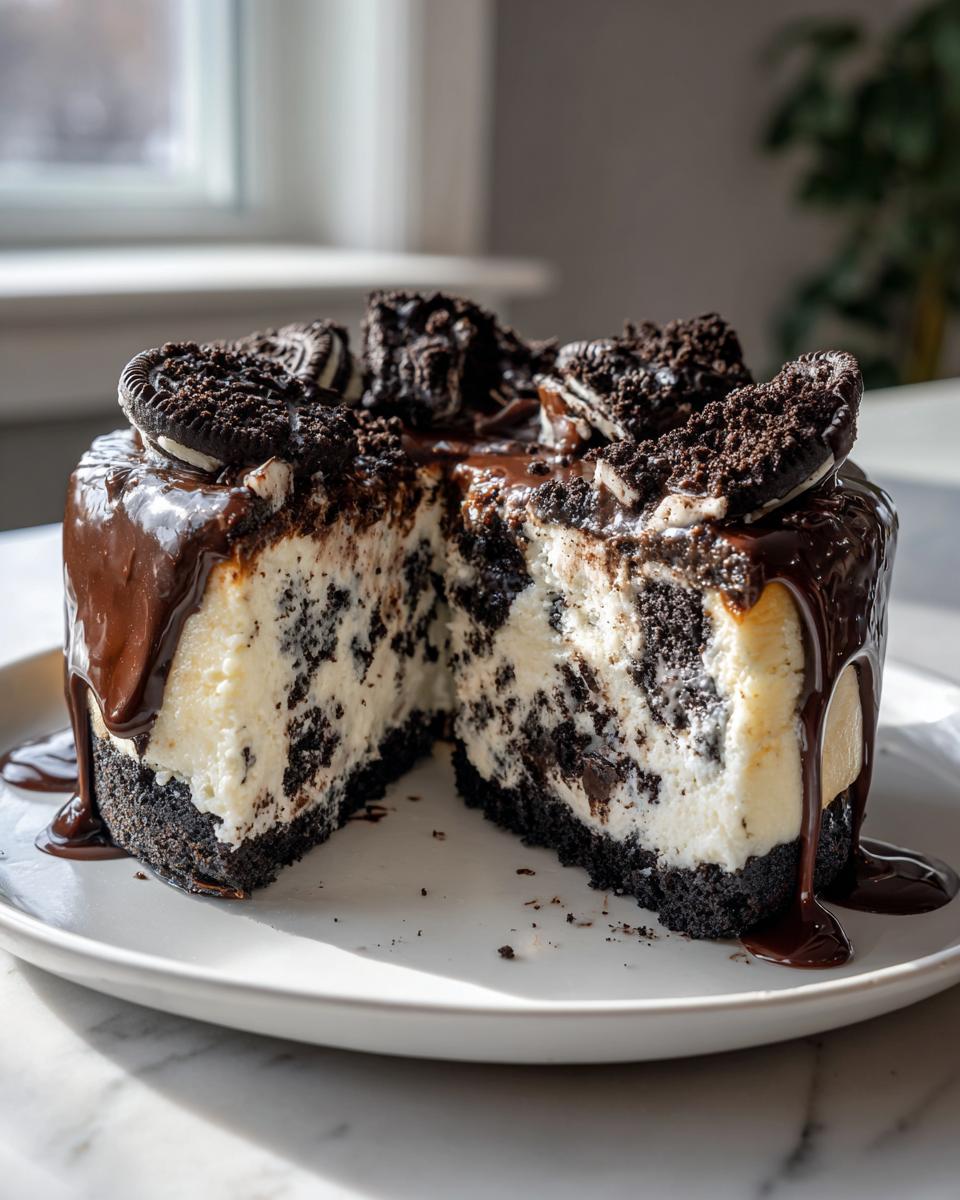
Have you ever stared down a bakery case, eyes wide, wishing you could recreate that perfect, impossibly rich slice of dessert magic at home? Well, stop wishing, because I’m here to tell you, you absolutely can! After months of testing batches—and I mean *months*—I finally nailed it. We are making The Ultimate Creamy Baked Oreo Cheesecake with Chocolate Ganache Topping. This isn’t just any dessert; this is the kind of heavy, decadent showstopper that makes everyone ask for the recipe. If you want a truly supreme oreo cheesecake that tastes like it came from a famous cheesecake house, grab your springform pan, because this one is tested, proven, and going to be your new favorite holiday treat! Don’t forget to bookmark all my best dessert recipes while you’re here for future ideas.
- Why This Baked Oreo Cheesecake is Your New Favorite Dessert
- Ingredients for the Ultimate Oreo Cheesecake
- How to Prepare This Baked Oreo Cheesecake
- Tips for a Perfect Homemade Oreo Cheesecake
- Oreo Dessert Recipe Variations and Serving Suggestions
- Storage and Reheating Instructions
- Frequently Asked Questions About Oreo Cheesecake
- Nutritional Estimates for This Oreo Cheesecake
- Share Your Ultimate Oreo Dessert Creation
Why This Baked Oreo Cheesecake is Your New Favorite Dessert
Listen, I know there are a million recipes out there, but this one stands above the rest, truly. It is my absolute favorite Decadent Cheesecake Dessert for a reason. I spent so much time perfecting the technique so you don’t have to worry about failed attempts. This recipe offers foolproof results!
- If you follow my cooling steps, you get the richest, silkiest slice every single time.
- This version is sturdy enough for cutting neat slices but still melts in your mouth beautifully.
Achieving Ultra-Creamy Texture
The secret to getting that ridiculously smooth, no-grit finish that makes a Creamy Oreo Cheesecake so famous? It’s all about temperature! You must let your cream cheese sit out for nearly an hour. Seriously, it needs to be completely soft. When the ingredients combine gently, that’s when you get pure, velvety magic.
Perfect Oreo Crust Dessert Base
We can’t forget the base! I treat the crust like a tiny baked cookie layer before the filling even goes in. It needs that tiny pre-bake to firm up beautifully. This buttery, crisp foundation keeps the whole structure sound and gives you that perfect crunch contrasting the smooth filling in every single bite of your oreo cheesecake.
Ingredients for the Ultimate Oreo Cheesecake
Okay, let’s talk supplies. Getting the right stuff here is half the battle won! I’ve broken down everything you need. Remember, following my ingredient notes—especially about temperature—is crucial for that ultra-creamy texture everyone raves about. It’s worth taking the extra five minutes to ensure your cream cheese is properly softened!
If you’ve got your moisture game down, you might also love my tips on keeping cakes from drying out! You can check out my secrets for the perfect moist carrot cake, because the principles are similar!
For the Buttery Oreo Crust
This part is so simple, but it needs to be done right so it holds up against that heavy filling. You will need:
- 1 3/4 cups finely crushed Oreo cookies (It works out to about 25 cookies, but weigh it if you can!)
- 1/4 cup unsalted butter, melted
For the Creamy Oreo Cheesecake Filling
This is where we build the body of our decadent dessert. Make sure you have your tools ready for this step!
- 3 (8 ounce) packages full-fat cream cheese, softened to true room temperature—I stress this!
- 1 1/2 cups granulated sugar
- 1 teaspoon vanilla extract
- 1/4 teaspoon salt
- 4 large eggs, all at room temperature
- 1 cup crushed Oreo cookies (These go right into the batter!)
For the Chocolate Ganache Topping
This topping is pure decadence and makes the presentation pop for any party or holiday gathering. You’ll also need a few things for that final flourish.
- 1/2 cup heavy whipping cream
- 4 ounces semi-sweet chocolate, chopped
- 1 tablespoon light corn syrup (Optional, but it really gives you that professional, glossy shine!)
- 1/2 cup whipped topping or fresh whipped cream, for garnish
- Extra Oreo cookies, for final garnish
How to Prepare This Baked Oreo Cheesecake
Alright, this is where the magic really happens, but you need to treat this step with respect—cheesecake loves a gentle hand! We’re using a water bath because, trust me, this step is the secret weapon for preventing those miserable surface cracks that ruin a gorgeous dessert. While you’re getting your pan ready for the bath, I highly recommend saving this easy New York cheesecake recipe; the techniques overlap perfectly!
Crust Preparation and Preheating
First things first: Pre-heat your oven to 325°F (160°C). Now, don’t skip wrapping that 9-inch springform pan! Use heavy-duty foil—wrap the bottom really thoroughly because it sits in water. Mix your crust ingredients and press that cookie mixture firmly into the bottom. Pop that crust into the oven for exactly 10 minutes. Take it out and let it cool just a little while you work on the filling.
Mixing the Creamy Oreo Cheesecake Filling
Get that softened cream cheese and beat it alone until it is completely, undeniably smooth—no lumps allowed! Then, add your sugar, vanilla, and salt, mixing just until combined. Here’s the crucial part for a perfect oreo cheesecake texture: add your four room-temperature eggs one at a time, keeping the mixer speed low. Seriously, low speed! Overmixing air in here is what causes cracks later. Once the eggs are barely blended, take the mixer off and gently fold in that extra cup of crushed Oreos with a spatula. We want them suspended, not smashed into oblivion.
Baking with the Water Bath and Cooling
Carefully place your foil-wrapped pan inside a larger roasting pan. Now, pour some really hot water into that outer pan so it comes halfway up the sides of your cheesecake pan. Bake it for about 60 to 75 minutes. You want the edges to look set, but when you give the pan a little nudge, the center two inches should jiggle softly, like Jell-O. Once done, turn the oven OFF! Crack the door open slightly and let the whole thing sit inside for a full hour. This slow cooling step is non-negotiable for a crack-free result!
Making and Applying the Ganache
After the slow cool, take the cheesecake out, remove the foil, and let it cool completely on a rack for an hour before you cover it and move it to the fridge. It needs at least six hours, but overnight is best for that truly decadent texture. When you’re ready, heat the cream until it simmers. Pour that hot cream over your chopped chocolate and let it sit undisturbed for five minutes—I know, it’s hard to wait! Whisk it gently until it’s glossy, add the corn syrup if you want that extra shine, and spread it gently over the chilled cake. Don’t top it until it’s completely cold!

Tips for a Perfect Homemade Oreo Cheesecake
Even though this recipe is designed to be easy, achieving that truly spectacular, melt-in-your-mouth quality—the kind that makes it the Best Oreo Cheesecake Recipe you’ll ever try—comes down to a couple of little secrets. I’ve learned these the hard way, so pay attention! These tips separate a good cheesecake from an absolutely incredible one.
Temperature Control for Cream Cheese Desserts
I can’t stress this enough: your cream cheese and your eggs need to be at room temperature. If you try to mix cold cream cheese, you’ll end up with tiny, stubborn lumps you can’t beat out, and that totally ruins the dreamy quality we are aiming for here. They blend so much smoother and won’t require you to overmix the batter once the sugar is in. Trust me on this—it’s worth planning ahead!
Avoiding Cracks in Your Oreo Cheesecake
Cracks are the nightmare of every baker, right? But for this oreo cheesecake, we have a three-stage defense plan. First, mix those eggs in gently, only on low speed—we are not whipping air in there! Second, the water bath is mandatory; it creates a steamy, gentle environment for baking. And finally, the slow cool-down inside the turned-off oven gives the cake time to relax. You can even check out how the folks at Handle the Heat approach crack prevention; we all want a beautiful top!
Keep these tips in mind, and you’ll be serving up flawless desserts every time. Feel free to save these important reminders to your favorites from my dessert collection!
Oreo Dessert Recipe Variations and Serving Suggestions
The beauty of mastering this ultimate oreo cheesecake is that you can totally tweak it to whatever fits your event! Sometimes I don’t want to commit a whole day to a big bake, and other times I need something perfectly portioned for a massive crowd. I’ve experimented with loads of small changes, and they all still deliver that core, chocolatey happiness.
Making Mini Oreo Cheesecakes
If you need quick party food that’s easy to grab, whipping up mini versions is genius. Skip the springform pan and use a standard muffin tin lined with paper liners. The best part? The baking time shrinks significantly because the heat penetrates so fast. You’re looking at maybe 18 to 22 minutes baking time, but you still need to use the water bath if you can manage it! They cool much faster too. These are fantastic for quick Party Dessert Ideas.
Serving Suggestions for This Decadent Cheesecake Dessert
When I serve this rich, dense cake—maybe I’ve gone all out with that chocolate ganache—I like to balance the richness with something bright on the side. A side of tart raspberry coulis or even just some fresh sliced strawberries works wonders to cut through the sweetness. If you’re serving it after a heavy meal, a simple, strong cup of black coffee or espresso is the *perfect* partner. It really lets that creamy filling shine without overwhelming your palate. It transforms it from just a great dessert into a truly elegant Oreo dessert recipe experience.
Storage and Reheating Instructions
Once you’ve mastered making this magnificent oreo cheesecake, you have to know how to keep it perfect! Honestly, cheesecake is always best the day after it sets up in the fridge because the flavors really deepen up overnight. Once it’s completely chilled and topped with that ganache, cover it securely with plastic wrap or foil.
Keep it in the refrigerator; it’s good for up to four or five days! Now, I know some people try to reheat leftover baked treats, but please don’t try that with cheesecake. Heating it up messes up that delicate, creamy structure we worked so hard for. Just enjoy those cold, sweet slices!
Frequently Asked Questions About Oreo Cheesecake
I always get so many questions once people try out my recipes! It’s exciting seeing everyone dive into making their own showstopper dessert. Here are some of the things I hear most often about making the absolute Best Oreo Cheesecake Recipe come out perfectly every time. If you’re looking for something quicker for your next party, I have a whole section dedicated to appetizers and snacks, but let’s stick to cheesecake perfection for now!
Can I make this a No Bake Oreo Cheesecake instead?
That’s a common question, especially when it’s hot outside! You absolutely can make a no-bake version, but just be aware that the texture will be completely different. This recipe delivers that dense, rich, slightly velvety texture because we bake it carefully. A no-bake version leans more towards being lightweight and mousse-like. If you’re craving speed, search out a dedicated No Bake Oreo Cheesecake recipe, but if you want the ultimate decadence we built here, stick to the water bath and the oven!
How do I get the Cheesecake Factory Style Recipe texture?
Ah, yes, that famous density! You get that incredible texture by respecting the bake and the chill time. It’s not just about the ingredients—it’s about patience. Make sure you stick rigidly to the slow cooling process inside the turned-off oven, and then let that cake chill for a full overnight sleep. Skipping those steps means you lose that signature heft and smoothness. Follow my instructions precisely for your own authentic Cheesecake Factory Style Recipe result!
Can I freeze leftover Oreo Cheesecake?
Good news! Yes, you certainly can freeze this amazing oreo cheesecake, but you must do it before you put the ganache on. Once it’s baked and cooled, wrap that cheesecake tightly—and I mean *tightly*—in two layers of plastic wrap, followed by a final layer of foil. Freeze it for up to a month. When you want to enjoy a slice, just let it thaw overnight in the fridge first. You can add the chocolate topping once it’s fully thawed and cold again. If you’re curious about other ways to save dessert, check out the tips on their Cheesecake Factory Oreo Cheesecake Recipe page for historical context on these favorites!
Nutritional Estimates for This Oreo Cheesecake
Okay, friends, let’s be real—this is pure indulgence, not exactly a diet food! But, if you’re a planner like me, it helps to have an idea of what you’re eating. Here are the general estimates for one delicious slice of this rich oreo cheesecake. Since we aren’t using light ingredients, these numbers reflect the full-fat, glorious version we made!
Just keep this little note in mind: these numbers are estimates. They truly depend on exactly which brand of Oreos and cream cheese you grab at the store. Use these figures as a good ballpark figure for your magnificent Cream Cheese Desserts!
- Serving Size: 1 slice
- Calories: 450
- Sugar: 35g
- Sodium: 320mg
- Fat: 30g
- Protein: 6g
Share Your Ultimate Oreo Dessert Creation
I have shared every single secret I have for achieving this flawless, unforgettable oreo cheesecake. But honestly, the best part of being in the kitchen is seeing what you all create when you take these recipes and make them your own! I put my heart into these instructions because I truly want you to feel successful and joyful when you pull this beauty out of the oven.
So, once you’ve got your slices served up—maybe after you’ve checked out more of my best dessert recipes for next weekend—I want to hear all about it! Did the ganache set up perfectly? Did your family devour it in five minutes flat? Don’t be shy!
Take a picture of your slice, your beautiful crumb, or just your happy face enjoying it, and tag me on social media! Leave a rating right here on the post, too. Knowing what works for you helps me keep testing and refining these recipes for everyone else. Thank you so much for cooking with me today—I can’t wait to see your stunning Decadent Cheesecake Dessert!
PrintThe Ultimate Creamy Baked Oreo Cheesecake with Chocolate Ganache Topping
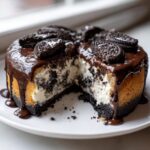
Make this rich, decadent Oreo cheesecake at home. It features a buttery Oreo crust, an ultra-creamy filling studded with crushed cookies, and a simple chocolate ganache topping. This recipe delivers the texture you want for a perfect holiday or party dessert.
- Prep Time: 25 min
- Cook Time: 75 min
- Total Time: 145 min
- Yield: 12 servings 1x
- Category: Dessert
- Method: Baking
- Cuisine: American
- Diet: Vegetarian
Ingredients
- 1 3/4 cups finely crushed Oreo cookies (about 25 cookies)
- 1/4 cup unsalted butter, melted
- 3 (8 ounce) packages full-fat cream cheese, softened to room temperature
- 1 1/2 cups granulated sugar
- 1 teaspoon vanilla extract
- 1/4 teaspoon salt
- 4 large eggs, room temperature
- 1 cup crushed Oreo cookies (for filling)
- 1/2 cup heavy whipping cream
- 4 ounces semi-sweet chocolate, chopped
- 1 tablespoon light corn syrup (optional, for shine)
- 1/2 cup whipped topping or fresh whipped cream, for garnish
- Extra Oreo cookies, for garnish
Instructions
- Preheat your oven to 325°F (160°C). Wrap the outside bottom of a 9-inch springform pan tightly with heavy-duty aluminum foil to prevent water seepage during the water bath.
- Prepare the crust: Combine the finely crushed Oreos and melted butter in a medium bowl. Press the mixture firmly and evenly into the bottom of the prepared springform pan. Bake the crust for 10 minutes. Remove from the oven and let it cool slightly while you prepare the filling.
- Prepare the water bath: Place the foil-wrapped springform pan inside a larger roasting pan.
- Make the filling: In a large bowl, beat the softened cream cheese with an electric mixer on medium speed until completely smooth, about 2 minutes. Scrape down the sides.
- Add the granulated sugar, vanilla extract, and salt. Beat until just combined, being careful not to overmix.
- Add the eggs one at a time, mixing on low speed after each addition until just incorporated. Mix only until the last streak of yolk disappears. Overmixing eggs adds air, which causes cracks.
- Gently fold in the 1 cup of crushed Oreos using a spatula.
- Pour the cream cheese filling over the cooled crust.
- Carefully pour hot water into the roasting pan to reach about halfway up the sides of the springform pan. This is your water bath.
- Bake for 60 to 75 minutes. The edges should look set, but the center 2 inches should still have a slight jiggle when gently nudged.
- Turn off the oven, crack the oven door open slightly, and let the cheesecake cool inside the oven for 1 hour. This slow cooling prevents cracking.
- Remove the cheesecake from the water bath and foil. Let it cool completely on a wire rack at room temperature for about 1 hour.
- Cover the cooled cheesecake loosely with plastic wrap and refrigerate for at least 6 hours, or preferably overnight, before topping and serving.
- Make the chocolate ganache topping: In a small saucepan, heat the heavy whipping cream until it just simmers. Remove from heat.
- Place the chopped chocolate in a heatproof bowl. Pour the hot cream over the chocolate. Let it sit undisturbed for 5 minutes.
- Add the corn syrup (if using) and whisk gently until the mixture is smooth and glossy. Let the ganache cool slightly until it thickens to a spreadable consistency.
- Spread the cooled ganache evenly over the top of the chilled cheesecake. Garnish with extra crushed Oreos or whipped topping before slicing and serving.
Notes
- For the creamiest texture, ensure your cream cheese and eggs are at true room temperature before starting.
- To prevent cracks, do not open the oven door during the initial baking time, and always use the water bath method.
- If you need a faster set time, you can use a no-bake version, but this baked recipe provides the classic, dense texture many seek.
Nutrition
- Serving Size: 1 slice
- Calories: 450
- Sugar: 35g
- Sodium: 320mg
- Fat: 30g
- Saturated Fat: 18g
- Unsaturated Fat: 12g
- Trans Fat: 0.5g
- Carbohydrates: 40g
- Fiber: 1g
- Protein: 6g
- Cholesterol: 105mg