
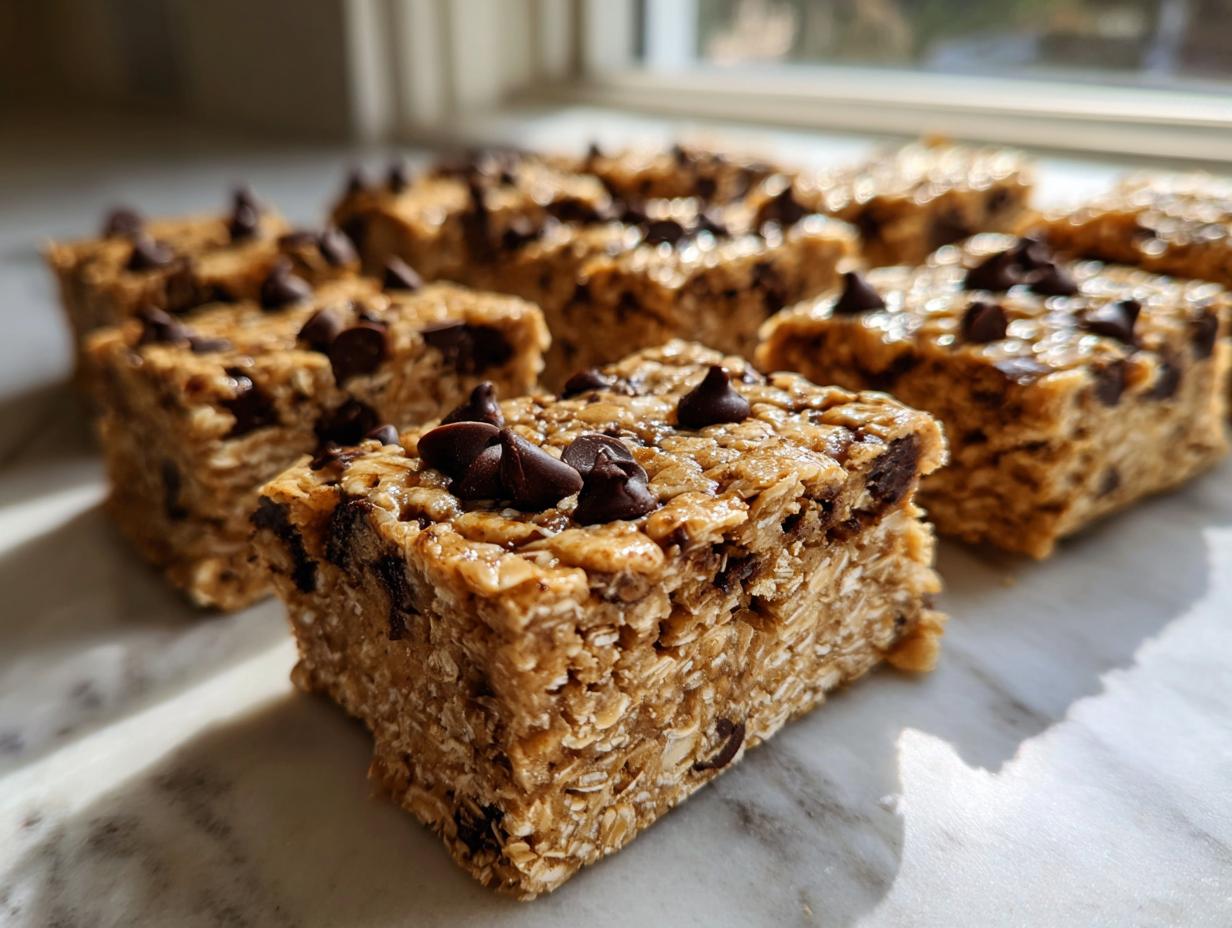
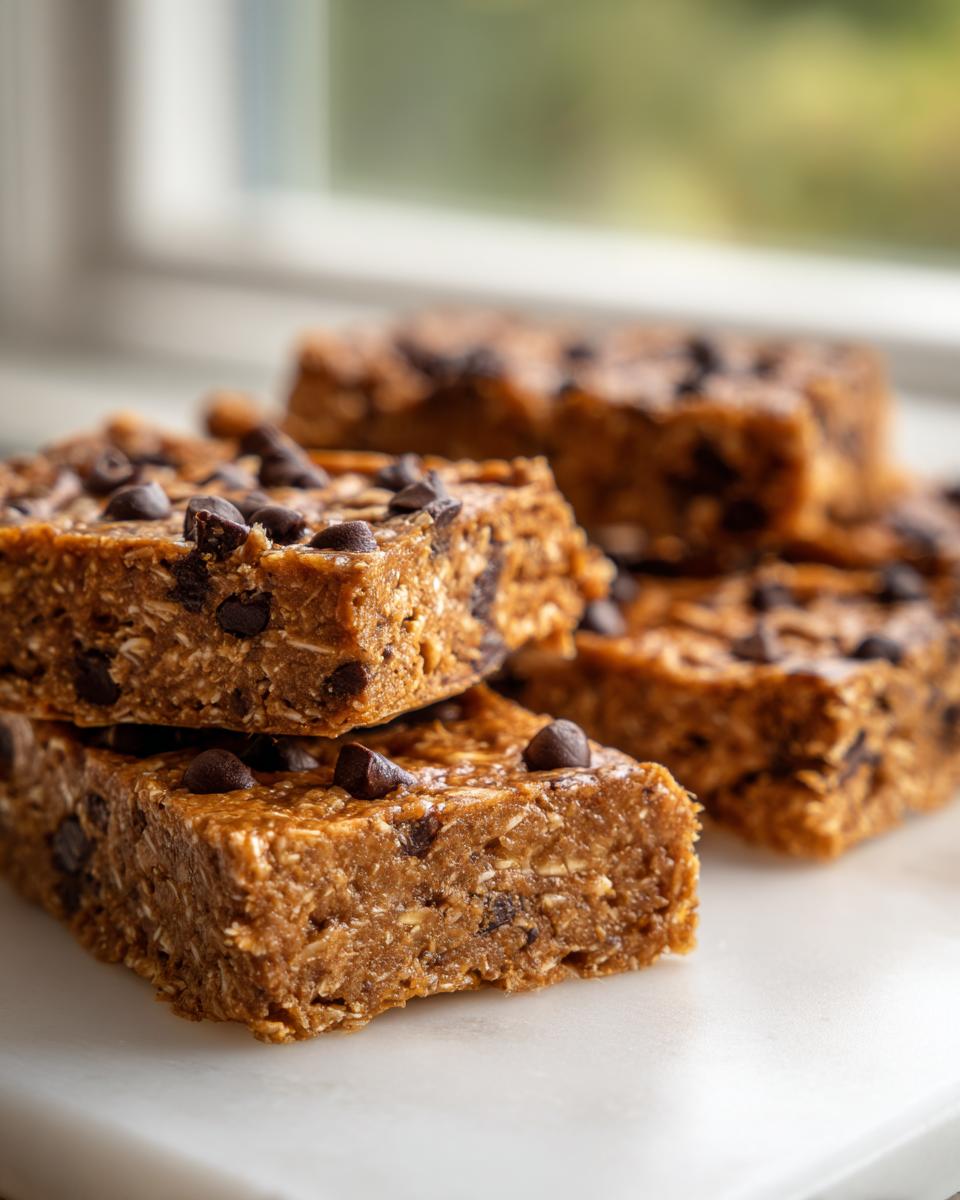
Oh, I totally get it. You’re trying to eat clean, maybe you need something fast after a serious workout, but every store-bought protein bars option tastes like chalk mixed with sugar? It’s frustrating when you need a quick, healthy snack that actually tastes good. Well, stop reaching for those expensive candy bars wrapped in foil! I’m Kate Connolly from Kings Cook, and I promise you, we are ditching the additives today. I’ve perfected these Easy No-Bake Peanut Butter Chocolate Chip Protein Bars using just simple ingredients you probably already have. As I always say here on the blog: if I put a recipe out, it has to work reliably, and these delightful treats are the absolute best homemade protein bars you’ll ever stir together. No oven required!
- Why You Need These Easy No-Bake Protein Bars
- Gathering Ingredients for Your Homemade Protein Bars
- How to Make Easy Protein Bars Recipe Without Baking
- Tips for Success with Homemade Protein Bars
- Storing and Serving Your Protein Bars for Workout Fuel
- Frequently Asked Questions About These Protein Bars
- Estimated Nutritional Data for Protein Bars
- Share Your Kitchen Creations
Why You Need These Easy No-Bake Protein Bars
Listen, convenience shouldn’t mean compromising on taste or quality. These no bake protein bars are my go-to for busy weeks because I can whip them up in under ten minutes before I even start cleaning up the mixing bowl! Plus, they pack a serious punch. They’re so much cleaner and tastier than anything you grab off the shelf. Forget the dry, crumbly mess you get from the gym vending machine; these are the real deal.
Here is why they are about to become your new favorite thing:
- Perfect for Meal Prep Protein Bars: Seriously, make a batch on Sunday, and you’re set until Friday. They are the ultimate make ahead protein snacks for grabbing on your way out the door. They are way better than most store-bought finds!
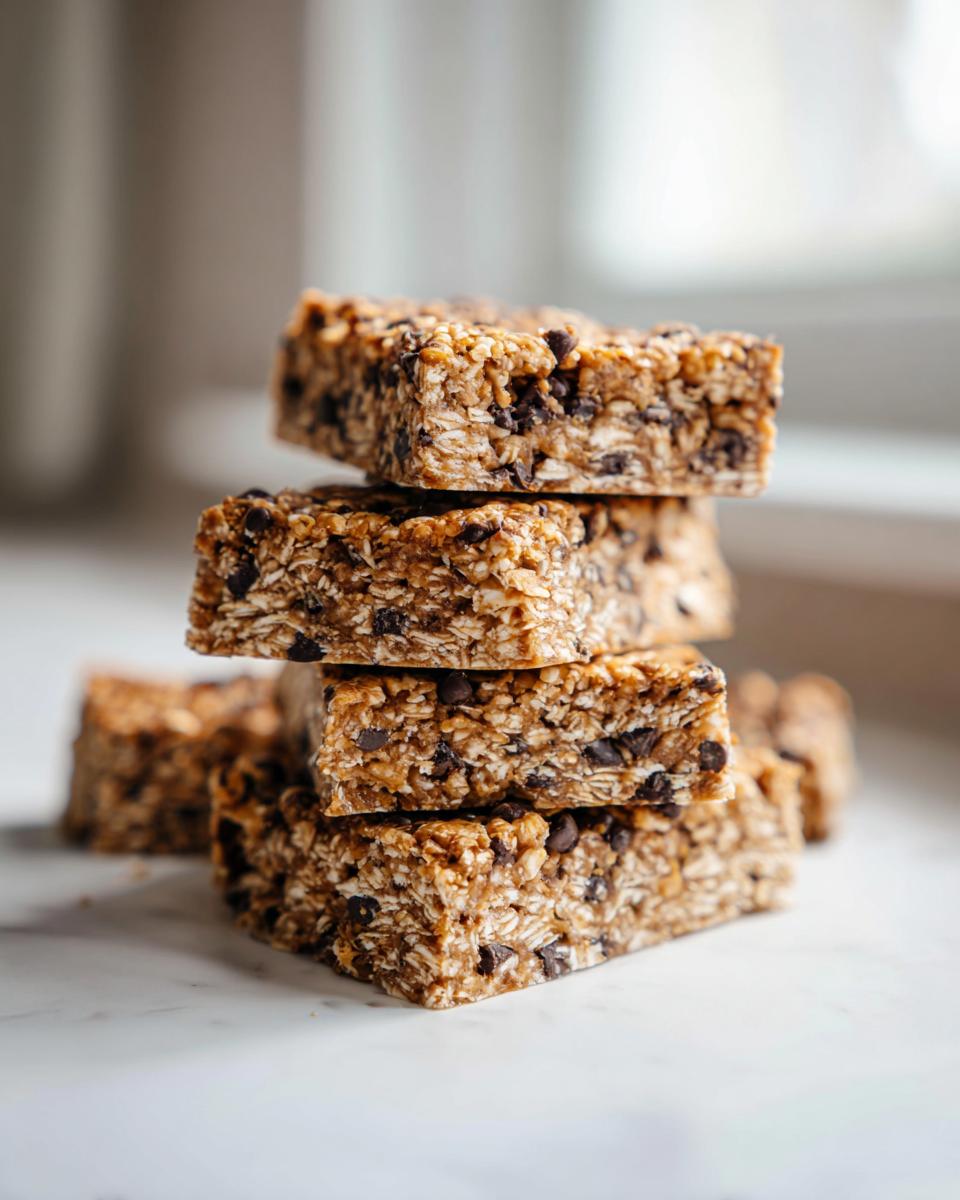
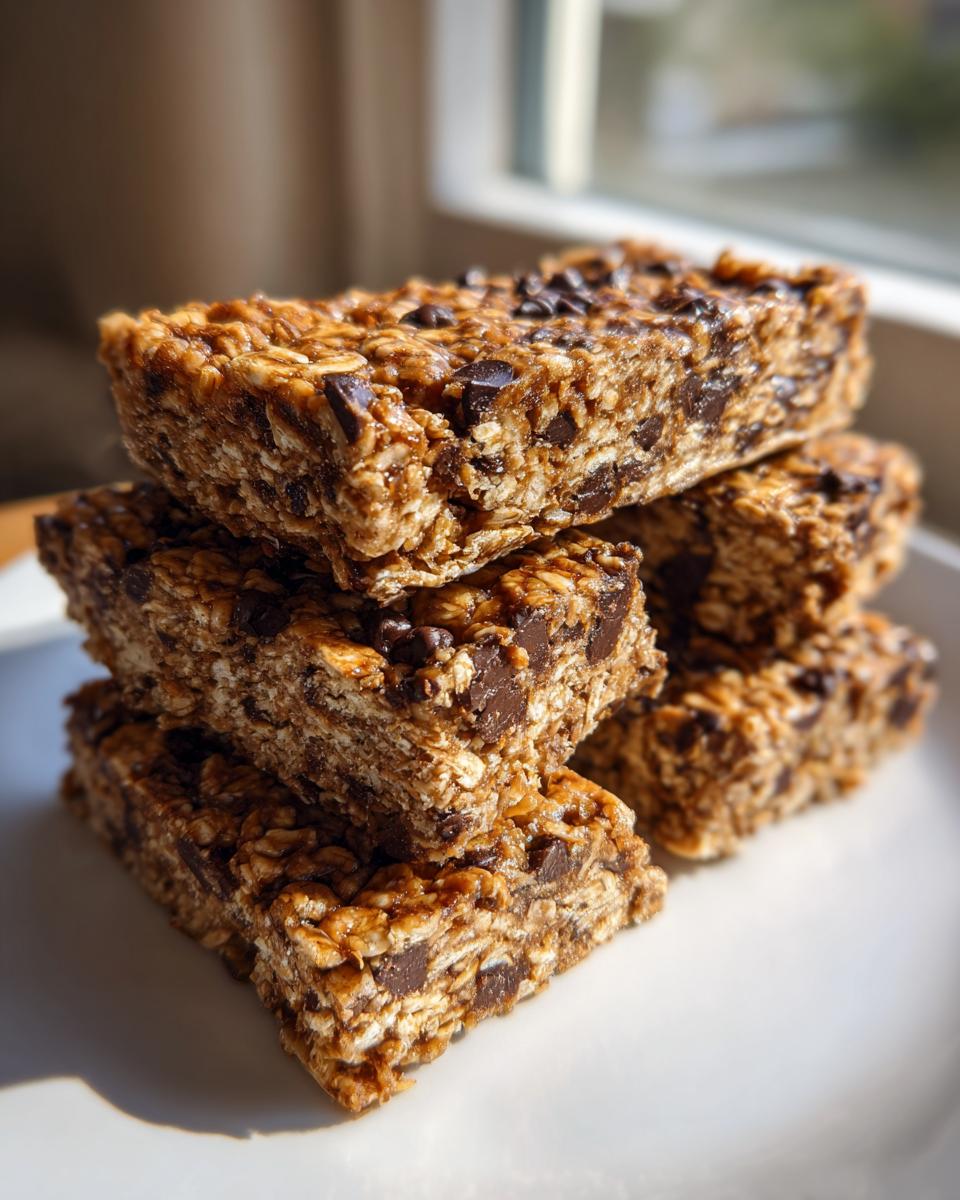
- Chewy Protein Bars Texture You Will Love: That satisfying, dense chewiness is what makes these bars so darn good. We aren’t dealing with powdery fillers here. These are solid, satisfying, healthy snack bars that feel like a real treat rather than just fuel.
Gathering Ingredients for Your Homemade Protein Bars
My biggest promise to you all here at Kings Cook is that we only use ingredients you can find at your usual grocery store without needing a special membership! You won’t need to hunt down strange powders or exotic goji berries for these bars. We are keeping it basic, accessible, and totally delicious. These simple staples are the true building blocks for the best homemade protein bars on the block, trust me on this one. You need to measure these out carefully, though; precision matters when you aren’t using an oven to bake out the mistakes!
Here is what you need to round up before we start mixing:
- Exactly 1 cup of regular rolled oats—none of that instant stuff!
- 1 cup of protein powder. I used vanilla, but unflavored works great too.
- A full 1/2 cup of natural peanut butter. Please make sure it’s the creamy, drippy kind, not the stiff, oil-separated kind.
- 1/4 cup of honey or maple syrup for that nice sweetness.
- 1/4 cup of unsweetened almond milk, or whatever milk you prefer.
- 1/2 teaspoon of vanilla extract.
- And my favorite part: 1/4 cup of mini chocolate chips to fold in at the end!
Ingredient Notes and Simple Substitutions
If you have dietary needs or just ran out of something, don’t panic! You can absolutely swap things around here. If you want a low sugar protein bars option, you can duck out the honey/syrup and use your favorite sugar-free sweetener alternative instead. Works like a charm! Also, peanut butter is fantastic, but it’s not the only player in town. If you have an allergy or just want a change, almond butter or sunflower seed butter work perfectly as substitutes for that sticky binder.
Also, word to the wise: if your mix seems way too crumbly, it’s just waiting for a little nudge. Add almond milk one teaspoon at a time until it finally starts holding together. You can find another simple recipe for protein bars homemade that might use similar ingredients right here: Check out this easy setup!
How to Make Easy Protein Bars Recipe Without Baking
This is the fun part, and honestly, it’s why I love these bars so much. We aren’t turning on the oven, which means less heat in the kitchen and way less cleanup. We are using simple mechanics to get that perfect dense texture we crave in our no bake protein bars.
First things first: grab an 8×8 inch baking pan right now. Line it with parchment paper, but make sure you leave an overhang on a couple of sides. This little lifesaver means you can just use the paper like handles to lift the entire block out later. If you skip this step, you’ll wrestle that sticky goodness out of the pan, and nobody has time for that frustration!
Next, we combine everything based on the order I listed. Remember, the dry stuff goes first to make sure everything gets evenly coated before we introduce the sticky binders. If you want to see another genius no bake protein bars setup, check out this helpful resource: Easy No-Bake Setup.
Mixing the Dough for Perfect Protein Bars
In your big bowl, mix the oats and protein powder until they look like one uniform, dusty mixture. Now, add the peanut butter, your sweetener, the almond milk, and the vanilla. Start mixing! At first, it looks like it’s never going to come together, but keep going with a sturdy spatula or maybe even your hands—I usually just dive right in! We are aiming for a thick, uniform dough. If, after a minute of mixing, it still looks too dry and powdery? Don’t dump in more milk all at once! Add it one teaspoon at a time until that dough finally clumps up. That little bit of moisture control is the secret to truly chewy protein bars.
Pressing and Chilling Your No Bake Protein Bars
Once all those mini chocolate chips are folded in, it’s time to press. Transfer the whole sticky heap into that parchment-lined pan. Now, you have to press them down hard! Use the bottom of a glass or a sturdy spatula to really jam it in there, making sure the surface is flat and dense. When you press them down firmly, you eliminate those air pockets that cause crumbling later. After you’ve pressed it smooth, slide the whole thing into the refrigerator. Give it at least a solid hour to chill completely. We need these protein bars for workout fuel to hold their shape, so patience during the chilling phase is crucial!
Tips for Success with Homemade Protein Bars
Making these bars is simple, but getting that perfect texture that rivals the best you can buy takes just one or two tiny tweaks. Since we aren’t baking these gorgeous protein bars homemade, temperature control in the fridge is your secret weapon. If you find your bars are just a little too soft or sticky once you go to cut them, pop them back for another 15 or 20 minutes. That extra chill time really firms them up so they cut into clean squares.
Conversely, if you plan on taking these on a long hike or throwing them into a gym bag for later, you might want a slightly softer bite. In that case, pull them out of the fridge about 15 minutes before you eat them. Remember what I said about swaps? If you want them super firm, try swapping the peanut butter for one with less added oil next time you make this amazing healthy snack bars recipe.
And seriously, always use the parchment paper overhang feature! It saves so much hassle. If you need a good reminder on general homemade bar success, check out these great ideas for homemade protein bars over here: Tips for Homemade Success.
Storing and Serving Your Protein Bars for Workout Fuel
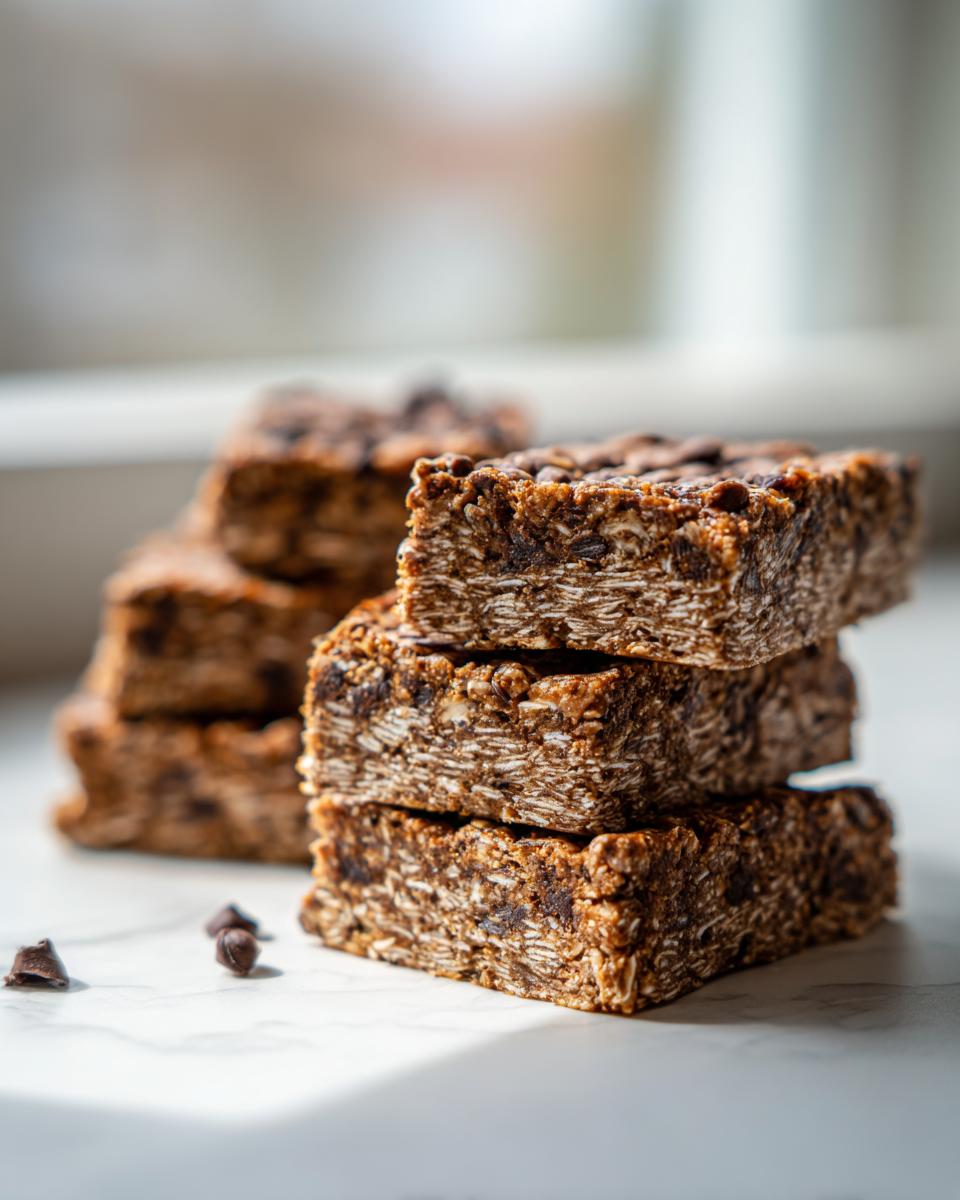
Alright, you’ve cut your beautiful, perfect protein bars! Now, we need to tuck them in safe and sound. Since these are no bake protein bars, refrigeration is key for keeping them firm and fresh. You absolutely must store them in an airtight container. Trust me on this—if they sit out on the counter, they get too soft way too fast.
They stay fantastic in the fridge for up to a week. That’s plenty of time to fuel those busy days! They are just so convenient as grab-and-go protein bars for workout sessions, or when you just need an energy boost mid-afternoon. If you want to stock up for longer, try freezing them! For a quick reference on other easy, high-protein treats, you can always peek at my no-bake chocolate recipe for comparison.
Frequently Asked Questions About These Protein Bars
I always get so many questions when I share recipes that are this highly customizable, and that’s okay! That just means you’re excited to make them your own. I want everyone to feel confident mixing up this batch of homemade protein bars, so let’s clear up a few things that usually pop up!
Can I use a different protein powder in this recipe?
Yes, you absolutely can switch up the protein source! Most people ask if they can swap whey for plant-based powders, and the answer is yes, but you might need a tiny adjustment. Plant-based proteins sometimes absorb moisture differently than whey. If your mix seems a bit dry when using pea or soy protein, just add almond milk another teaspoon at a time until you get that perfect, thick dough. I use vanilla whey most often, but feel free to experiment with what you love best!
How do I make these peanut butter protein bars lower in sugar?
That’s a savvy question, especially if you are tracking sugar intake. As I mentioned earlier, the easiest way to manage the sweetness in these peanut butter protein bars is to swap out the honey or maple syrup. You can use a granulated zero-calorie sweetener equivalent, but you may need to increase the liquid slightly because sugar syrups add bulk which the granular stuff doesn’t. If you start with just a tablespoon less sweetener, you can always add more later if you need it! Don’t forget you can find great ideas for other customized treats like these amazing brownie protein bars.
Estimated Nutritional Data for Protein Bars
Okay, now that we have covered how to mix, press, and store these phenomenal quick protein snacks, let’s talk numbers. Since we are making everything at home, remember that the exact data depends heavily on the brands you choose—especially which protein powder you’re using! This nutritional breakdown is based on the specific ingredients listed in my recipe above, so consider these figures a very helpful guide for planning your meal prep protein bars.
Here is what you can expect for one serving (one bar, assuming 10 total servings):
- Calories: Around 220 this is great for a substantial snack!
- Protein: A whopping 15 grams! That is why we made these high protein snacks!
- Fat: About 11 grams. Most of this good fat is coming from that wonderful peanut butter.
- Carbohydrates: 22 grams total.
- Sugar: Roughly 8 grams. Much lower than those disappointing store-bought bars, right?
A quick disclaimer, just because I need to be clear: these figures are estimates! If you use a different nut butter or a heavily sweetened protein powder, your counts for fat and sugar will shift. But honestly, knowing you’ve made these easy protein bars recipe by yourself with wholesome ingredients is the most important metric!
Share Your Kitchen Creations
I truly hope whipping up this batch of peanut butter chocolate chip protein bars homemade was a joy! I spent so much time testing and re-testing to make sure you got that reliably delicious, chewy snack your meal plan needs. Now, the best part of this whole process is hearing from you!
If you loved these, please, please come back and drop a review. Five stars tells me loudly and clearly to keep bringing you more awesome, easy protein bars recipe ideas like this one. And it helps other home cooks find recipes that actually work, which is my whole goal here at Kings Cook!
Even better, snap a picture of your finished bars—maybe show me how you packed them up for your weekly meal prep or where you enjoy your post-workout snack! Tag me on social media or leave a picture right here in the comments. I absolutely love seeing your kitchen creations in action. For more inspiration and fun, check out this great protein bar recipe.
Happy cooking, I can’t wait to see what you make next!
PrintEasy No-Bake Peanut Butter Chocolate Chip Protein Bars
Make these easy, no-bake protein bars at home. They use simple ingredients, taste better than store-bought options, and are perfect for meal prep or a quick post-workout snack.
- Prep Time: 10 min
- Cook Time: 0 min
- Total Time: 1 hour 10 min
- Yield: 10 servings 1x
- Category: Snack
- Method: No-Bake
- Cuisine: American
- Diet: Vegetarian
Ingredients
- 1 cup rolled oats
- 1 cup vanilla or unflavored protein powder
- 1/2 cup natural peanut butter
- 1/4 cup honey or maple syrup
- 1/4 cup unsweetened almond milk (or milk of choice)
- 1/2 teaspoon vanilla extract
- 1/4 cup mini chocolate chips
Instructions
- Line an 8×8 inch baking pan with parchment paper, leaving an overhang on the sides for easy removal.
- In a large bowl, combine the rolled oats and protein powder. Mix them well.
- Add the peanut butter, honey (or maple syrup), almond milk, and vanilla extract to the dry ingredients.
- Mix everything together until a thick, uniform dough forms. If the mixture seems too dry, add almond milk one teaspoon at a time until it comes together.
- Fold in the mini chocolate chips.
- Press the dough evenly into the prepared pan. Use the back of a spatula or your hands to press it down firmly to create a dense bar.
- Place the pan in the refrigerator and chill for at least 1 hour, or until the bars are firm.
- Use the parchment paper overhang to lift the block of bars out of the pan.
- Cut the block into 10 to 12 equal protein bars.
- Store the homemade protein bars in an airtight container in the refrigerator for up to one week.
Notes
- For a lower sugar option, use a sugar-free sweetener substitute for the honey.
- If you prefer a firmer bar, chill them longer or store them in the freezer.
- You can swap peanut butter for almond butter or sunflower seed butter for a different flavor profile.
Nutrition
- Serving Size: 1 bar
- Calories: 220
- Sugar: 8
- Sodium: 110
- Fat: 11
- Saturated Fat: 3
- Unsaturated Fat: 8
- Trans Fat: 0
- Carbohydrates: 22
- Fiber: 3
- Protein: 15
- Cholesterol: 0