
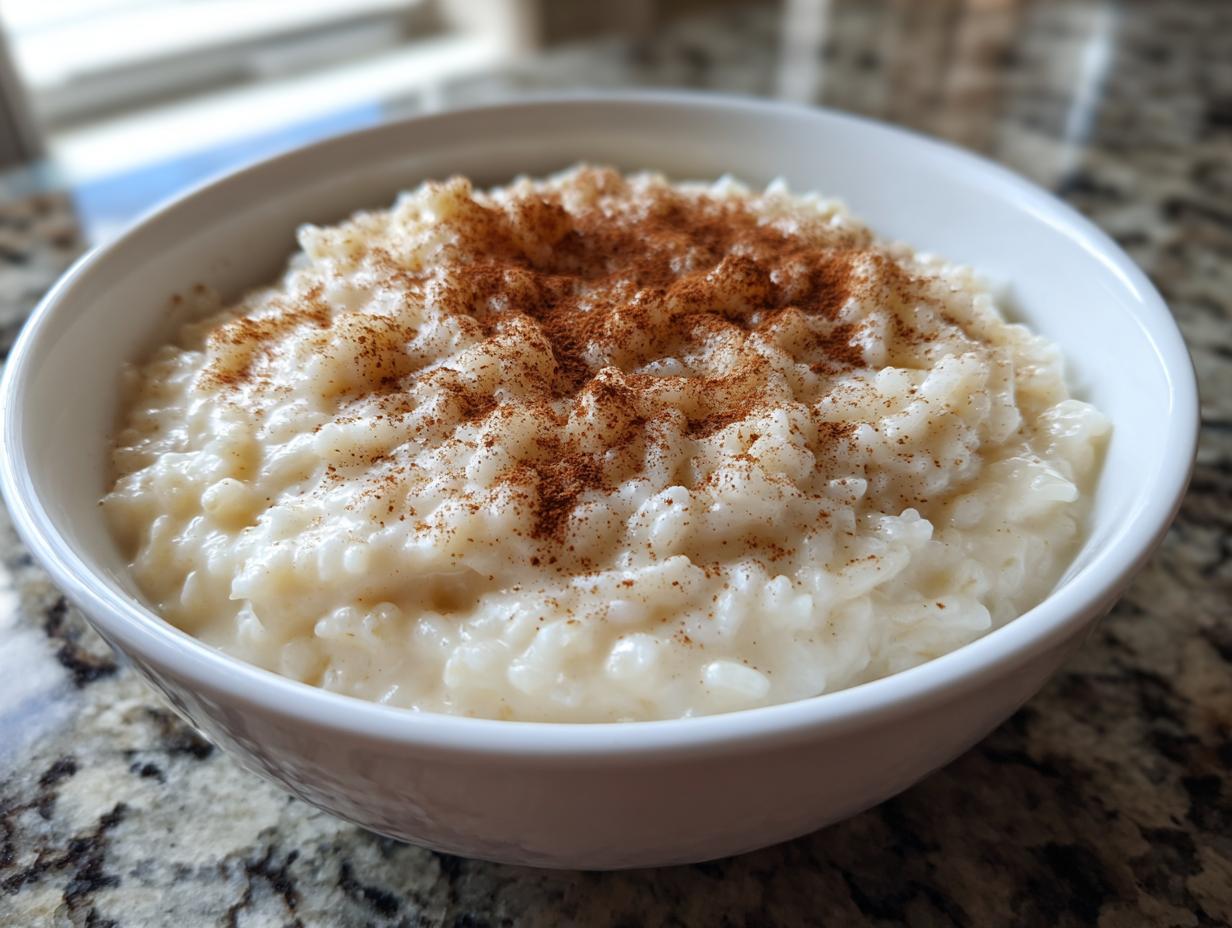
When I think of true comfort food, something warm, rich, and smelling sweetly of vanilla and cinnamon always comes to mind first. Forget fancy layered cakes for a minute—we’re talking about that simple bowl of creamy perfection: rice pudding. I know there are a million ways to make this, but trust me when I say I have spent years perfecting the ultimate Old Fashioned Rice Pudding Recipe right here on the stovetop. I tested batch after batch so you don’t have to mess it up, and this version guarantees that thick, velvety texture you crave without needing to turn on the oven. If you are looking for a reliable, classic dessert, you’ve absolutely found your winner! If you want to learn more about my testing philosophy, check out my About Page.
- Why This Old Fashioned Rice Pudding Recipe Delivers Comfort
- Gathering Ingredients for Your Classic Rice Pudding Recipe
- Step-by-Step Instructions for the Old Fashioned Rice Pudding Recipe
- Tips for the Best Creamy Rice Pudding Recipe Every Time
- Serving Suggestions and Toppings for Your Rice Pudding Recipe
- Make Ahead Pudding and Storage for This Classic Rice Pudding Recipe
- Frequently Asked Questions About Our Rice Pudding Recipe
- Nutritional Snapshot of This Homemade Pudding Recipe
- Share Your Old Fashioned Rice Pudding Creation
Why This Old Fashioned Rice Pudding Recipe Delivers Comfort
There is nothing quite like settling down with a warm bowl of this dessert. It just feels like a hug, right? This rice pudding recipe isn’t just sweet; it’s pure nostalgia in a spoonful. You’ll find it meets every criteria for a perfect comfort food dessert because I designed it that way.
- It’s authentically rich and thick—true comfort food right there.
- The subtle hint of vanilla and cinnamon makes every bite cozy and familiar.
- It’s incredibly satisfying served piping hot or perfectly chilled later on!
- Check out some of my other favorite best dessert recipes if you keep craving sweets!
Achieving True Creamy Rice Pudding Texture
The secret weapon for that luxurious, creamy texture everyone asks about is definitely the rice choice. You absolutely must use short-grain white rice, or even better, Arborio rice if you have some! These types hold onto the milk beautifully as they cook down, releasing starch to make the surrounding liquid luxurious and thick. If you use long-grain rice, you’ll end up with rice in soup, not the creamy rice pudding we want!
Simple Stovetop Cooking for Your Rice Pudding Recipe
I wanted this to be an accessible recipe for everyone, even if you’re intimidated by baking. That’s why this is an easy stovetop pudding recipe! We skip the oven entirely. Cooking it gently on the stove gives you complete control over the heat, which is crucial for preventing scorching and ensuring that slow, even thickening that makes this dessert so special.
Gathering Ingredients for Your Classic Rice Pudding Recipe
You know I love a recipe that doesn’t require a trip to a specialty store, and this one truly shines with pantry staples! Seriously, if you skip the optional raisins, you are looking at a classic, unbelievably flavorful dish made with just about five core ingredients. That’s my favorite kind of baking—simple ingredients that perform like magic when treated right. Clarity in measuring is key here, so pull out those spoons and cups! We want reliable results every single time.
Here is what you’ll need for four generous servings of this cozy treat:
- 1 cup short-grain white rice (like Arborio or medium-grain)
- 4 cups whole milk
- 1/2 cup granulated sugar
- 1/4 teaspoon salt
- 1 teaspoon vanilla extract
- 1/2 teaspoon ground cinnamon (plus extra for topping)
- Optional: 1/2 cup raisins
Ingredient Notes and Substitutions for this Rice Pudding Recipe
Let’s talk specifics, because ingredient choice really affects the final product for this classic rice pudding recipe. First, the rice: short-grain or Arborio is non-negotiable if you want that thick, traditional texture. Long-grain rice just doesn’t release the starch we need to thicken this pudding naturally.
Next up, the milk. Please, please use whole milk! Skim or low-fat milk won’t give you the richness and velvety mouthfeel that makes this dessert so good. It needs that fat content to become truly creamy. If you happen to have leftover cooked rice from dinner last night, you can absolutely use it! Just remember, if you go that route, you are making a quick dessert recipe and the cooking time on the stove drops way down to about 15-20 minutes—check the notes section for more details on that time-saver!
Step-by-Step Instructions for the Old Fashioned Rice Pudding Recipe
Okay, this is where the magic happens! Cooking rice pudding on the stovetop takes a little patience, but it’s honestly so simple once you get into the rhythm. I want you to envision standing near the burner, stirring occasionally, maybe listening to a podcast—it’s very meditative! Remember, this entire process is about gentle cooking to coax that starch out, not blasting it with high heat. If you have time for a little longer cooking, I promise you it’s worth it for a truly reliable weeknight dinner dessert.
Preparing the Rice and Initial Cook of the Rice Pudding Recipe
First things first: you need to wash your rice! Take that cup of raw rice and rinse it in a fine-mesh sieve under cold water until the water running off isn’t cloudy anymore. This gets rid of excess surface starch that can make the pudding gummy. Once it’s drained well, we combine everything vital in a heavy-bottomed saucepan—that means milk, sugar, salt, the rice, and toss in those optional raisins if you’re using them! Set it over medium heat. You need to stay nearby as it warms up, because we want frequent stirring here to make sure nothing grabs the bottom of the pan. Bring it just to a gentle simmer, don’t let it boil wildly!
The Simmering Process for Creamy Rice Pudding
Once that first bubble shows up, immediately drop the heat down to low. We are looking for the happiest little, slowest possible bubble you can manage. This is where the real cooking begins, and it takes time—plan for 40 to 50 minutes total on this low simmer. You must stir every five to seven minutes, scraping the bottom thoroughly. Don’t worry if it looks a little thin after 30 minutes; remember this! The creamy rice pudding thickens significantly as it cools down later. You know it’s done when the rice is fully tender and the mixture coats the back of your spoon nicely.
Finishing and Serving Your Vanilla Cinnamon Dessert
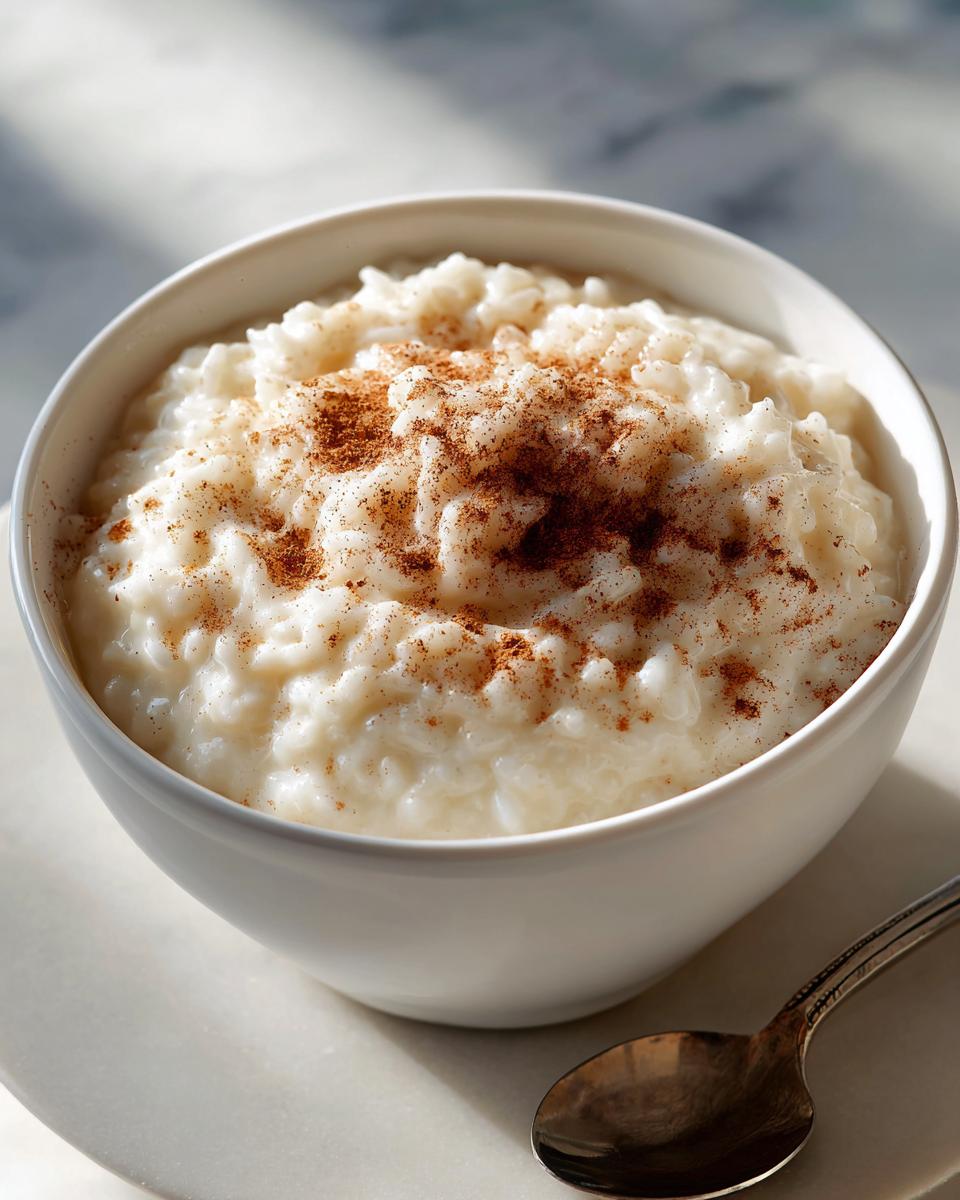
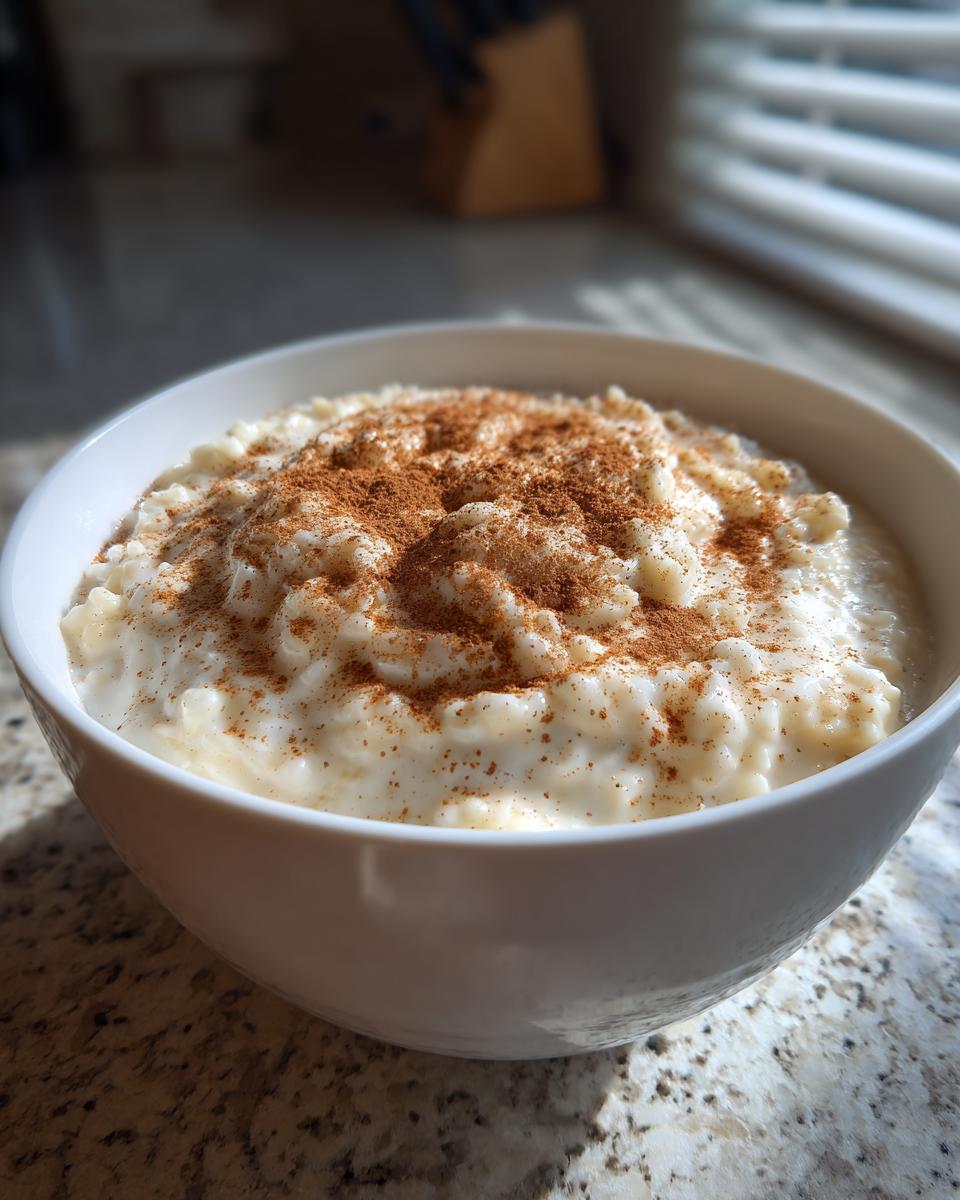
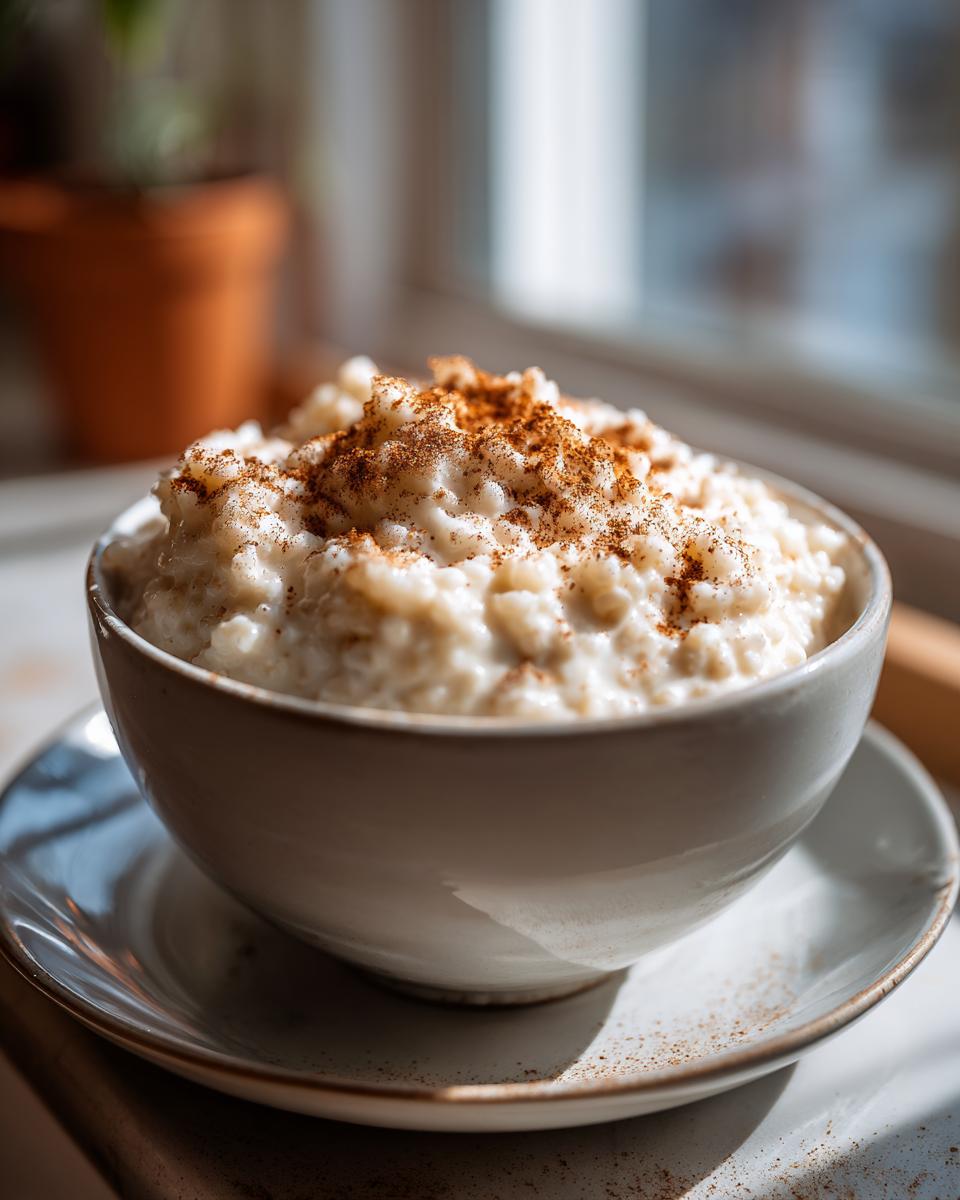
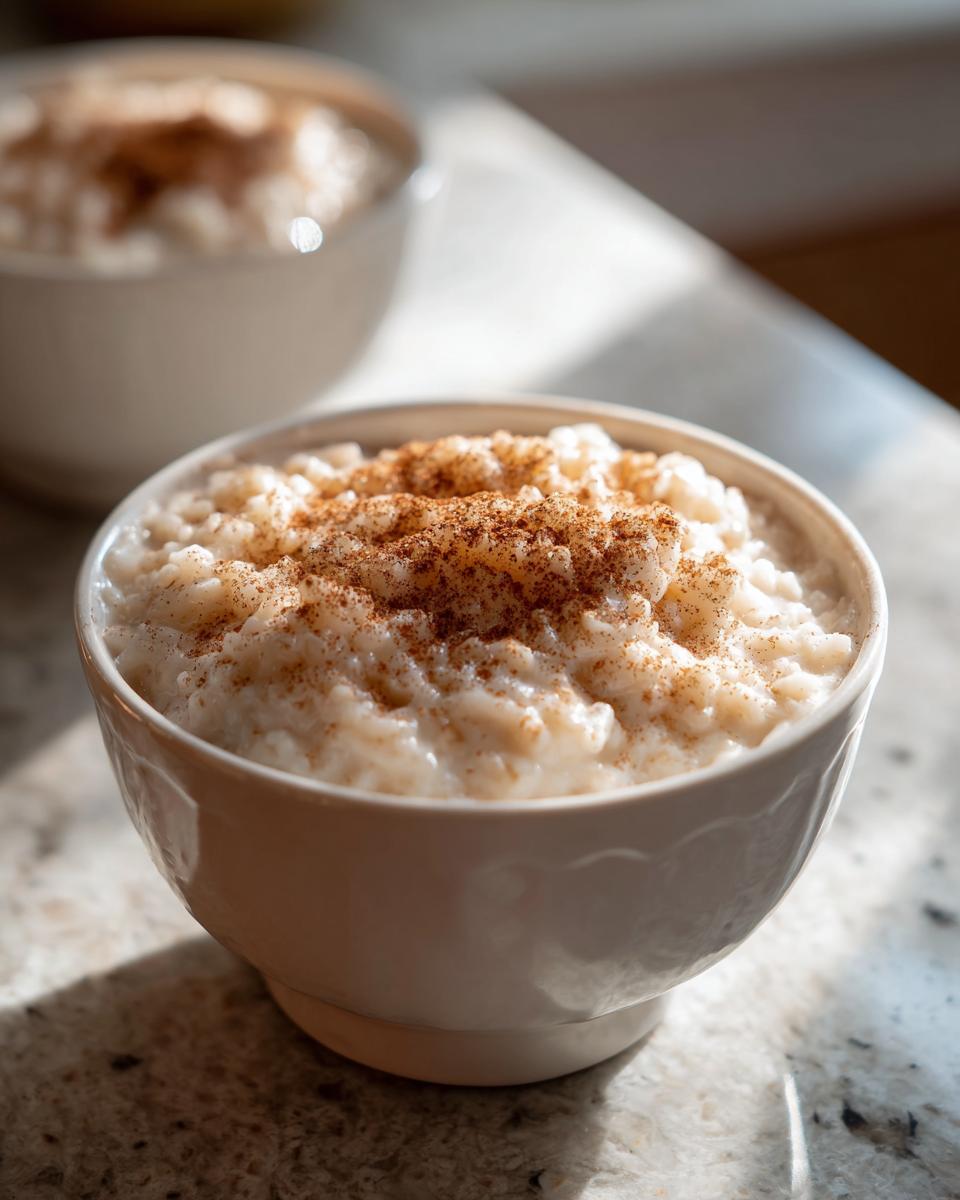
When the texture is perfect (tender rice, thick sauce), pull that whole saucepan right off the heat. Don’t try to add flavorings over the burner! Now, gently stir in that beautiful vanilla extract and the ground cinnamon. That warmth blooms the flavor instantly! You can serve it right away if you want a warm bowl of goodness, or, if you prefer it chilled (which is my favorite way!), pour it into individual bowls. Here’s the trick: put a small square of plastic wrap directly onto the surface of the pudding in each bowl. This stops that dreaded thick skin from forming while it chills in the fridge. Don’t forget an extra sprinkle of cinnamon when serving!
Tips for the Best Creamy Rice Pudding Recipe Every Time
Listen, I know stovetop cooking can be scary sometimes, especially with milk involved. We are aiming for the best rice pudding recipe here, and that means avoiding those sad, scorched spots at the bottom of the pan! I’ve already told you the steps, but these little pro-tips below have been hard-won through my own kitchen mistakes. Following these will help you achieve truly consistent, ultra-creamy results every time you make this homemade pudding recipe. For more on my testing philosophy, check out my notes on the About Page.
Troubleshooting Common Rice Pudding Issues
The number one way to stop scorching is easy, but essential: always use a heavy-bottomed saucepan! That thicker metal distributes heat way more evenly, so the milk doesn’t just sit there getting too hot right on the surface of the burner. If you notice it starting to stick, give it a really aggressive stir—don’t be gentle when scraping the bottom!
Now, about thinning versus thickening: if your pudding seems way too thick after it cools down, don’t panic! It’s much easier to fix a thick pudding than a watery one. Just stir in a splash or two of extra milk (even warm milk works fast!) while gently reheating it. This loosens it right back up, giving you that perfect, lush consistency. Remember what I said? It gets thicker when it rests!
Serving Suggestions and Toppings for Your Rice Pudding Recipe
Once this classic rice pudding recipe has rested and achieved that perfect texture—whether you like it warm or perfectly chilled—it’s time for the best part: dressing it up! While it is absolutely divine plain with just that sprinkle of cinnamon, adding toppings really elevates this simple sweet rice dessert into something truly special. Think about what textures you love; do you want crunch, or do you want more warmth and zing? I always keep a little jar of something fun on hand just for this reason.
Here are a few of my favorite tried-and-true rice pudding toppings that take this homemade pudding to the next level:
- Crunch Factor: Toasted pecans or walnuts! Toasting them in a dry pan for just three minutes before you sprinkle them on makes all the difference in flavor. A little crunch really contrasts nicely with the smooth pudding.
- Bright Zing: Never underestimate citrus! A little sprinkle of fresh lemon zest right over the top cuts through the richness beautifully and adds unexpected brightness. My sister loves this way when she wants something a bit lighter.
- Warm Fruit Swirl: If you have some leftover apricot jam or even sliced stewed apples, warm them ever so slightly and swirl a tiny spoonful into the center of your bowl. It’s like turning this into a fancy layered dessert!
- Nutmeg Power: Along with cinnamon, a tiny grating of fresh nutmeg on top brings an incredible, deep aroma that screams cozy winter dessert. Don’t skip this step if you are craving that extra warmth!
Honestly, the toppings are where you can really make this recipe your own. Have fun with it!
Make Ahead Pudding and Storage for This Classic Rice Pudding Recipe
One of the things I love most about this classic rice pudding recipe is how perfectly it holds up as a make ahead pudding! Seriously, this isn’t one of those desserts that turns sad and watery the next day. In fact, like many starchy dishes, I think it actually tastes even better once it’s had a good long rest in the fridge. It means you can absolutely serve this for a big holiday, or just have a super reliable comforting dessert waiting for you after a long Tuesday!
If you are planning ahead, the best approach is to let the pudding cool completely to room temperature first. Then, transfer it into airtight containers. You can wrap the surface directly with plastic wrap like I mentioned before—that trick really stops the skin from getting tough.
You can safely store this homemade pudding recipe in the refrigerator for up to four days. Trust me, it disappears fast! If you want to reheat it, keep in mind it will be much firmer straight from the cold. To bring back that creamy texture, gently warm your serving in the microwave (stirring every 20 seconds) or, even better, stir in a splash of extra milk or cream while heating it slowly on the stove. You want it warming through, not boiling aggressively. This recipe is a lifesaver for busy meals, and you can find more make-ahead magic on my Make Ahead Page!
Frequently Asked Questions About Our Rice Pudding Recipe
I figured since we’ve covered the stovetop method, the best rice, and how to store this beautiful dessert, we should quickly tackle some of the questions I get most often about the rice pudding recipe. I always want to make sure you feel totally supported in the kitchen. Let’s clear up any last little doubts so you can go make this right now!
Can I make this rice pudding recipe without eggs?
This is such a great question, especially since so many people look for that option! The wonderful news is that this particular old fashioned rice pudding recipe is naturally eggless! We get all our beautiful, creamy texture strictly from the whole milk and the starch released by the short-grain rice during that long, slow simmer. No eggs required, which makes it perfect if you’re trying to avoid them or just want a quicker, simpler batch.
How does this classic rice pudding recipe differ from Arroz con Leche?
That’s such an interesting comparison! Both are fantastic rice and milk desserts, but they definitely have different vibes. The traditional Arroz con Leche recipe, while also super creamy, often relies more heavily on citrus elements—think strips of lemon or orange zest cooked right into the milk—and it’s sometimes made with condensed milk or sweetened with piloncillo (a dark sugar). Our version here leans into the classic vanilla and cinnamon profile common in American comfort cooking. Both are delicious, but ours is geared toward that warm, cozy, vanilla-cinnamon experience.
Can I use leftover rice in this rice pudding recipe?
Yes, absolutely! I know life gets busy, and sometimes you just need a quick dessert recipe after dinner. You can definitely use rice that’s already cooked—maybe you had leftovers from making risotto or just had plain rice lying around. When you use cooked rice, you are skipping the 40–50 minute softening time entirely. You just need to add your cooked rice to the warmed milk mixture and simmer until it’s heated through and the pudding has thickened to that perfect consistency, which usually only takes about 15 to 20 minutes total. It’s a fantastic shortcut when you need a sweet rice dessert fast!
If you’re ever looking for other easy meals that are great for busy weeknights, check out my Easy Lunch Ideas section for some inspiration!
Nutritional Snapshot of This Homemade Pudding Recipe
Now, listen up, because I want to be completely transparent with you all. Food is meant to be enjoyed, and sometimes a rich, comforting dessert like this homemade pudding recipe is exactly what we need! But because I believe in being open about what we’re eating, I have pulled together the estimated nutrition facts for a standard serving based on the ingredients listed above. Think of this as a helpful guideline, not gospel, because how much milk you stir in and how much you eat definitely changes things!
These numbers reflect one serving (about 1 cup) of the base rice pudding recipe. Remember, if you load it up with extra sugar or tons of butterfat-rich toppings later, those numbers will climb!
- Serving Size: 1 cup
- Calories: Roughly 320
- Sugar: About 25g (That’s the good stuff and the granulated—enjoy it!)
- Fat: Around 8g total fat
- Protein: Around 10g (Thank you, whole milk!)
We keep things straightforward here at Kings Cook. This isn’t meant to be a diet food, it’s meant to be a delicious, classic indulgence. If you’re looking for other great ideas that might fit into a tighter nutrition plan, pop over to my About Page—I often share tips there about making swaps in my recipes!
Share Your Old Fashioned Rice Pudding Creation
Well, friends, that is the absolute best rice pudding recipe you will ever need. I truly hope this brings a huge sense of comfort to your table! Now, I want to see what you do with it. When you give this creamy rice pudding a go, please head back here and leave a rating—I’m hoping for five stars on this one! Better yet, drop a comment below telling me if you served it warm or chilled, and what toppings you chose. Connecting with you all is the best part of running Kings Cook. If you have any questions about the process, feel free to reach out via my Contact Page. Happy cooking!
PrintOld Fashioned Creamy Stovetop Rice Pudding

Make this classic, creamy rice pudding right on your stovetop. This old fashioned recipe uses simple ingredients for a comforting dessert you can serve warm or chilled.
- Prep Time: 5 min
- Cook Time: 50 min
- Total Time: 55 min
- Yield: 4 servings 1x
- Category: Dessert
- Method: Stovetop
- Cuisine: American
- Diet: Vegetarian
Ingredients
- 1 cup short-grain white rice (like Arborio or medium-grain)
- 4 cups whole milk
- 1/2 cup granulated sugar
- 1/4 teaspoon salt
- 1 teaspoon vanilla extract
- 1/2 teaspoon ground cinnamon (plus extra for topping)
- Optional: 1/2 cup raisins
Instructions
- Rinse the rice under cold water until the water runs mostly clear. Drain well.
- Combine the rinsed rice, whole milk, sugar, salt, and optional raisins in a heavy-bottomed saucepan.
- Place the saucepan over medium heat. Stir frequently to prevent the rice from sticking to the bottom.
- Bring the mixture to a gentle simmer. Once simmering, reduce the heat to low. You want a very low, slow bubble.
- Cook, stirring every 5 to 7 minutes, for 40 to 50 minutes. The pudding is done when the rice is tender and the mixture has thickened to your desired consistency. It will thicken more as it cools.
- Remove the saucepan from the heat. Stir in the vanilla extract and 1/2 teaspoon of ground cinnamon.
- Serve the rice pudding warm, or transfer it to a bowl, cover the surface directly with plastic wrap to prevent a skin from forming, and chill completely before serving cold.
- Serve with an extra sprinkle of cinnamon on top.
Notes
- For the creamiest texture, use whole milk and stir often during the simmering process.
- If you use leftover cooked rice, reduce the cooking time on the stove to about 15 to 20 minutes, or until heated through and slightly thickened.
- This is a great make ahead pudding; it stores well in the refrigerator for up to four days.
Nutrition
- Serving Size: 1 cup
- Calories: 320
- Sugar: 25g
- Sodium: 150mg
- Fat: 8g
- Saturated Fat: 4.5g
- Unsaturated Fat: 3.5g
- Trans Fat: 0g
- Carbohydrates: 55g
- Fiber: 1g
- Protein: 10g
- Cholesterol: 25mg