
Oh, my friends, you know how sometimes two incredible things just belong together? Like peanut butter and chocolate, or perfectly aged cheddar and crisp apples? Well, get ready, because we are taking that concept and applying it to dessert royalty! I’m talking about combining the velvety, rich indulgence of a creamy baked cheesecake with that incredible, delicate shatter of the classic French sugar crust. Making the creme brulee cheesecake seems intimidating, I know, but I promise you, I’ve broken down every single step to make this ultimate dessert mashup totally approachable. Seeing the look on people’s faces when they hear that first *crack* from the torch never gets old, and you deserve to serve a showstopper like this!
- Why This Creme Brulee Cheesecake Recipe is the Ultimate Dessert Mashup
- Gathering Ingredients for Your Creme Brulee Cheesecake
- Step-by-Step Instructions for the Creme Brulee Cheesecake Recipe
- Mastering the Brûléed Cheesecake Tutorial: How to Torch Sugar Topping
- Tips for Success with Your Decadent Cheesecake Recipe
- Variations on the Creme Brulee Cheesecake
- Storing and Serving Your Elegant Baked Dessert
- Frequently Asked Questions About Creme Brulee Cheesecake
- Nutritional Estimates for This Indulgent Dessert Idea
- Share Your Showstopper Dessert Recipe Experience
Why This Creme Brulee Cheesecake Recipe is the Ultimate Dessert Mashup
I truly believe this cheesecake is special because it gives you two completely different, perfect experiences in one bite. It’s such an exciting thing to see come together in the oven. When you’ve finished all the steps for this ultimate dessert mashup, you get results that look fancy but were totally achievable right here in your own kitchen.
Here’s what makes this combination so brilliant:
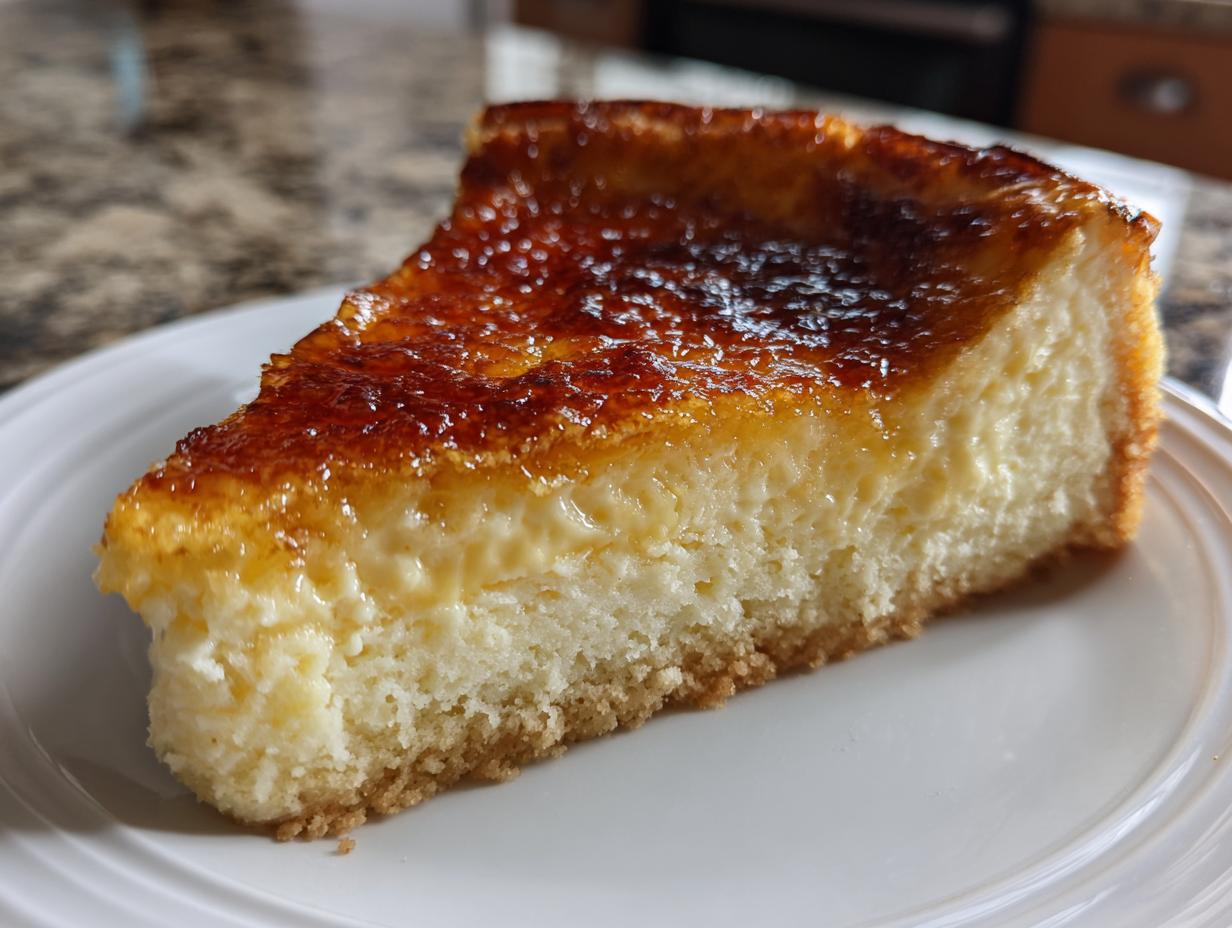
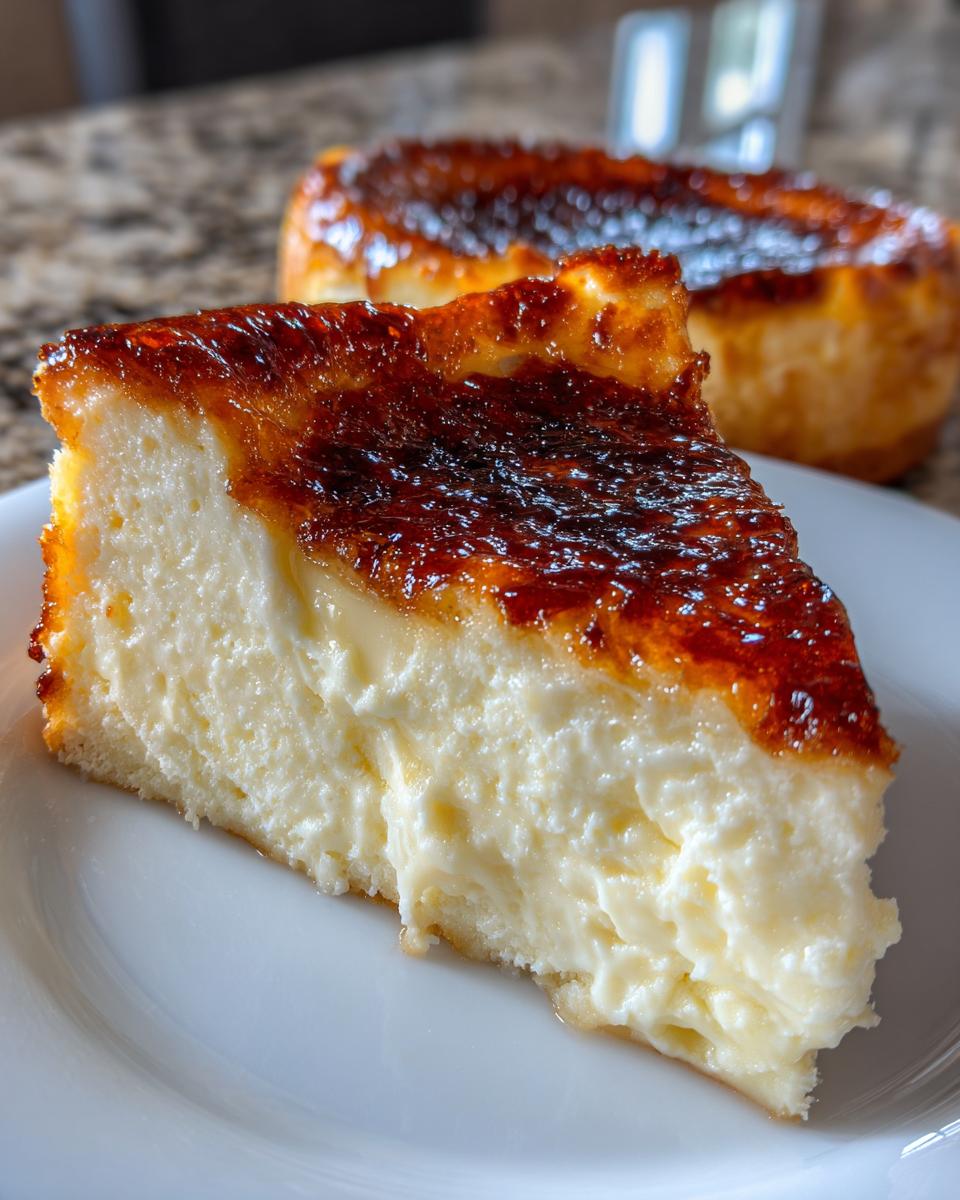
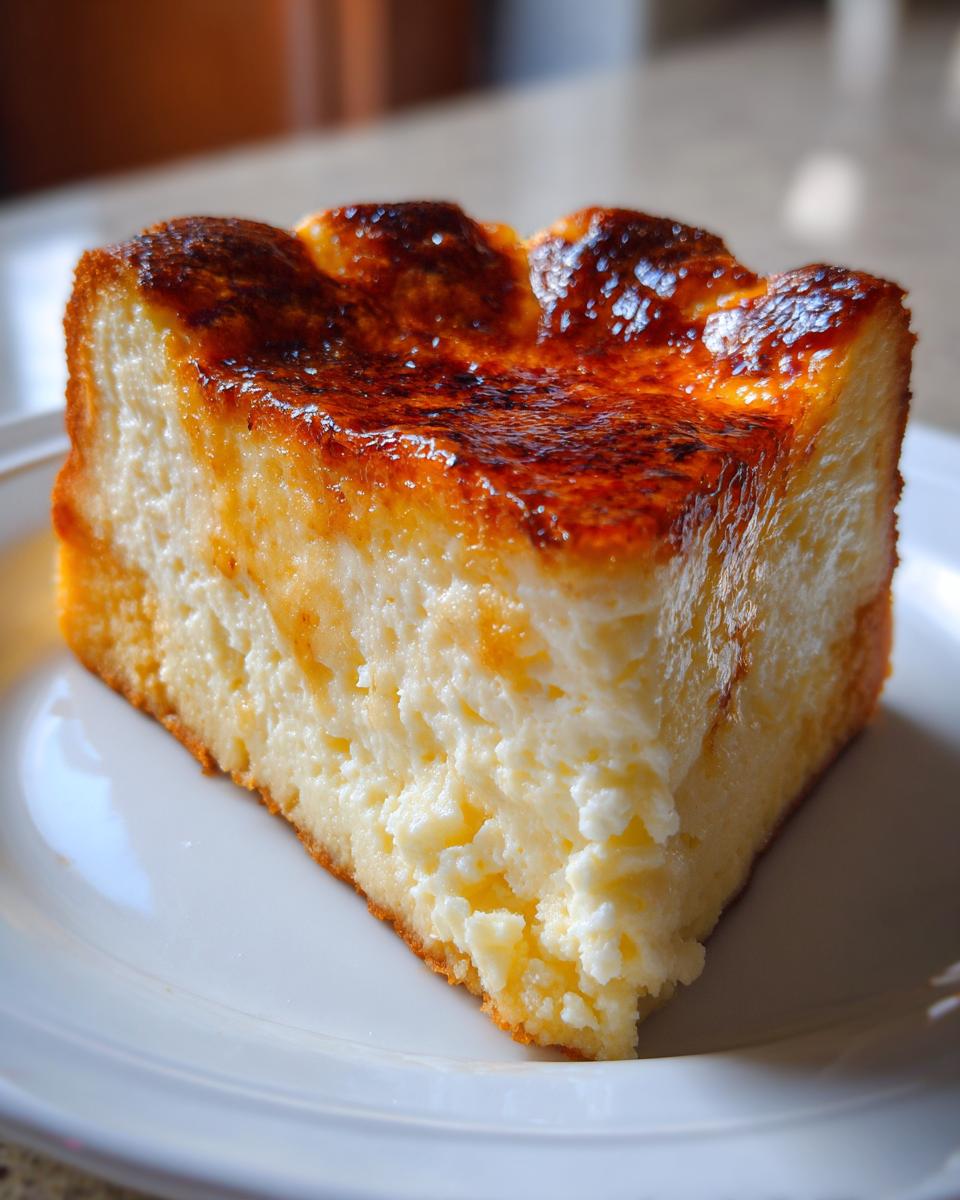
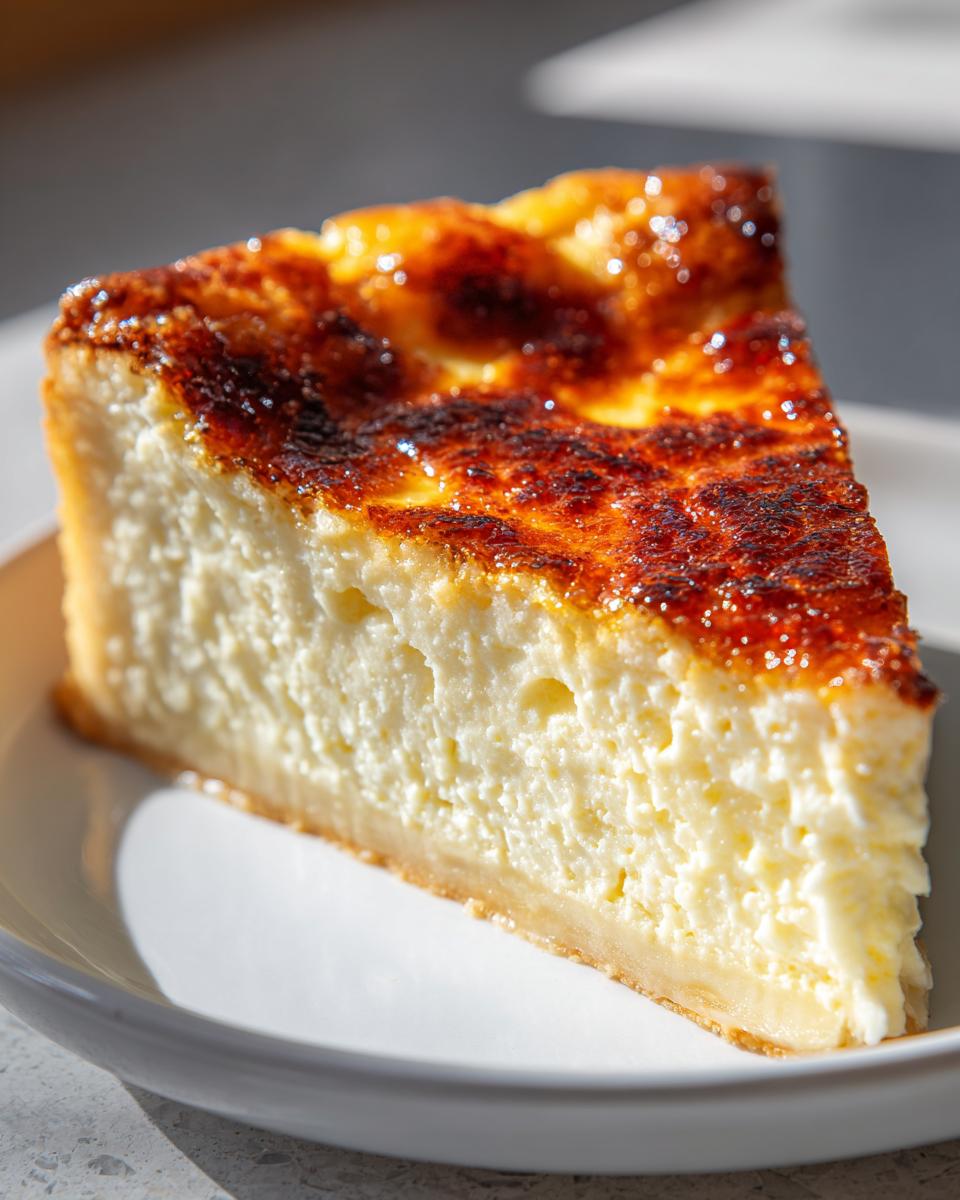
- Texture Contrast: You have the smooth, dense, creamy baked cheesecake base that melts in your mouth, followed by that satisfying *snap* of the sugar.
- Flavor Depth: We lean into that pure, elegant flavor, emphasizing a real vanilla bean cheesecake base underneath the sugar.
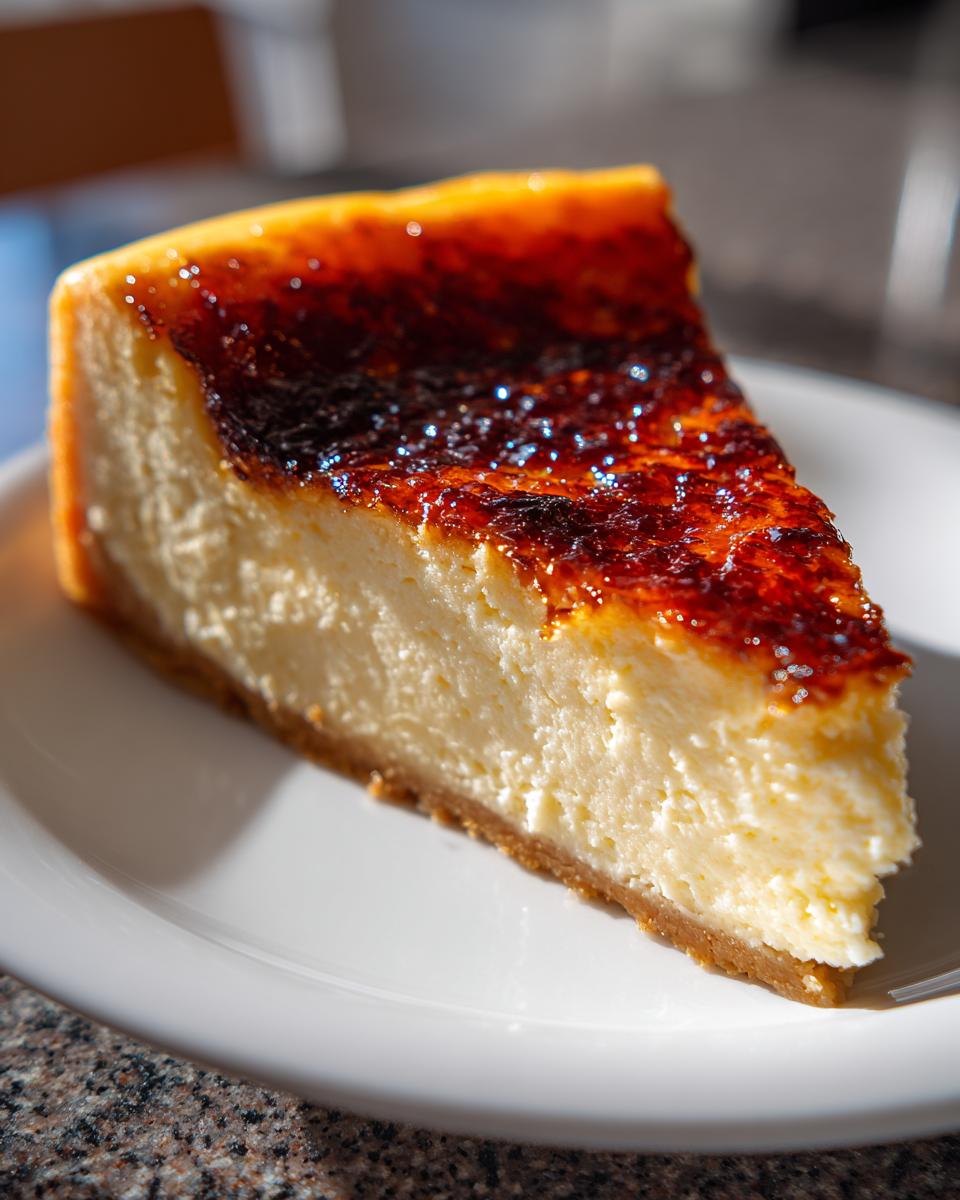
- Visual Wow Factor: This is absolutely a showstopper dessert recipe. The dark amber, crackly caramelized topping against the pale, creamy center is just stunning.
We’re essentially taking two great desserts and eliminating the single tricky step from each to make one perfect hybrid. If you want to see how other bakers are approaching this amazing combination, you can check out this great recipe over here. Trust me, you are going to love making this!
Gathering Ingredients for Your Creme Brulee Cheesecake
Okay, gather your supplies! Getting everything ready ahead of time is half the battle when baking something this elegant. I’ve broken the list down into three simple parts so you don’t mix up your crust sugar with your topping sugar—that would be a sticky mess! This decadent cheesecake recipe relies on good quality ingredients, especially that vanilla.
Before you start mixing, make sure your cream cheese has been sitting out. Room temperature cream cheese is the secret to fighting lumps later on. If you want to peek at a breakdown of ingredients from another great baker, this recipe page has a lovely list too.
For the Graham Cracker Crust
- 1 1/2 cups graham cracker crumbs (Don’t use too finely ground dust, we want some texture!)
- 1/3 cup granulated sugar
- 6 tablespoons unsalted butter, melted
For the Creamy Baked Cheesecake Filling
- 16 ounces cream cheese, softened completely
- 3/4 cup granulated sugar
- 3 large eggs, remember to add them one at a time!
- 1 teaspoon vanilla extract (Use the good stuff for that vanilla bean cheesecake vibe!)
- 2 tablespoons sour cream or plain yogurt (This helps with that slight tang.)
- 1 cup cold heavy cream (This is crucial for the topping layer later on, so keep it chilled!)
For the Crackly Caramelized Topping
- 1 cup cold heavy cream (Yes, you use the rest of the cup here—measure carefully!)
- 1/4 cup granulated sugar (This is just for sprinkling right before you torch it.)
Step-by-Step Instructions for the Creme Brulee Cheesecake Recipe
This is where we turn simple ingredients into that elegant dessert we talked about! Don’t let the water bath scare you; it’s the key to getting that gorgeous, crack-free top surface for our creamy baked cheesecake. If you want to read up on classic cheesecake techniques before we start, I have a great guide on easy New York style success that might help smooth out any worries.
Preparing and Baking the Creamy Baked Cheesecake
First thing’s first: preheat your oven to 325°F (160°C). Wrap that 9-inch springform pan—seriously wrap it tight, we don’t want any leaks! Mix your crust ingredients, press them down firmly into the bottom, and give it a quick 10-minute bake. While that cools a smidge, whip up your batter. Remember my rule: beat that cream cheese solo until it’s perfect, then gently add the sugar. When you add the eggs, pulse just until they disappear—overbeating adds too much air, which leads to cracks! Batter over crust, place the springform into a larger pan, and fill that outer ring with hot water almost halfway up the sides. Bake for about 55 to 65 minutes. The edges should look done, but the center should still have a slight wiggle. Then, here’s the patience part: turn the oven off, crack the door, and let it hang out in that residual heat for a full hour.
Chilling and Preparing the Crackly Caramelized Topping
After the slow cool-down, take the cheesecake out and let it finish cooling on a rack. Listen, this next part is non-negotiable for structure: you must chill it for at least 6 hours, but honestly, overnight is when you get that perfect density. Once it’s rock solid and perfectly cold, it’s topping time! Don’t even think about applying the final layer until just before serving, or that sugar will soak in and melt. Gently spread your 1 cup of cold heavy cream evenly over the chilled cheesecake. It’ll look like you drenched it, but that’s exactly what we need for a thick layer of syrup later. Sprinkle that last 1/4 cup of sugar evenly over the cream. Now the fun begins—get ready for the torch!
Mastering the Brûléed Cheesecake Tutorial: How to Torch Sugar Topping
Alright, this is the moment of truth! This final layer is what turns it from a great cheesecake into our spectacular brûléed cheesecake tutorial success. Using a kitchen torch to create that perfect crackly caramelized topping is really satisfying, and honestly, once you get the hang of it, you’ll want to torch everything!
When using your torch, hold it about four to six inches away from the sugar. You want steady, sweeping motions across the surface, making little circles until the sugar melts and starts turning that rich, deep amber color. Don’t stop moving, or you risk burning that beautiful sugar right onto your topping! If you spot one area getting too dark, lift the torch slightly and keep sweeping. Now, if you don’t own a torch—no drama! Many of my readers looking for an easy creme brulee cheesecake option go straight to the broiler. You’ll place your chilled, sugared cake under the hottest broiler setting. Watch it like a hawk—I mean it! It can go from perfect to charcoal in about 90 seconds. We want that gorgeous hard shell contrast against the cold cheesecake underneath, so move fast!
If you want to see someone else’s technique on getting that perfect finish, you can look at how they handle it in this article. Once you hear that *crunch*, send me a picture because I want to celebrate with you!
Tips for Success with Your Decadent Cheesecake Recipe
Even the most decadent cheesecake recipe—especially one as layered as this hybrid—can throw us a curveball if we rush the process. My biggest piece of advice, from years of baking things that need perfect structure, is all about temperature control. Make sure that cream cheese is truly soft, not just kind of soft. Room temperature is your best friend for a smooth, silky batter!
When it comes to cheating the system and trying for a no water bath cheesecake, I won’t lie—it’s risky business here. While you might get away with it on a basic cheesecake, the richness of this style really benefits from that gentle, humid heat. If you skip the bath, you absolutely must bake it low and slow, and be prepared to crack that oven door wide open during the last 20 minutes!
My Kate’s Tip? Always make sure your mixing bowl is completely dry before you beat the eggs in. Any stray water droplet or fat speck can disrupt the custard structure we’re building. And please, resist the urge to check it too soon while it’s baking; let that slow cooling process inside the oven do its job!
Variations on the Creme Brulee Cheesecake
Once you master the classic, you have to start playing around, right? I love experimenting with this gourmet cheesecake flavor because the base is so sturdy and delicious. It really takes on other flavors beautifully, which means you can tailor this dessert for any party or craving!
If you’re tired of the standard graham cracker crust—and I totally get it—you can easily swap it out. I’ve seen amazing versions use crushed digestive biscuits, which gives it a slightly nuttier flavor, almost like the ones they use across the pond. Or, if you want something really nostalgic, try using crushed Nilla Wafers! They make the crust almost buttery on its own.
Now for the filling! If you want to amp up that creamy vanilla richness, try adding a few ounces of melted, high-quality white chocolate into the filling right before the eggs go in. It makes the texture even more luxurious. Another personal favorite trick is adding the zest of one whole lemon. It cuts through the richness perfectly and makes it feel bright and new. For those times when you want a quick, less fussy version, remember you can change the shape! If you prefer individual treats, making mini creme brulee cheesecakes in a cupcake tin is super fast, and they cook in about half the time. And for gatherings where you want easy slices, I highly recommend trying out the recipe for creme brulee cheesecake bars; I found a fantastic guide for making those right here.
No matter how you serve it, the contrast between that cold, rich cheese and the hot, snapped topping is just pure magic. If you’re interested in seeing how I keep my carrot cake ridiculously moist—because moisture is key in all baking!—you can check out my tips on that recipe!
Storing and Serving Your Elegant Baked Dessert
This gorgeous creation needs a little planning for storage, but trust me, the payoff is worth it. Once your cheesecake is completely chilled—and I mean *fully* chilled—cover it tightly with plastic wrap. You want to keep the air off it so it doesn’t absorb any fridge smells. Store it in the refrigerator for up to four days. It holds its shape beautifully!
Now, the most important serving advice for this elegant baked dessert: only, and I mean only, apply that sugar topping right before you serve it. If you torch the sugar a day ahead, it will dissolve into the cream layer, and you’ll lose that signature *crack*. We need that amazing contrast between the blazing hot, warm topping and the ice-cold cheesecake beneath it. That temperature difference is what makes this truly spectacular!
Frequently Asked Questions About Creme Brulee Cheesecake
It’s totally normal to have a few questions when you combine two big-deal desserts into one! That’s why I’ve collected the most common concerns I hear about achieving that perfect result with this creme brulee cheesecake recipe. Don’t worry about those little textural worries; we’ve got this!
Can I skip the water bath for this creme brulee cheesecake recipe?
I’m going to give you the honest answer here! Yes, you *can* try to make a no water bath cheesecake, but for a rich batter like this? I wouldn’t recommend it if you are aiming for that smooth, restaurant-quality finish. The water bath provides gentle, steamy heat that cooks the edges and center evenly, which keeps the top flat and crack-free. Going without that gentle heat means you run a higher risk of getting a bumpy top or cracks, which makes spreading that beautiful cream layer tricky later on. It’s an extra step, but it’s your insurance policy for perfection!
How far in advance can I make the cheesecake base?
This is the beautiful part of this gourmet cheesecake flavor—it needs make-ahead time! You absolutely *must* chill the baked cheesecake base for a minimum of 6 hours, but ideally overnight. Chilling solidifies the fats and helps absorb those vanilla flavors, making it the ultimate cold treat. The key is timing the topping: only whip the cream and sprinkle the sugar on top right before you intend to serve it. If you do it earlier, the sugar will weep into the cream and you lose that lovely crunch!
What is the best sugar to use for the crackly caramelized topping?
For the classic, hard, crackly caramelized topping, standard granulated sugar is what my recipe calls for, and it works perfectly, especially when you use a torch. The crystals are just the right size. If you use superfine sugar—the kind you sometimes use for meringues—it sometimes melts a little too quickly, so you have less control over how dark the caramel gets. Stick to the regular size for the best results, and remember to use a nice, even layer so you don’t end up with soft spots! Speaking of great bases, if you’re looking for amazing chocolate chip cookies, I have my favorite recipe posted right here!
Nutritional Estimates for This Indulgent Dessert Idea
Now, let’s chat about the elephant in the room—because yes, this is an absolutely magnificent, indulgent dessert idea, and it’s going to be rich! I always include these estimates just so you know what you’re reaching into, but please take these figures with a big grain of salt. They are just estimates based on the standard ingredients list for one slice. Remember, this decadent cheesecake recipe is designed for special occasions, not necessarily for Tuesday night!
I calculated these numbers assuming you get 12 generous slices out of the whole cake. If you cut larger slices (which, hey, I won’t judge!), those numbers will adjust accordingly. When you’re making something this incredible, it’s all about savoring the moment, not counting the calories!
Here is the breakdown based on our recipe measurements:
- Serving Size: 1 slice
- Calories: Around 450 (That’s for pure happiness, folks!)
- Sugar: Roughly 35g (Remember half of that comes from that glorious caramelized crust!)
- Fat: About 30g (Hello, cream cheese and butter!)
- Carbohydrates: Around 40g
- Protein: About 8g
Look, that sugar is essential for that classic crackle effect, and you need the fat for that unbelievable richness. Enjoy every single bite of this masterpiece!
Share Your Showstopper Dessert Recipe Experience
Well, we did it! You’ve successfully navigated the water bath, you’ve tortured the sugar with fire, and now you are staring down the barrel of the most heavenly fusion dessert ever created. I am honestly so proud of you for tackling this creme brulee cheesecake!
I truly want to hear all about it! Did the topping snap perfectly on the first tap? Were you terrified when holding the torch? Please, don’t leave me hanging!
Head down to the comments section below—I read every single one, I promise. Give this recipe a solid 5-star rating if it knocked your socks off. It really helps other home cooks feel confident tackling something that looks this glamorous.
When you serve this showstopper up, what are you pairing it with? Sometimes a super rich dessert like this just needs a little something savory on the side to balance things out before diving in. I often make a big batch of my ridiculously easy deviled eggs for BBQs, and they are always a huge hit with guests! You can check out my classic method right here if you need an appetizer idea.
Happy baking, friends. Now go enjoy that glorious crunch!
PrintUltimate Crème Brûlée Cheesecake: The Showstopper Dessert Mashup
You will create a decadent dessert combining a rich, creamy baked cheesecake with the signature crackly, caramelized sugar topping of classic crème brûlée. This recipe uses a simple graham cracker crust and results in an elegant, showstopper dessert.
- Prep Time: 30 min
- Cook Time: 65 min
- Total Time: 7 hours 35 min
- Yield: 12 servings 1x
- Category: Dessert
- Method: Baking
- Cuisine: American
- Diet: Vegetarian
Ingredients
- 1 1/2 cups graham cracker crumbs
- 1/3 cup granulated sugar (for crust)
- 6 tablespoons unsalted butter, melted
- 16 ounces cream cheese, softened
- 3/4 cup granulated sugar (for filling)
- 3 large eggs
- 1 teaspoon vanilla extract
- 2 tablespoons sour cream or plain yogurt
- 1 cup cold heavy cream
- 1/4 cup granulated sugar (for topping)
Instructions
- Preheat your oven to 325°F (160°C). Wrap the outside of a 9-inch springform pan tightly with heavy-duty aluminum foil.
- Prepare the crust: Mix graham cracker crumbs, 1/3 cup sugar, and melted butter until combined. Press the mixture firmly into the bottom of the prepared springform pan. Bake for 10 minutes. Let cool slightly.
- Prepare the cheesecake filling: Beat the softened cream cheese until smooth. Gradually add 3/4 cup sugar, beating until combined. Beat in the eggs one at a time, mixing just until incorporated after each addition. Mix in the vanilla extract and sour cream.
- Pour the cheesecake batter over the cooled crust. Place the springform pan inside a larger roasting pan. Carefully pour hot water into the roasting pan until the water reaches halfway up the sides of the springform pan (this creates a water bath).
- Bake for 55 to 65 minutes, or until the edges are set but the center still jiggles slightly.
- Turn off the oven, crack the door open slightly, and let the cheesecake cool inside the oven for 1 hour. Remove the cheesecake from the water bath and let it cool completely on a wire rack.
- Chill the cheesecake in the refrigerator for at least 6 hours, or preferably overnight.
- Prepare the topping: When ready to serve, spread the 1 cup of cold heavy cream over the chilled cheesecake surface. Sprinkle the remaining 1/4 cup of sugar evenly over the cream layer.
- Use a kitchen torch to melt and caramelize the sugar until it forms a hard, dark amber crust. Serve immediately to enjoy the contrast between the warm, crackly topping and the cold cheesecake.
Notes
- If you do not have a kitchen torch, you can place the sugar-topped cheesecake under a hot broiler for 1-2 minutes, watching constantly to prevent burning.
- Using high-quality vanilla extract provides the best flavor for this vanilla bean cheesecake base.
- For a smoother texture, let your cream cheese sit at room temperature for at least one hour before mixing.
Nutrition
- Serving Size: 1 slice
- Calories: 450
- Sugar: 35g
- Sodium: 250mg
- Fat: 30g
- Saturated Fat: 18g
- Unsaturated Fat: 12g
- Trans Fat: 0.5g
- Carbohydrates: 40g
- Fiber: 1g
- Protein: 8g
- Cholesterol: 110mg