
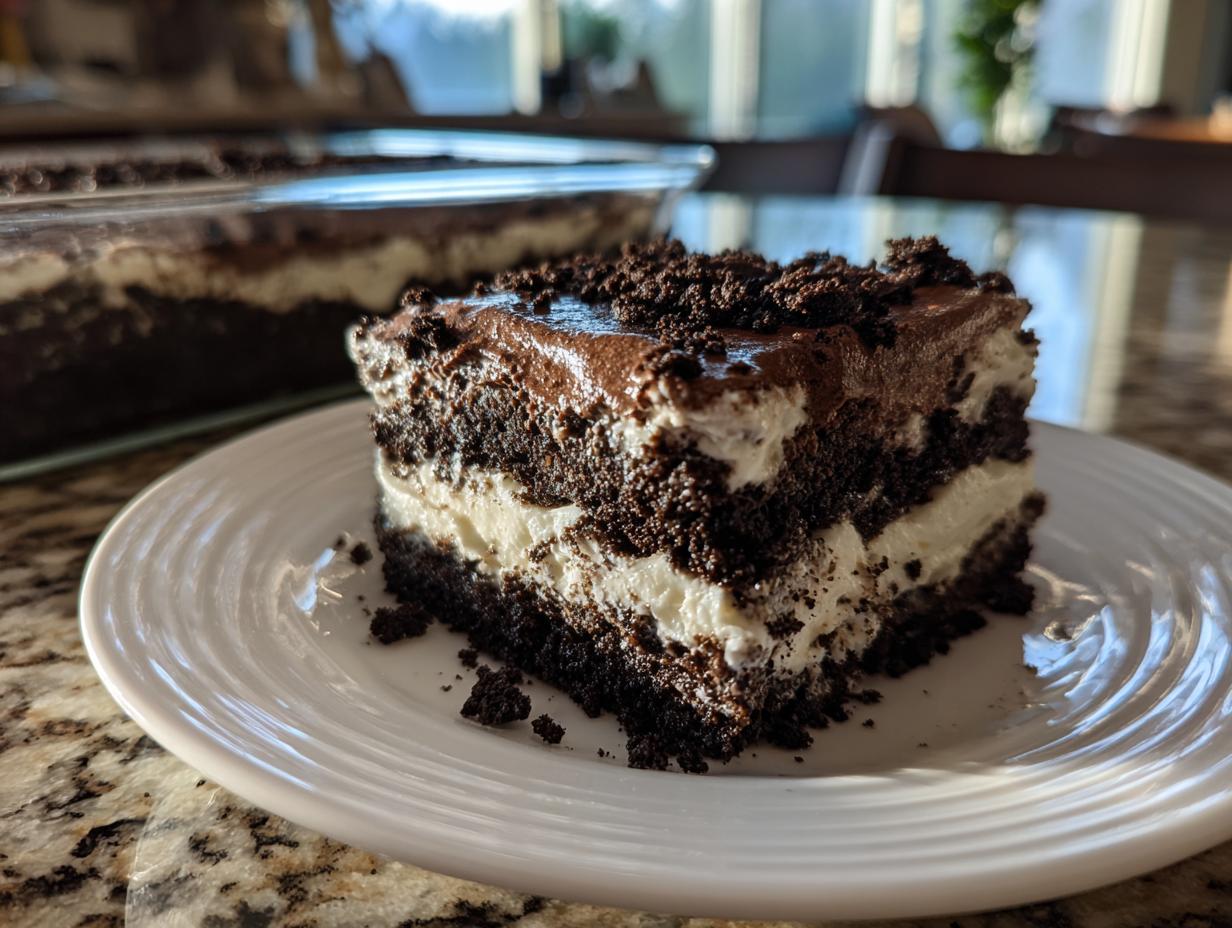
Welcome back to Kings Cook! If you’re anything like me, the best desserts are the ones that instantly bring you back to childhood parties or big family potlucks. We all need those easy, incredibly impressive recipes in our back pocket, right? Well, today I’m handing over the keys to what might be the ultimate crowd-pleaser: The Oreo Dirt Cake.
Forget the oven! This layered beauty is completely no-bake, comes together in minutes, and has that perfect dreamy, creamy texture that everyone adores. My goal here is simple: to give you the confidence to make this amazing dessert for your next gathering, guaranteed to be a huge hit. Stick with me, and I promise you’ll master this nostalgic treat!
I have shared some of my favorite ultimate sweet treats over at my page dedicated to the best dessert recipes, but this one deserves star status!
- Why This Creamy No-Bake Oreo Dirt Cake Recipe Works So Well
- Gather Your Ingredients for the Best Oreo Dirt Cake
- Step-by-Step Instructions for Your No Bake Dirt Cake Recipe
- Tips for Making the Ultimate Oreo Dirt Cake
- Serving Suggestions for Your Simple Layered Dessert
- Storing and Reheating Your Oreo Dirt Cake
- Frequently Asked Questions About Oreo Dirt Cake
- Nutritional Estimates for This Nostalgic Chocolate Dessert
- Share Your Experience Making This Easy Oreo Dirt Cake
Why This Creamy No-Bake Oreo Dirt Cake Recipe Works So Well
Honestly, the reason I keep coming back to any no-bake dessert is that it almost always spells success, and this Oreo Dirt Cake is proof positive. You don’t need fancy equipment or hours of time; you need a mixer and a little patience while it chills. It’s the dessert equivalent of a standing ovation!
Here’s what makes this recipe a staple in my rotation for everything from birthdays to just needing a quick sweet fix. When you’re planning for a big event and need reliable dishes, this is the one you turn to. I’ve linked some of my favorite easy lunch ideas as well, because sometimes the easiest meals need the easiest desserts!
- It requires zero oven time, which is a lifesaver in the summer months!
- It uses simple, accessible ingredients you likely have right now.
- It is truly a textural masterpiece—creamy, rich, and crunchy all at once.
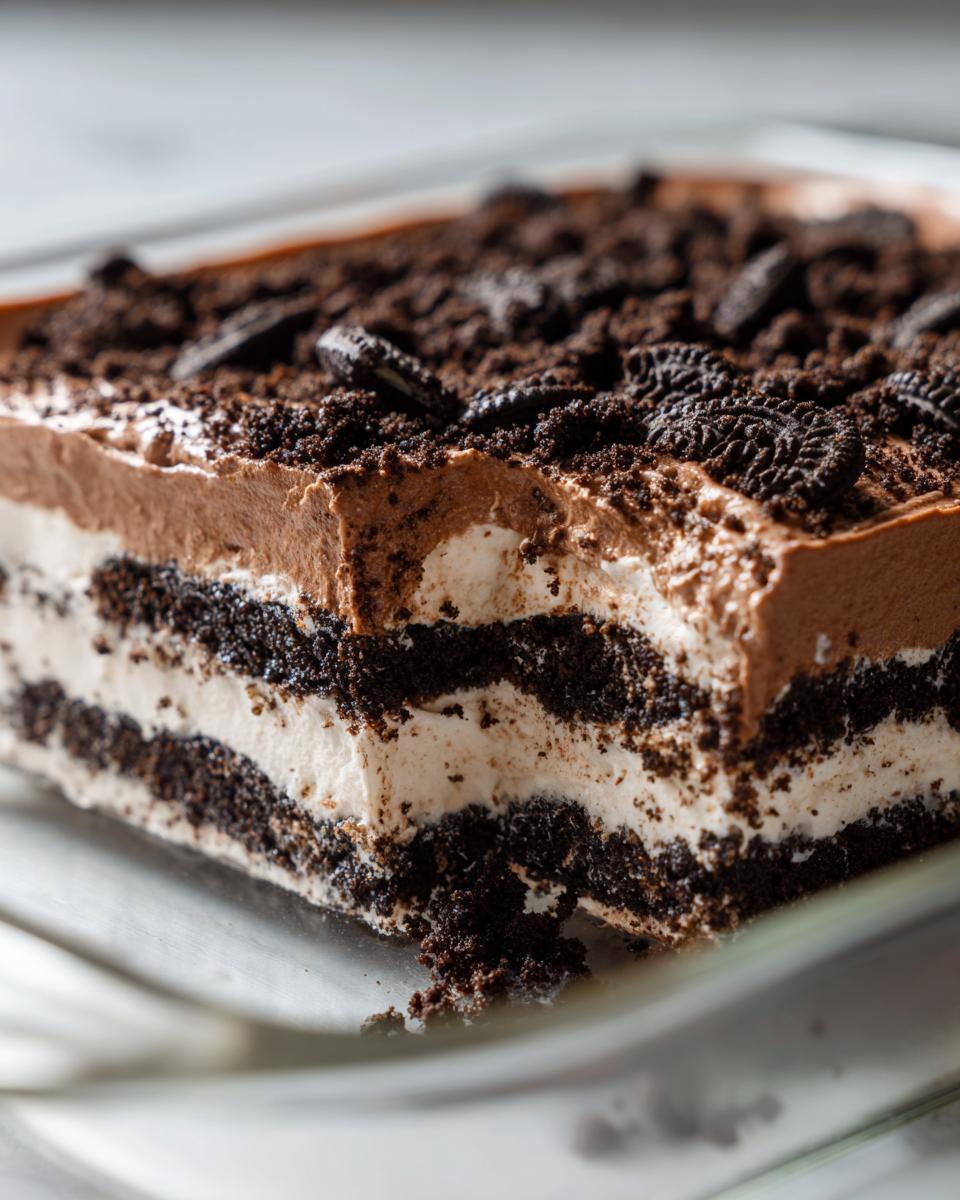
The Secret to the Perfect Oreo Dirt Cake Texture
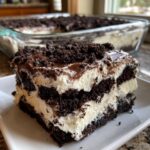
The perfection here lives entirely in the contrast! We crush most of the Oreos fine, which blends seamlessly into that ridiculously creamy pudding and cream cheese layer. But you absolutely must leave that final topping layer slightly coarser. That delightful crunch next to the smooth filling is what makes this the ultimate Oreo Dirt Cake. And please, don’t skip the chilling time; otherwise, your layers will just look messy when you slice into them!
Quick Party Desserts Ready in Minutes
If you’re scrambling for a last-minute contribution to a potluck or school event, this is your hero. We are looking at maybe 25 minutes of actual active time. That makes it one of my favorites when I need genuinely quick party desserts that look like you spent all afternoon fussing over them. It’s impressive, fuss-free, and so satisfying once it sets up perfectly in the fridge.
Gather Your Ingredients for the Best Oreo Dirt Cake
Okay, friends, let’s talk about what you need for this Oreo Dirt Cake! As I always promise here at Kings Cook, we focus on things you can grab easily at your local supermarket. There’s no need to hunt down specialty flours here! We are keeping this simple and accessible so you can feel confident walking into the kitchen right now.
Ingredient Clarity and Preparation Notes
Before you even grab your mixing bowls, I want to give you a couple of quick pointers so everything runs smoothly. Remember, we need those Oreos divided—some for the base, some for the garnish layer, so be sure you crush them in batches! Also, the cream cheese needs to be fully softened; if it’s cold, you’ll end up with lumps, and we want smooth sailing here. Lastly, make sure you pick up the instant chocolate pudding mix, not the cook-and-serve kind. That instant stuff is our secret weapon for keeping this a true no-bake wonder!
Step-by-Step Instructions for Your No Bake Dirt Cake Recipe
Alright, let’s get down to business and make this incredible Oreo Dirt Cake! I love that this entire recipe skips the oven entirely; it’s just mixing, layering, and waiting patiently. Don’t worry about making it look perfectly straight, honestly—the ‘dirt’ topping is forgiving and meant to look rustic! These steps are designed to guarantee you get that wonderful texture contrast every single time. If you’re looking for more totally hands-off meals, check out my favorite easy crockpot chicken tacos!
Preparing the Oreo Crumble Base
First things first, we need that delicious, crunchy cookie element! Take nearly all your full package of Oreos—we only save about one cup for the very top garnish. Stick the rest in a sturdy plastic bag, and grab a rolling pin. Smash those cookies until they are finely ground. We want a fine crumb for the base and middle layers, so crush hard! Set that reserved cup of Oreos aside; they are waiting patiently for their starring role later.
Creating the Creamy Filling for Your Oreo Dirt Cake
Now for the smooth part! Whisk your instant chocolate pudding mix right into the cold milk until it starts to thicken up nicely—this only takes a couple of minutes. While that sits for five minutes, in a separate bowl, beat your softened cream cheese with the powdered sugar until it’s perfectly smooth. Then, gently fold in your thawed whipped topping. Take your time here! We want to keep the air in that whipped topping. Finally, gently fold that rich pudding mixture right into the sweetened cream cheese mix until everything is a uniform, gorgeous color. That’s the secret to that creamy dirt cake with pudding and cool whip!
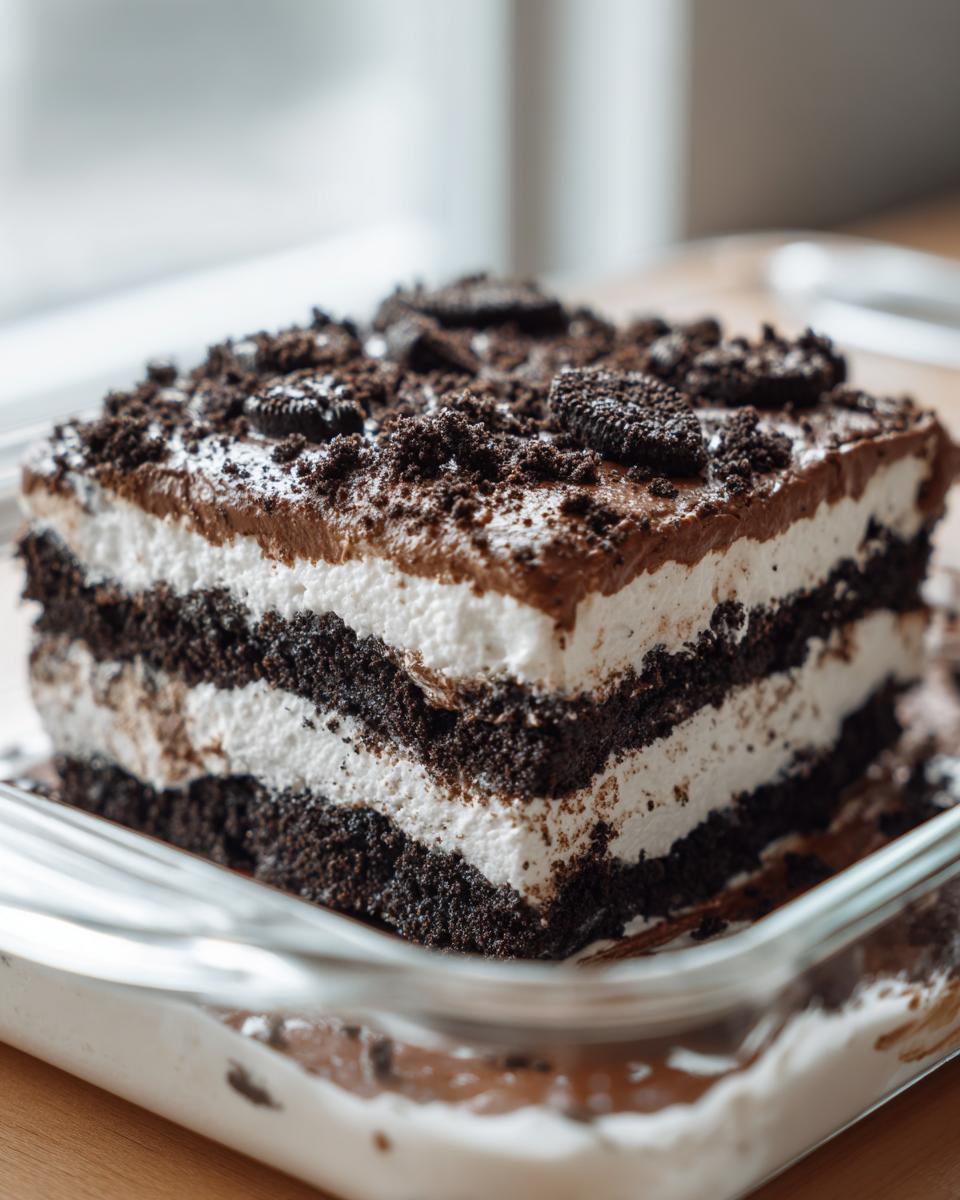
Assembling the Layered Oreo Dessert
Time to layer up this showstopper! Grab your 9×13 dish or a nice trifle bowl if you want everyone to see the layers. Start by spreading half of your finely crushed Oreos across the bottom—this is the first layer of ‘dirt.’ Next, spread exactly half of that creamy chocolate mixture smoothly over the cookies. Repeat! Add the rest of your crushed Oreos, and then neatly top it all off with that remaining creamy layer. See how easy it is to build this layered oreo dessert?

Chilling the Oreo Dirt Cake
This is the hardest, yet most important, part, trust me! Spread those reserved, slightly chunkier Oreos right over the top surface to look like lovely, fresh dirt. Cover the whole dish tightly with plastic wrap. This no bake dirt cake recipe absolutely requires chilling time to let the pudding set up and integrate with the cream cheese base. I aim for a solid four hours minimum, but if you can keep your hands off it until the next day, it’s even better. That chilling time makes all the difference!
Tips for Making the Ultimate Oreo Dirt Cake
Even though this oreo dirt cake is incredibly straightforward, a little extra know-how can take it from great to truly unforgettable. Since this is a completely no-bake recipe, the temperature and texture of our ingredients matter a lot! I’ve learned a few tricks over the years that help me nail that perfect texture every single time I whip this up for a dinner party. I really want you to feel that sense of accomplishment when your friends ask for the recipe! For more reliable recipes for busy evenings, check out my list of weeknight dinner recipes!
Ingredient Substitutions for this No Bake Dirt Cake Recipe
If you’re swapping things up, remember that cream cheese temperature is everything—if it’s even slightly cold, it fights the powdered sugar and won’t get that satiny smooth look. If you want to take the richness up a notch, try swapping about half the milk you use for pudding with heavy cream; it makes the pudding layer incredibly luxurious! Also, presentation is fun! If you’re making this for littles, skip the big dish and layer everything into small clear cups. They become these adorable, individual ‘dirt cups’ that kids absolutely adore.
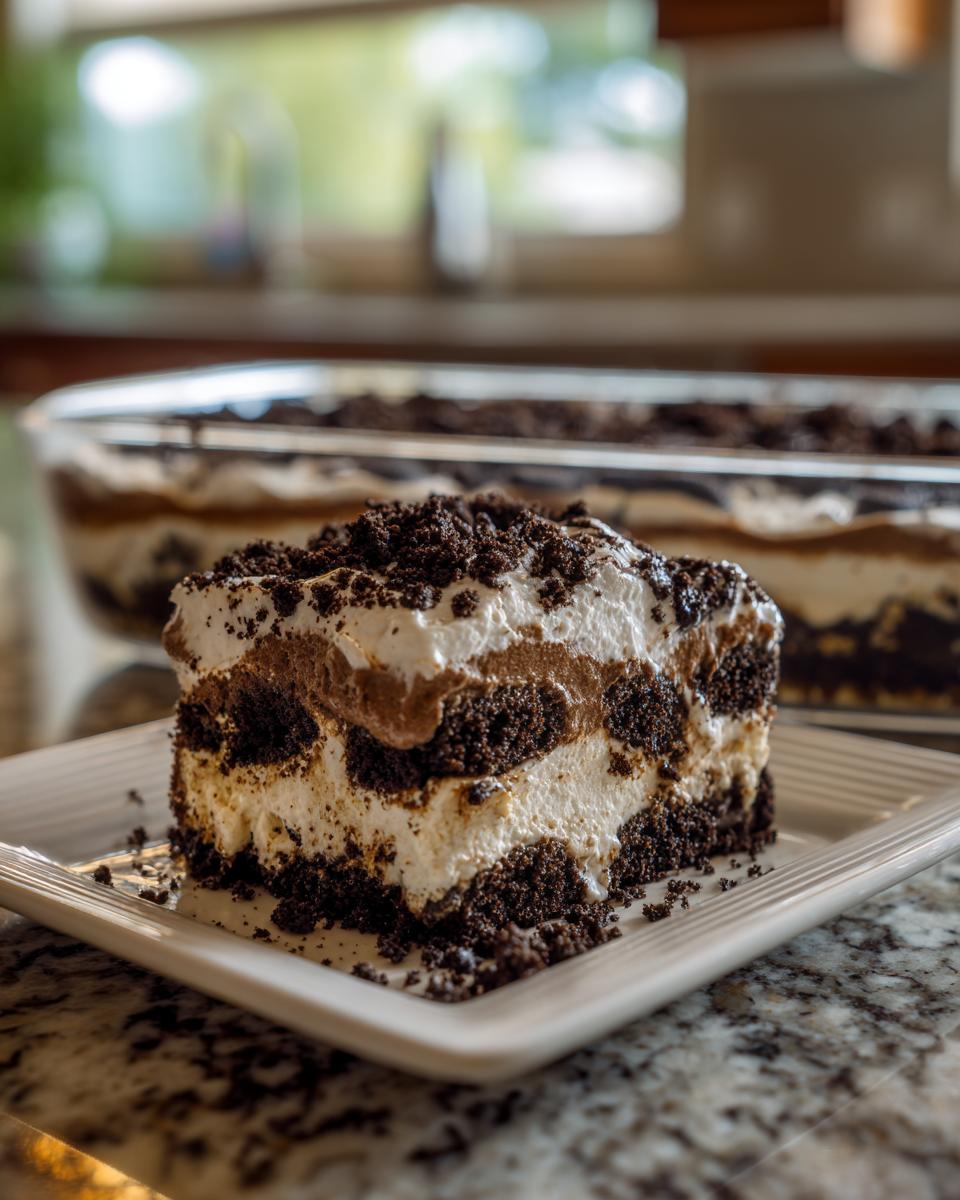
Serving Suggestions for Your Simple Layered Dessert
Once your beautiful oreo dirt cake has chilled and set up nicely, the final hurdle is presentation! Since this is already an amazingly rich and chocolatey treat, you don’t need much fuss to make it look phenomenal. I love how this simple layered dessert can look humble in a large dish but instantly upscale in the right serving ware. Think about the occasion when deciding how to present it!
If you are serving this to a crowd at a relaxed picnic or barbecue, a big 9×13 dish works perfectly great. Just be sure to have a good, sturdy spatula to scoop out those defined layers. For something a bit more elegant, serving this in individual clear glass bowls or wine glasses really lets those layers shine. It looks so much more intentional when you can see the dark crumbs next to the pale, creamy filling!
When it comes to pairing, since this is such a decadent chocolate dish, you don’t want anything too heavy alongside it. I usually skip serving other big desserts. Instead, you can offer plain vanilla ice cream on the side for a temperature contrast, or maybe a plate of fresh berries like raspberries or sliced strawberries. That little bit of bright tartness cuts through the richness of the cookies and cream beautifully. If you’re looking for the perfect savory dish to follow up *before* dessert time, you have to check out my collection of delicious side dishes!
Storing and Reheating Your Oreo Dirt Cake
Okay, this is important because we’ve used pudding and cream cheese here, so safety and quality control matter! Since the oreo dirt cake is completely no-bake, it needs to stay cold to keep that creamy filling firm and safe to eat. You absolutely must keep this covered tightly in the refrigerator from the moment it sets.
The good news is that this dessert holds up really well! Because it needs that chilling time to set, making it ahead of time is actually encouraged; it actually tastes better the next day after the flavors melt together a bit more. I find that the oreo dirt cake usually lasts beautifully for about three to four days in the fridge when kept well-covered. After that, the cookies start to soften up too much, and the texture changes.
Now, about reheating—don’t! Seriously, there’s no reheating necessary or recommended for this dessert. It’s meant to be served chilled straight from the cold. If you scoop out a serving and it sits on the counter for too long while you eat, just pop the leftovers right back into the fridge quickly. Keeping this cold keeps the structure perfect!
Frequently Asked Questions About Oreo Dirt Cake
I know that when you find a recipe you love, you want to make sure you can tweak it for every occasion! Since this is such a popular, crowd-pleasing dessert, I get lots of questions about making sure it comes out perfectly every time, especially when planning parties. I absolutely want you to feel confident making this oreo dirt cake!
Can I use different cookies instead of Oreos in this dirt dessert recipe?
That’s a great question if you happen to be out of Oreos! While you certainly *can* use other cookies, I always push for the real deal here. The distinct black cookie crumb is what gives this dessert its iconic look—that’s why it’s called dirt cake, right? If you must substitute, chocolate wafers work okay, but they tend to break down into powder too fast during the chilling process, losing that nice textural crunch.
Graham crackers are a totally different flavor profile, so I only recommend that if you’re aiming for more of a traditional cheesecake crust vibe on the bottom layer. For the true, nostalgic experience of an oreo dirt dessert, keep the Oreos! They are tough enough to hold up to the creamy filling.
How far in advance can I prepare the Oreo Dirt Cake?
This is the best part about this no bake dirt cake recipe: it thrives on being made ahead! For the absolute best texture where the cookies have melded slightly with the pudding layer but still have a bit of give, chilling it overnight is seriously the way to go. I usually assemble the whole thing—even the top crumb layer—the night before a big event.
If you are short on time, you must allow for at least four hours of chill time, as I mention in the instructions. Shorter than that, and your creamy layer will be too soft when you try to use a spatula, making those beautiful layers slide around. So, yes, plan your baking around your chilling time!
What if my creamy layer seems too runny?
Ugh, that’s the worst! If your filling seems too runny after you’ve folded everything together, it almost always means two things: either your cream cheese wasn’t quite room temperature, so it didn’t incorporate smoothly, or you didn’t let the initial pudding mixture sit long enough to thicken. Don’t panic! If you have time, cover it and stick it in the fridge for another 30 minutes. Sometimes those instant puddings just need a little extra nudge of cold to firm up properly. If you’re in a hurry, adding an extra half-cup of the whipped topping can sometimes help bind it, but chilling is always my first recommendation!
Nutritional Estimates for This Nostalgic Chocolate Dessert
I always get asked about the numbers, so I wanted to give you a breakdown of what you can expect from a single serving of this incredible dessert. Now, please hang onto this important fact: these figures are only estimates! Since we are making this dessert from scratch—and maybe one person uses a little extra pudding than another (oops!)—the actual nutritional content can vary a little bit. That’s just part of home cooking, right?
This table reflects one generous serving based on the full recipe yield. Even though this is a rich treat, it’s worth every minute of mixing when we look at what’s inside. It’s a feel-good dessert, and understanding the ingredients helps you enjoy it even more!
- Serving Size: 1 serving
- Calories: Approximately 410
- Total Fat: Around 24g (with about 14g being saturated fat)
- Carbohydrates: Roughly 48g
- Sugar: About 38g
- Protein: Around 5g
Like most creamy, delicious, chocolate-based desserts, this one is a little higher in fats and sugars, but that’s what makes it such a wonderful treat for celebrations! Remember, this is for special occasions, not an everyday meal, though I certainly wouldn’t judge you if you wanted to make it more often!
Share Your Experience Making This Easy Oreo Dirt Cake
Now that you have all the secrets to making the creamiest, most nostalgic oreo dirt cake, I really, truly hope you give it a try! Cooking should be fun, and making something like this—that requires zero oven time and gets massive compliments—is the fastest way to build confidence in the kitchen. I designed this recipe specifically to eliminate stress, so you can focus on enjoying the moment and the dessert!
When you whip this up for your next get-together, please come back here and let me know how it went! Did you use a trifle dish? Did the kids help crush the cookies? Drop a comment below and tell me all about it. Seeing your success stories is genuinely the best part of running Kings Cook. Making this dessert is a badge of honor for any quick party dessert repertoire!
If you’re curious about my own kitchen journey or want to see more recipes designed to make you feel like royalty, you can always learn more about what drives me over on my About Page. Happy baking—or should I say, happy *mixing*!
PrintThe Best Creamy No-Bake Oreo Dirt Cake Recipe (Layers Explained!)
You need this easy, no-bake Oreo Dirt Cake recipe for your next gathering. It features creamy layers of chocolate pudding and whipped topping mixed with crushed Oreos for a nostalgic, crowd-pleasing dessert.
- Prep Time: 25 min
- Cook Time: 0 min
- Total Time: 4 hr 25 min
- Yield: 12 servings 1x
- Category: Dessert
- Method: No-Bake
- Cuisine: American
- Diet: Vegetarian
Ingredients
- 1 package (14.3 oz) Oreo cookies, divided
- 1 package (3.9 oz) instant chocolate pudding mix
- 3 cups cold milk
- 1 container (8 oz) frozen whipped topping, thawed
- 1 package (8 oz) cream cheese, softened
- 1 cup powdered sugar
Instructions
- Set aside about 1 cup of whole or crushed Oreo cookies for the topping. Place the remaining Oreos into a large zip-top bag and crush them finely using a rolling pin or food processor.
- In a large bowl, whisk together the instant chocolate pudding mix and cold milk until the mixture thickens, about 2 minutes. Let it stand for 5 minutes.
- In a separate bowl, beat the softened cream cheese and powdered sugar together until smooth. Gently fold the whipped topping into the cream cheese mixture until just combined.
- Fold the pudding mixture into the cream cheese mixture until fully incorporated, creating the creamy filling.
- In a large trifle dish or 9×13 inch pan, begin layering. Place half of the crushed Oreos on the bottom.
- Spread half of the creamy chocolate mixture evenly over the cookie layer.
- Repeat the layers: add the remaining crushed Oreos, followed by the remaining creamy mixture.
- Spread the reserved 1 cup of crushed Oreos evenly over the top layer to resemble ‘dirt’.
- Cover the dish and chill in the refrigerator for at least 4 hours, or preferably overnight, to allow the layers to set properly.
Notes
- For the best texture, make sure your cream cheese is fully softened before mixing.
- You can assemble this dessert in individual clear cups for fun, themed desserts for kids.
- If you want a richer flavor, substitute half of the milk with heavy cream when making the pudding.
Nutrition
- Serving Size: 1 serving
- Calories: 410
- Sugar: 38
- Sodium: 350
- Fat: 24
- Saturated Fat: 14
- Unsaturated Fat: 10
- Trans Fat: 0.5
- Carbohydrates: 48
- Fiber: 1
- Protein: 5
- Cholesterol: 45