

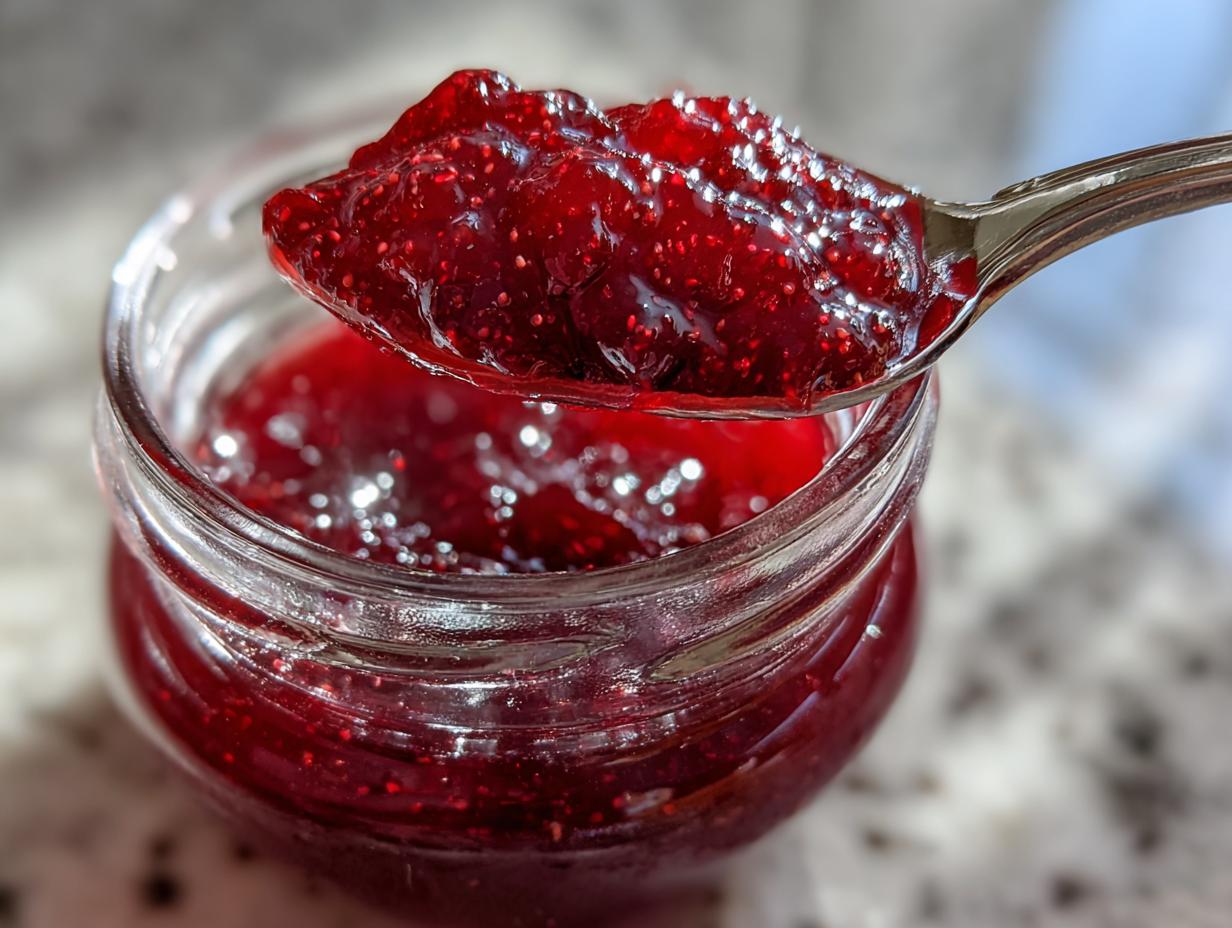
Oh my goodness, there is nothing better than capturing that perfect burst of summer sunshine, right? When those bright, tart-sweet raspberries are in season, you absolutely have to make this amazing homemade raspberry jam. I’m Kate Connolly, and if you’ve ever felt intimidated by preserving fruit, trust me, this is the recipe you need. My goal here at Kings Cook is giving the American home cook reliable recipes that just just work, and this one proves you don’t need any weird, gummy additives. We’re making luscious, bright raspberry jam totally from scratch using just three simple ingredients—no commercial pectin needed!
I worked through this process back in the day to make sure even the busiest person could whip up a batch quickly. If you can boil water and stir, you are ready for this!
- Why This Easy Raspberry Jam Recipe Works (No Pectin Needed)
- Gathering Ingredients for Your Homemade Raspberry Jam
- Step-by-Step Instructions for Stovetop Jam Making
- Preserving Summer Berries: Canning Raspberry Jam vs. Freezer Jam Tutorial
- Tips for Success Making Your Small Batch Jam Making
- Serving Suggestions for Sweet Raspberry Topping
- Frequently Asked Questions About Raspberry Jam
- Estimated Nutritional Information for Raspberry Jam
- Share Your Homemade Raspberry Jam Creations
Why This Easy Raspberry Jam Recipe Works (No Pectin Needed)
You might look at this list—just berries, sugar, and lemon—and think, “Where is the magic that makes it thick?” Well, the magic is that we’re using real fruit power, not packets! This is truly a quick raspberry preserve that skips the pectin for a fresher taste and cleaner ingredient list. That big pop of flavor you get is because we rely on nature’s thickeners.
- It’s fast! You don’t waste time mixing in stabilizers.
- The flavor is intensely fruity and bright.
- It’s perfect for beginner jam makers.
The Secret to Firm Raspberry Jam Without Pectin
It all comes down to balance, honey! Raspberries are naturally quite acidic, and that acid loves to work with high amounts of sugar. When we boil this mixture hard, we concentrate both the sugar and the natural pectin already hiding in the berry seeds and skins. That lemon juice I add isn’t just for brightness; it kicks that acidity up just enough so everything gels beautifully when it cools down. That little bit of acid is key to success!
Gathering Ingredients for Your Homemade Raspberry Jam
Okay, let’s talk about what you need to grab before we even think about turning on the stove. Making this homemade raspberry jam is incredibly straightforward because it uses just three very basic things. I’ve kept this recipe so clean because I want you to taste the *fruit*, not just the preservative. When we focus on simple, quality components, we build trust in the final product, which is what Kings Cook is all about!
Using the best raspberries you can find makes all the difference here. Don’t worry if you can’t get those perfect garden berries, though; either fresh or even frozen ones work wonderfully in this recipe. Just remember, whatever you choose, it needs to be rock-solid ripe for the best natural fruit spread.
Ingredient List for Perfect Raspberry Jam
You don’t need a huge shopping trip for this! Seriously. Grab these three things and you are ready to go. I always keep mine measured out and ready to pop into the pot.
First, you definitely need four cups of sweet raspberries. Whether they are fresh off the vine or pulled straight from the freezer bag, measure them out. If they are frozen, don’t bother thawing them first; just toss them in the pot as is—the heat will deal with them.
Next up is your sugar. We call for three cups of granulated sugar. I know, I know, it seems like a lot, but remember, this sugar isn’t just for sweetness; it’s doing most of the heavy lifting for setting the jam since we aren’t using any pectin! It works hard alongside the lemon juice.
Finally, just one tablespoon of fresh lemon juice. Fresh is non-negotiable here; please don’t grab the bottled stuff if you can help it. That acid brightens up the whole flavor profile and plays a huge role in getting that lovely jam texture we are after.
Step-by-Step Instructions for Stovetop Jam Making
Alright, are you ready for the sticky, sweet fun? This whole process, from start to finish, is what I call true stovetop jam making, and honestly, it’s so much easier than people think. Once you get the rhythm down, you’ll be making batches every summer. We want to coax all that lovely flavor out of the berries before we really crank up the heat.
Preparing the Berries and Sugar
First thing’s first: dump your raspberries and your sugar right into a big, heavy-bottomed pot. Don’t skimp on the size of that pot—jam likes to foam up when it boils! Now for the crucial wait: let that mixture sit for about 15 minutes. This step is non-negotiable. The sugar starts drawing out all the gorgeous syrup hiding inside the berries, and that liquid means we won’t scorch the sugar immediately once we turn on the heat. That wait time saves your jam, I promise!
Achieving the Setting Point for Raspberry Jam
Time to cook! Set your pot over medium-high heat and stir constantly until every single grain of sugar has dissolved completely. You don’t want any grainy bits left sticking to the bottom. Once it reaches a rolling, frothy boil—a boil that won’t go away when you stir it—toss in that tablespoon of lemon juice. Now, you must keep boiling hard and stirring often so it won’t stick and burn. If you have a candy thermometer, aim for 220 degrees Fahrenheit. If you don’t, try the plate test! Pop a teaspoon of the jam onto a plate you chilled in the freezer earlier. Wait thirty seconds, then push it with your finger. If the top wrinkles slightly, it’s done! If not, keep boiling for a few more minutes and check again. When it’s perfect, you can transfer some of that fresh batch over to snack time appetizers or save it for later!
Preserving Summer Berries: Canning Raspberry Jam vs. Freezer Jam Tutorial
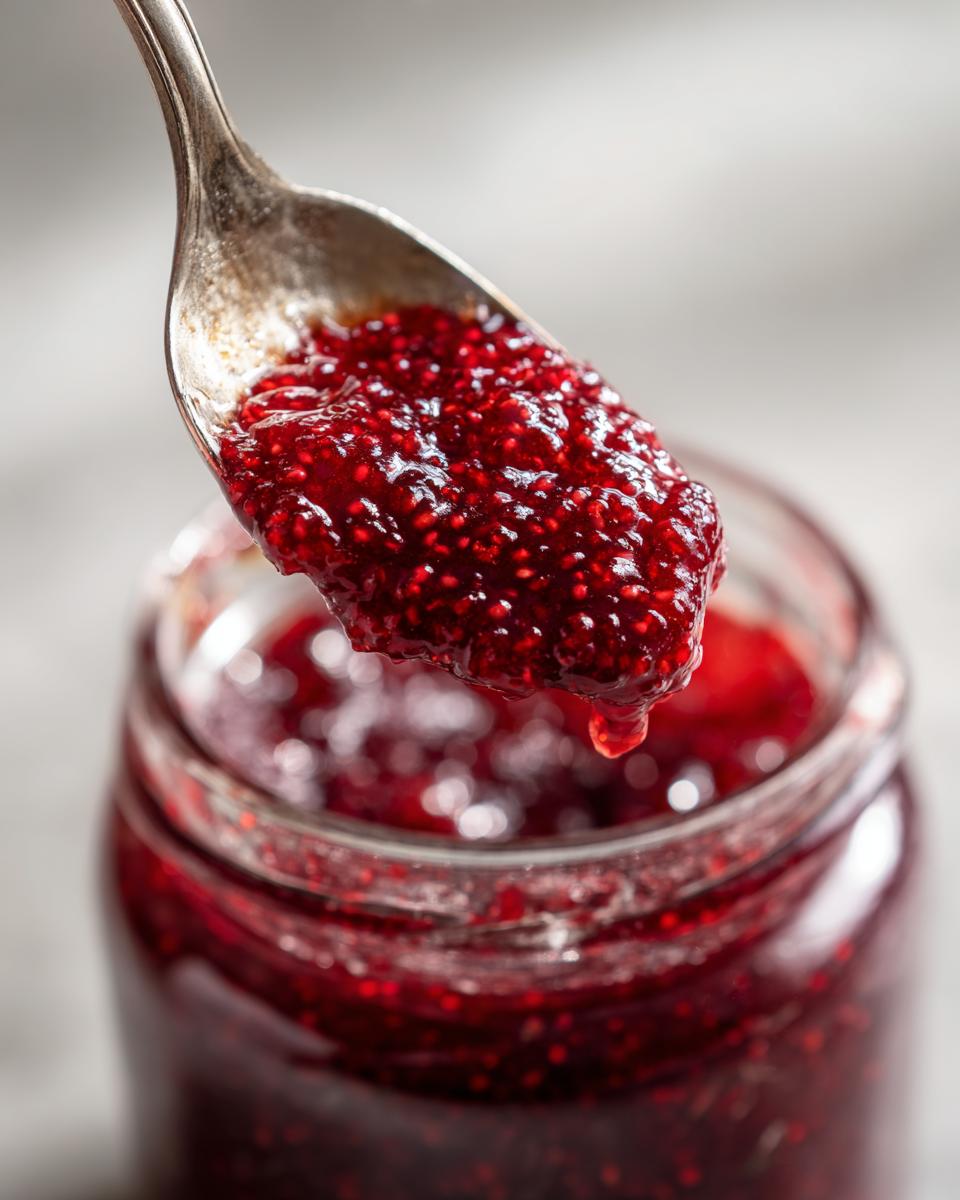
Now that we’ve reached that perfect setting point, we have to decide what we’re going to do with our beautiful, bubbling raspberry jam! You’ve got two main paths here, depending on how quickly you plan to eat it or if you want shelf-stable jars. Both methods keep that fresh berry flavor intact, but canning is great for long-term pantry storage while the freezer jam tutorial is much quicker for instant gratification.
Because we cooked this jam just right, it is safe for either method, which really makes this a flexible recipe. Have you looked at how many different ways you can use this delicious spread? If you want that traditional shelf life, let’s talk canning first!
Water Bath Canning Raspberry Jam Instructions
If you are planning to put your jars away for months, you must follow these steps precisely. Once you pull the pot off the heat, you need to skim off any funky foam that rose to the top—a clean surface is important! Then, carefully ladle that hot jam into your sterilized jars. This is crucial: leave exactly 1/4 inch of empty space at the top, which we call headspace. Before sealing them up tightly, wipe those jar rims until they’re spotless. Then, stick the lids on and process them in a boiling water bath canner for 10 minutes. If you live somewhere super high up in the mountains, you’ll need to adjust that time, but for most folks, 10 minutes seals them perfectly for your pantry!
Simple Steps for Freezer Jam Tutorial
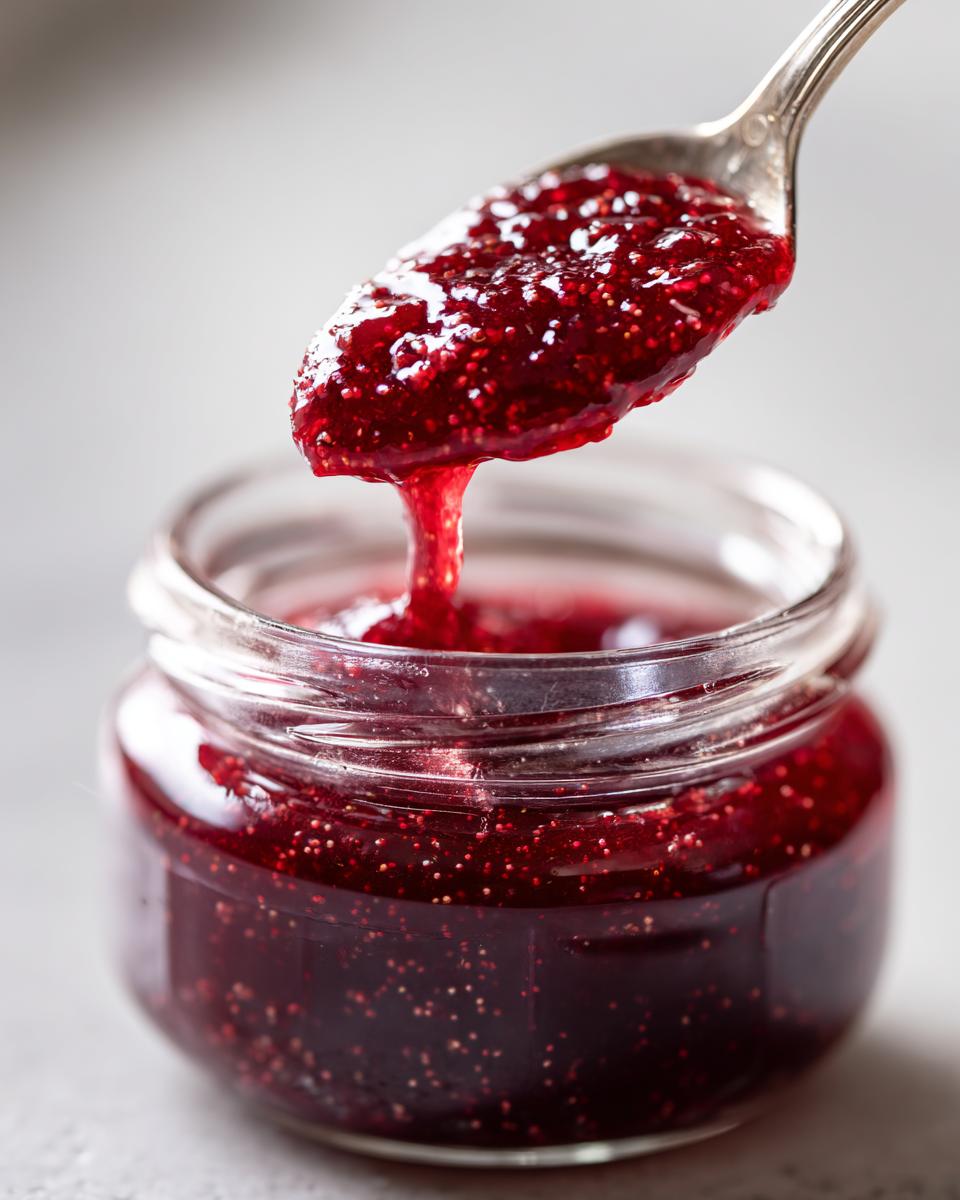
If you are like me and tend to gobble up your first batch before winter even hits, the freezer jam route is heavenly and fast. You still skim the foam off that hot jam, of course, but instead of putting the lids on for canning, you let the jam cool down completely on the counter first. Once it’s totally cool, seal those containers up tight—I like plastic containers for the freezer, not glass unless they are specifically freezer-safe!
This fantastic homemade raspberry jam will last in the freezer for up to a whole year! That means you can enjoy the taste of summer long after the season is over. For more ideas on preserving fruits, check out what my friends are sharing over at this helpful site!
Tips for Success Making Your Small Batch Jam Making
Even though this is a small batch jam making endeavor and super easy, there are a couple of little tricks about ingredients to keep your raspberry jam setting up perfectly. Since we skipped the commercial pectin, these few points are where the jam succeeds or fails! I want you to have the best natural fruit spread possible, so pay attention to the sugar ratio, okay?
Ingredient Notes and Substitutions for Natural Fruit Spread
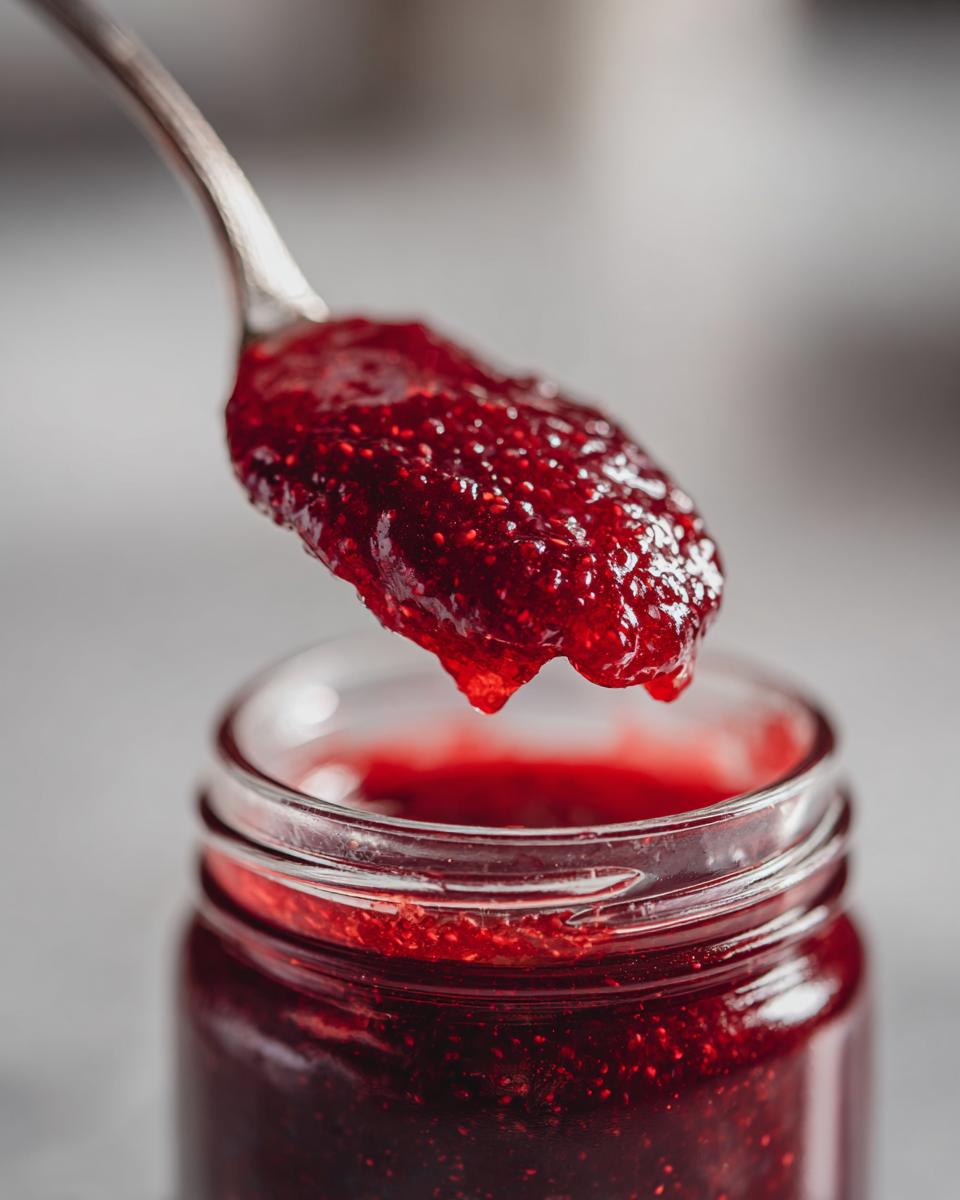
I know sometimes we look at 3 cups of sugar for 4 cups of berries and cringe, but it’s necessary! If you decide to go for a low sugar jam by cutting back too much, you need to know that the jam may not set firmly at all.
If you slash the sugar amount significantly, you are weakening the bond that holds the jam together. This is especially true for a no pectin jam like this one. Sugar is a preservation agent itself, so using less means you have to rely heavily on the refrigerator or freezer for storage, sometimes even more so than you’d expect.
Also, while you *can* try alternatives like honey instead of granulated sugar—and some recipes call for it—it throws off the entire chemical balance needed for a proper set without pectin. For this recipe, stick to the plain white sugar mentioned. Trust me on this, it’s worth it for that firm slice!
Serving Suggestions for Sweet Raspberry Topping
Okay, the hard part is done, and now you have this beautiful, vibrant sweet raspberry topping! Honestly, the hardest part now is deciding what glorious vehicle to put it on first. My favorite way, obviously, is slathered thick on a toasted slice of sourdough fresh out of the oven. It’s divine!
But don’t stop at toast! This is the perfect addition to your breakfast brunch recipes. Think about swirling a spoonful into plain Greek yogurt, layering it on top of pancakes or crêpes, or even using it cold as a filling between cake layers. It brings such a gorgeous, fresh tang that cuts beautifully through rich dairy or baked goods. Seriously, you’ll be looking for excuses to use it up!

Frequently Asked Questions About Raspberry Jam
I always get a few questions when folks try making this for the first time, especially since we aren’t using commercial thickeners. Don’t worry, I’ve got the answers right here so your first try at this batch of wonderful homemade raspberry jam is a total success!
Can I use honey instead of sugar in this raspberry jam recipe?
That’s a smart question, especially if you’re aiming for a specific kind of natural fruit spread! For this particular easy jam recipe where we skip the pectin, I really recommend sticking to granulated sugar. Honey is wonderful, but it actually changes the acidity and water content significantly. Granulated sugar is needed here to work perfectly with the natural acid in the berries to create that gel structure we need for a firm set. If you swap it out for honey, you might end up with something closer to a raspberry sauce rather than a sliceable jam, so for this no pectin jam, keep the sugar!
What is the best way to store homemade raspberry jam if I don’t can it?
If you’re making this as a small batch jam making project and you aren’t comfortable with the water bath canning process, the refrigerator or freezer storage is your absolute best friend! In the fridge, sealed tight, this jam lasts beautifully—usually a few weeks easily. But if you really want to preserve those summer berries for the long haul without canning, the simple freezer jam tutorial is perfect for you.
Just make sure that jam is completely cooled down before you seal those containers up for the freezer. That way, you’ve got perfectly good, naturally flavorful raspberry jam ready to go whenever you need a sweet raspberry topping. It’s a fantastic option if this is your very first time trying out a beginner jam recipe!
Estimated Nutritional Information for Raspberry Jam
Now, I have to give you the standard disclaimer here, because I truly believe in transparency! These numbers are based strictly on the ratios of the ingredients we used—4 cups of berries, 3 cups of sugar, and the lemon juice—and they are just estimates. When you’re making homemade raspberry jam, especially one that relies heavily on sugar for preservation, the final counts can swing a little depending on the exact size of your berries or how much liquid boils off.
But for general guidance, here is what you can expect in a standard two-tablespoon serving of our easy jam recipe. It’s a good thing to know, especially if you’re using this as a natural fruit spread frequently throughout the week!
- Serving Size: 2 tablespoons
- Calories: Right around 100
- Sugar Content: About 25 grams. (Yup, it’s there, doing the hard work of setting that jam!)
- Fat Content: Zero grams, which is great news.
- Protein: Negligible, sadly!
- Sodium and Cholesterol: Both are incredibly low, almost zero.
See? Even though this is a sweet raspberry topping, the fats and protein are virtually non-existent, keeping this simple preserve very fruit-forward. Just remember, this is a delicious indulgence, made with love!
Share Your Homemade Raspberry Jam Creations
That’s it! You’ve successfully made beautiful, vibrant raspberry jam without cheating with pectin. I really hope you love this recipe as much as my family does. Now, I want to hear from you!
Did this easy jam recipe finally give you the confidence you needed? Go ahead and leave a five-star rating below if you’re thrilled with your results, or drop any questions you might have in the comments section. Don’t forget to tag me when you swirl this sweet raspberry topping onto your breakfast. If you need help with anything else, you can always reach out through my contact page. Happy preserving, friends!
PrintEasy Homemade Raspberry Jam (No Pectin)
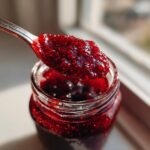
Make bright, sweet raspberry jam at home using fresh berries. This simple recipe requires no added pectin and is perfect for beginners.
- Prep Time: 15 min
- Cook Time: 30 min
- Total Time: 45 min
- Yield: About 4 half-pint jars 1x
- Category: Preserves
- Method: Stovetop Cooking
- Cuisine: American
- Diet: Vegetarian
Ingredients
- 4 cups fresh or frozen raspberries
- 3 cups granulated sugar
- 1 tablespoon fresh lemon juice
Instructions
- Combine the raspberries and sugar in a large, heavy-bottomed saucepan. Let the mixture sit for 15 minutes to allow the sugar to draw out the juices from the berries.
- Place the saucepan over medium-high heat. Stir constantly until the sugar dissolves completely and the mixture begins to boil.
- Once boiling, add the lemon juice. Continue to boil rapidly, stirring frequently to prevent scorching, until the jam reaches the setting point (approximately 220 degrees F on a candy thermometer, or when a small amount dropped onto a chilled plate wrinkles when pushed). This usually takes 15 to 25 minutes after reaching a full boil.
- Remove the jam from the heat. Skim off any foam that forms on the surface using a spoon.
- Ladle the hot jam into sterilized jars, leaving 1/4 inch headspace. Wipe the rims clean.
- Process the jars in a boiling water bath canner for 10 minutes, adjusting for altitude, or allow to cool and store in the refrigerator for freezer jam use.
Notes
- For freezer jam storage, let the jam cool completely before sealing the containers and placing them in the freezer. This jam keeps well in the freezer for up to one year.
- If you prefer a lower sugar jam, you can use less sugar, but the jam may not set as firmly without commercial pectin.
- Use ripe, high-quality fresh raspberries for the best natural flavor.
Nutrition
- Serving Size: 2 tablespoons
- Calories: 100
- Sugar: 25g
- Sodium: 1mg
- Fat: 0g
- Saturated Fat: 0g
- Unsaturated Fat: 0g
- Trans Fat: 0g
- Carbohydrates: 26g
- Fiber: 1g
- Protein: 0g
- Cholesterol: 0mg