

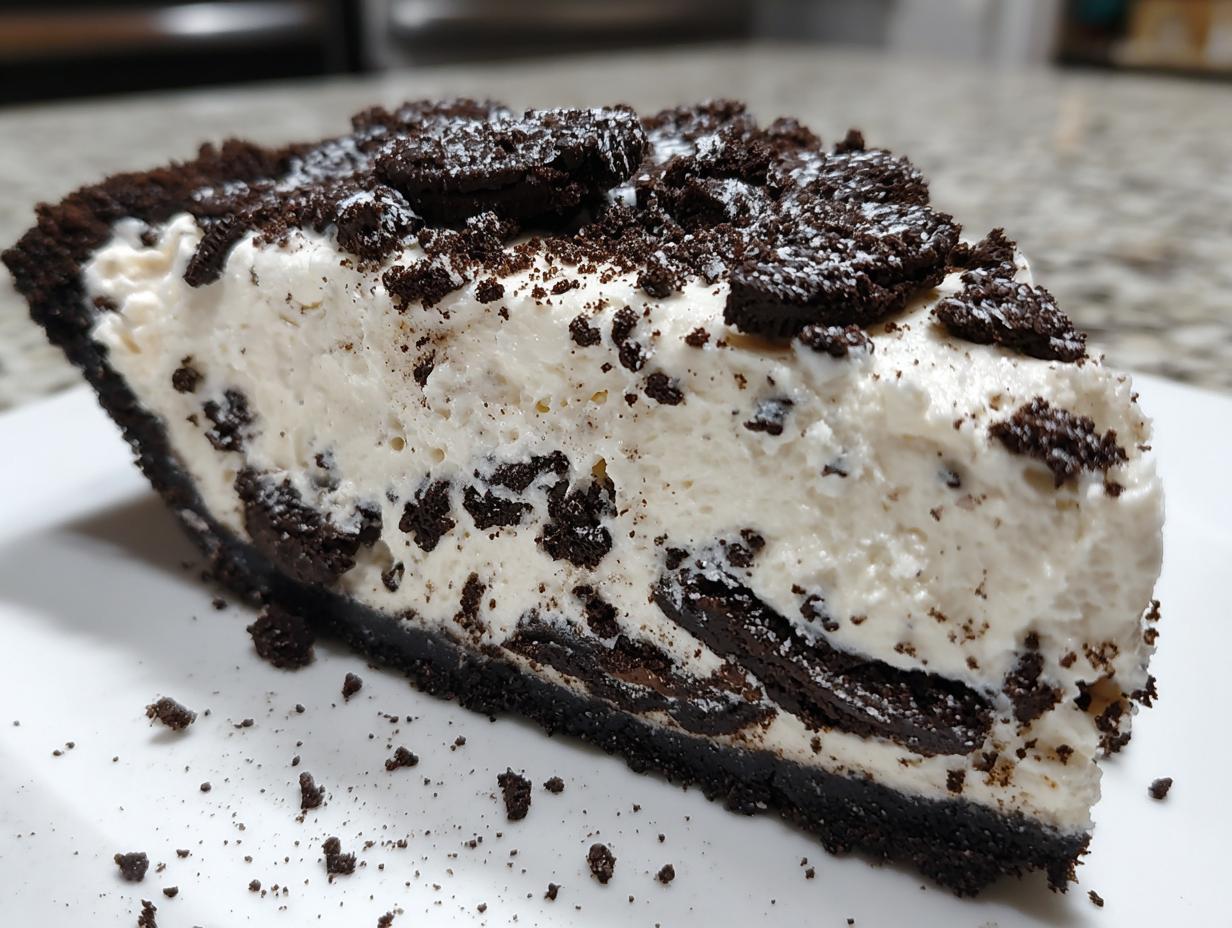
When you need a show-stopping dessert but the thought of turning on the oven makes you sweat, I’ve got your back! Seriously, forget complicated pastry or hours spent baking. I created this recipe because I believe everyone, even if you think you can burn water, deserves a dessert that tastes utterly indulgent. This is hands-down the easiest, creamiest, no-bake Oreo pie you will ever make. Growing up in the Midwest, my family life revolved around reliable, delicious food, and my mission here at Kings Cook is to translate that comfort into simple, fantastic recipes that actually work every time. You’re going to love how quickly this comes together!
- Why This No-Bake Oreo Pie Recipe is Your New Favorite
- Gathering Ingredients for Your Creamy Oreo Dessert
- Essential Equipment for Making This Oreo Pie
- Step-by-Step Instructions for the Best Oreo Pie
- Tips for Success with Your Homemade Oreo Pie
- Serving and Storing Your Indulgent Cookie Dessert
- Frequently Asked Questions About This Easy Oreo Pie Recipe
- Estimated Nutritional Data for One Slice
- Share Your Experience Making This Dessert
Why This No-Bake Oreo Pie Recipe is Your New Favorite
I get it—you want dessert, and you want it now! That’s why this recipe is such a winner. It hits the sweet spot between effortless prep and amazing results. This pie truly checks every box for a busy cook, delivering that classic cookies-and-cream experience without any stress. You’re honestly going to be so proud the first time you pull this beauty out of the fridge!
Quick Prep Time for Your Oreo Pie
Seriously, this pie requires minimal oven commitment—none at all, actually! You can have the crust mixed and pressed in about 10 minutes flat. Even with crushing cookies and mixing the filling, you’ll be done with active prep in about 20 minutes. It’s the ultimate quick oreo pie solution when you need something delicious ASAP!
Achieving the Fluffy Oreo Filling
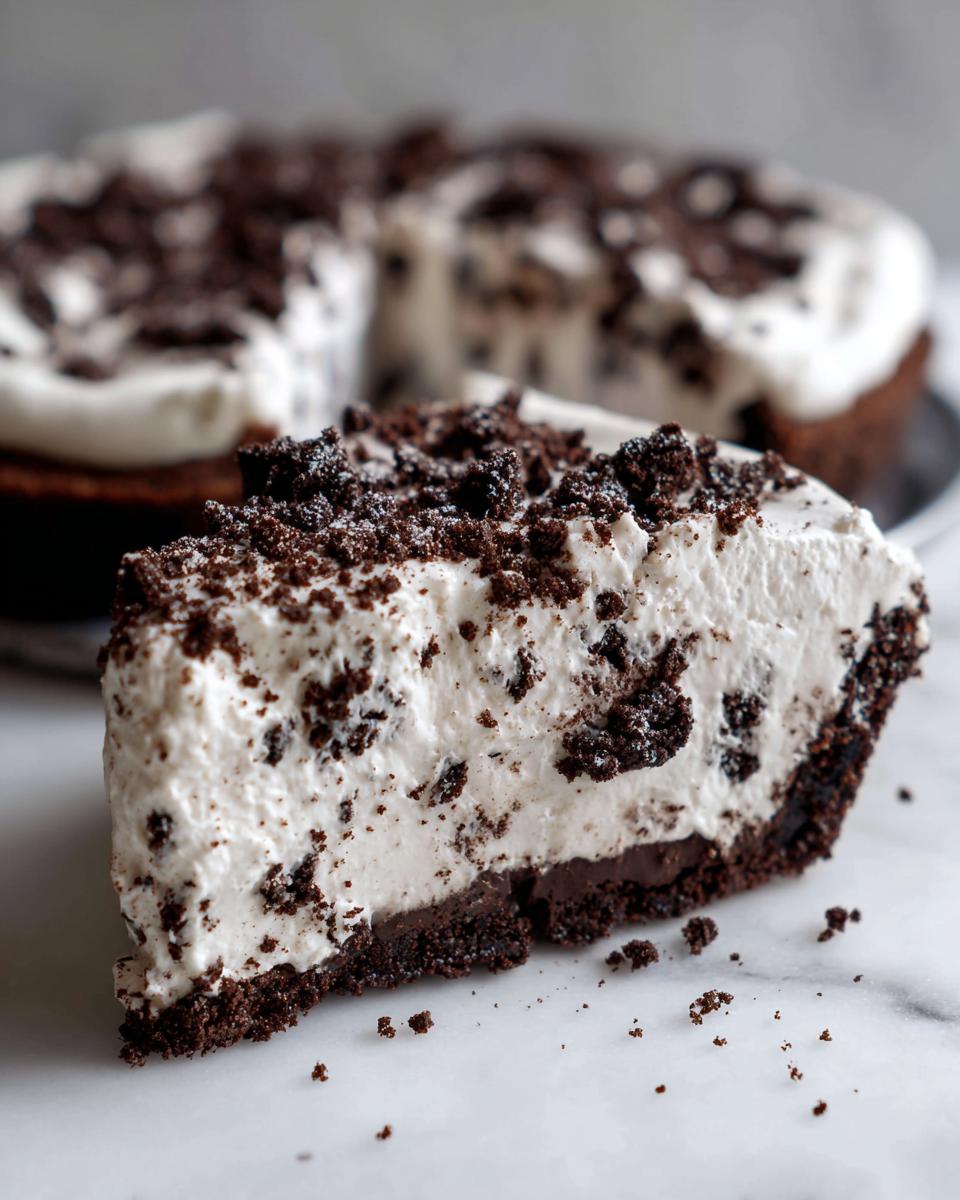
The texture is everything here; it’s not dense like a cheesecake, and it’s not too thin. Thanks to the combination of cream cheese, pudding mix, and whipped topping, you end up with this incredibly satisfying, smooth, and fluffy oreo filling. It’s light, it’s airy, and it tastes exactly like the inside of that chocolate sandwich cookie, only better!
Simple Ingredient List for an Easy Oreo Pie Recipe
You won’t be running to specialty stores for this one, promise! When I develop recipes, I always aim for accessible ingredients. This easy oreo pie recipe features components you probably already have hanging out in your pantry or freezer. Fewer trips to the store mean less hassle, making this the best simple oreo dessert!
Gathering Ingredients for Your Creamy Oreo Dessert
Okay, time to gather our arsenal! Since this is one of those fabulous creamy oreo dessert recipes that relies on just a few key players, quality and preparation matter. Don’t skip the small steps here—like making sure your cream cheese is actually soft, or that your milk is ice-cold. That’s how we guarantee the perfect texture and avoid any lumps!
For the Oreo Crust Pie Recipe
The crust is where the flavor foundation starts, and it needs that satisfying crunch. Remember, we’re using 24 cookies for the crust itself, but save a tiny bit on the side for sprinkling later. Don’t forget the melted butter; it’s the glue that holds this whole oreo crust pie recipe together!
- 1 package (14.3 oz) of your favorite chocolate sandwich cookies (Oreos, obviously!), divided
- 6 tablespoons unsalted butter, fully melted
For the Fluffy Oreo Filling
This is where the magic happens! We are combining richness (cream cheese), sweetness (powdered sugar), structure (pudding), and fluffiness (whipped topping). Pay close attention to temperature notes here—if the whipped topping isn’t thawed, you’ll get chunks, and nobody wants that in their rich chocolate pie!
- 8 oz cream cheese, nice and softened to room temperature
- 1 cup powdered sugar
- 1 teaspoon vanilla extract
- 1 container (8 oz) frozen whipped topping (like Cool Whip), completely thawed
- 1 package (3.4 oz) instant vanilla pudding mix
- 1 cup cold milk (must be cold!)
Essential Equipment for Making This Oreo Pie
Before we dive into the mixing madness, let’s make sure your kitchen is set up for success! Since this is a no-bake recipe, we aren’t worried about springform pans or parchment paper liners, which is nice. But you do need a few basics to get that perfect texture.
First off, we need to obliterate those cookies! You have two choices here: use a food processor if you have one—it’s fast and gives you the finest, most consistent crumbs. If you don’t have a processor, grab a heavy-duty zip-top bag, toss those cookies in, and protect your counter with a sturdy kitchen towel. Then, grab a rolling pin, or better yet, use the bottom of a heavy saucepan! Take out your aggression on those Oreos!
For mixing, you’ll want at least two decent-sized bowls. One medium bowl for whipping the cream cheese mixture, and one large bowl for folding everything together at the end. Don’t forget your mixer—either your trusty hand mixer or a stand mixer will make beating that cream cheese smooth so much easier.
Finally, the vessel! You absolutely need a standard 9-inch pie plate. Make sure it’s deep enough to hold all that glorious filling! Having everything ready to go—the tools, the thawed topping, the softened cream cheese—means you can maintain that quick 20-minute prep window we talked about!
Step-by-Step Instructions for the Best Oreo Pie
Alright, now that we have our ingredients lined up like little soldiers, let’s get this flavor party started! Following this order ensures we keep things light and fluffy, which is especially important when making a homemade oreo pie without any baking necessary. I personally find that if I focus on one component at a time, I don’t get overwhelmed by the several layers of deliciousness we are building here.
Preparing and Chilling the Crust
First things first: the crust needs to get rock solid so it doesn’t crumble when you try to scoop out that first perfect slice. Combine those finely crushed cookie crumbs (remember to save about 1/4 cup for the top!) with your melted butter until everything looks like damp sand. Now, press this mixture firmly into your 9-inch pie plate. I mean *firmly*—use the bottom of a flat measuring cup to really compact it against the bottom and up the sides. Once it’s tight, pop it straight into the freezer. This helps it set up beautifully while we work on the filling!
Mixing the Creamy Filling Components
Grab your softened cream cheese, powdered sugar, and vanilla, and beat them until they are completely smooth. You don’t want tiny cream cheese bumps hiding in your beautiful filling! In a separate bowl, whisk your instant vanilla pudding mix and cold milk until it starts thickening up—this happens pretty fast, usually within two minutes. Now, the key to airiness: gently fold the thawed whipped topping into the cream cheese mixture first. Then, fold the thickened pudding mixture in. Finally, gently fold in the rest of your crushed cookies. Remember to fold, don’t stir hard, or you’ll deflate all that beautiful air we just whipped in!
Assembly and Final Chill Time
Once the filling is combined and fluffy, spoon it right into that frozen crust. Smooth the top out, sprinkle those reserved crumbs over the top for that professional look, and cover it loosely a. This is the hardest part, but you have to trust the process: the pie needs at least 4 hours in the refrigerator. This chill time is non-negotiable! That’s when the vanilla pudding and the cream cheese marry each other and firm up into that decadent, sliceable texture we want in our chilled oreo dessert.
Tips for Success with Your Homemade Oreo Pie
Even though this is a super straightforward, no-bake scenario, there are a couple of little secrets I’ve picked up over the years that can take your Oreo pie from great to absolutely legendary. If you follow the main recipe, you’re golden, but these tweaks here are for when you want that extra layer of perfection. Trust me, these small details make a difference!
Making Substitutions for Rich Chocolate Pie Flavor
The recipe calls for instant vanilla pudding mix, which gives us that wonderful, light, creamy base that pairs perfectly with the dark cookies. But what if you’re dealing with serious chocolate cravings? You have permission to switch it up! If you prefer a deeper, darker, more intensely chocolate experience—maybe something along the lines of a chocolate mousse pie—just swap out the instant vanilla pudding for the instant chocolate pudding mix. It’s an easy switch, and it gives you that beautiful contrast between the filling and the white fluffy bits.
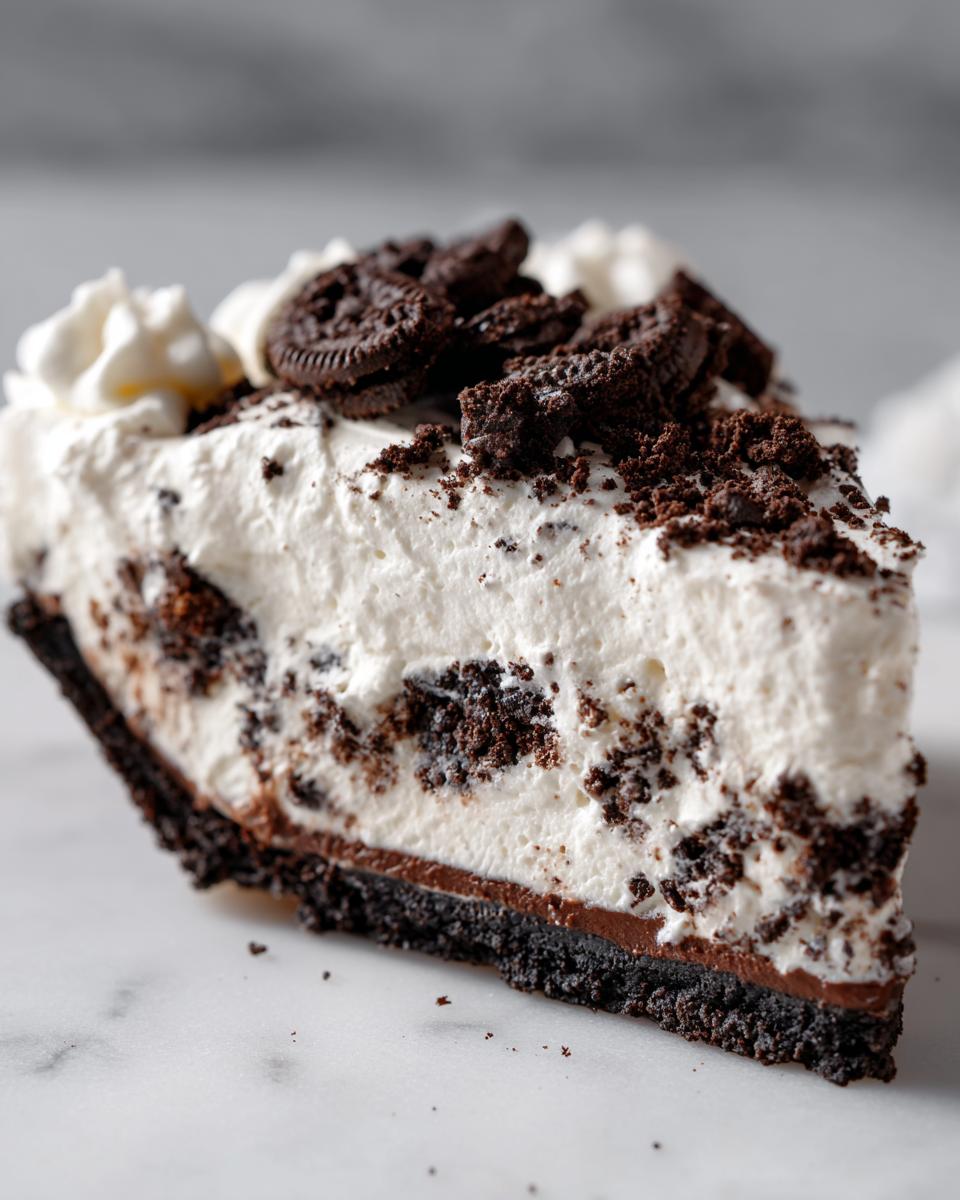
Another small change involves the cookies themselves! If you happen to have chocolate pudding, you might want to use plain Oreos for the filling instead of vanilla pudding and chocolate Oreos. But honestly, I love the vanilla pudding because it lightens up the filling enough so it doesn’t feel too heavy. It’s all about balance when you’re making an indulgent cookie dessert like this one!
Crust Texture Improvement Tips
I always tell people that using a store-bought, pre-made crust is totally fine if you are running behind, and it saves you about 10 minutes of active time. But if you want the absolute best Oreo pie experience, you must make the crust fresh. Why? Because store-bought crusts use weird stabilizers to stay firm outside the fridge, while ours uses real melted butter!
When you’re mixing your butter into those cookie crumbs, you really need to feel that texture changing. It should look uniformly wet, almost like heavily dampened soil. If you see any dry crumbs hiding out, keep mixing! If the butter doesn’t coat every little piece of cookie, the crust can end up crumbly and sandy instead of firm and buttery after it chills. Pay attention when you press it into the pan, too. Really pack it down tight against the bottom and sides so you get that solid, satisfying crunch when you cut into the slice.
Serving and Storing Your Indulgent Cookie Dessert
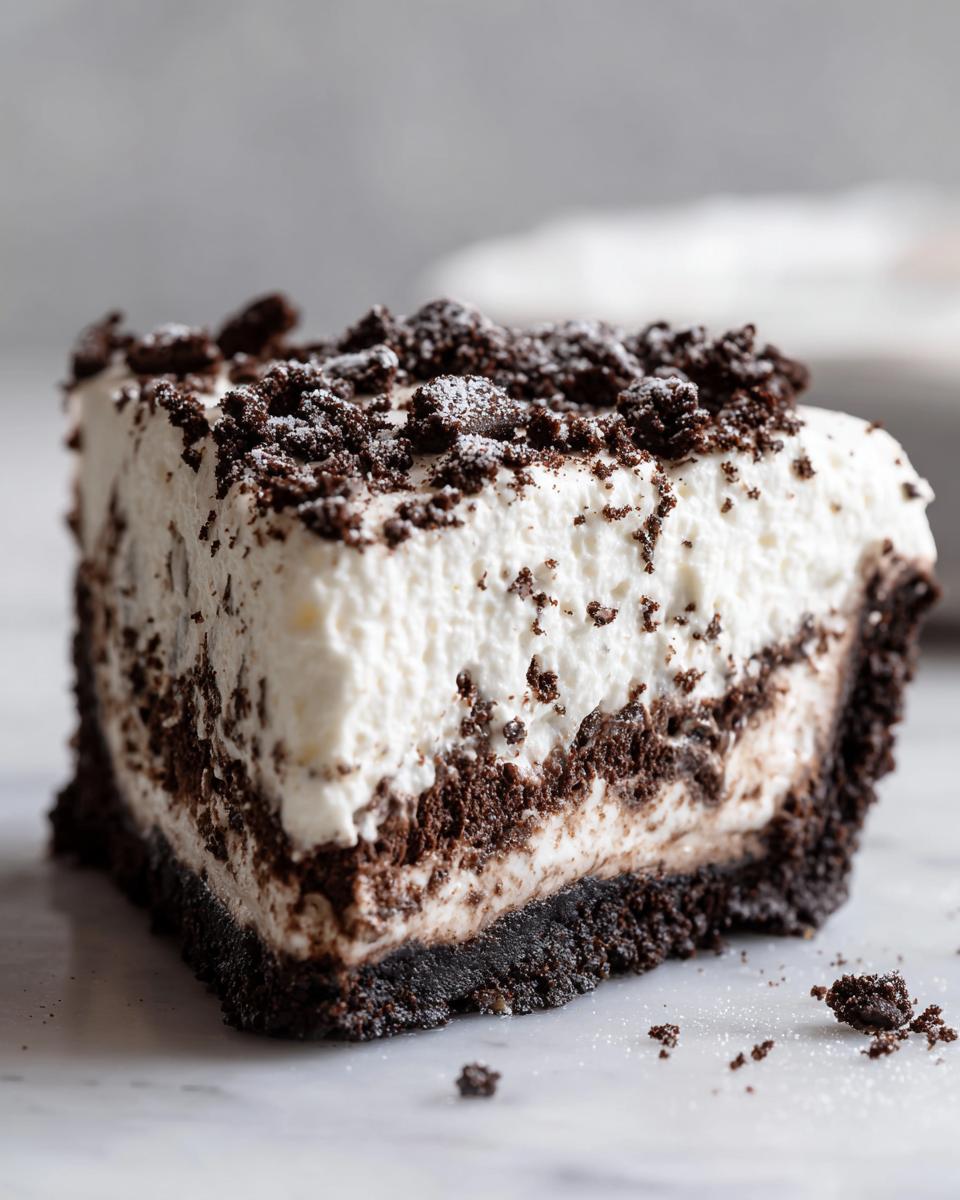
The anticipation is finally over! You’ve waited those four long hours, and now you have a beautiful, firm, dreamy oreo pie staring back at you. Before you slice into it, remember that this is a completely chilled oreo dessert, and keeping it cold until the moment it hits the plate is key to enjoying that perfect, fresh, fluffy texture.
Storage Instructions for Leftover Oreo Pie
If, by some miracle, you have any left after the first serving frenzy (which I doubt!), storing it properly ensures that the next day’s slice is just as good. You need to treat this like any dairy-based dessert. Keep it covered tightly in the refrigerator—a pie dome or an airtight container works best! I find that if you cover it directly with plastic wrap, the plastic can sometimes stick to the crumb topping, so make sure there’s some space, or use a lid.
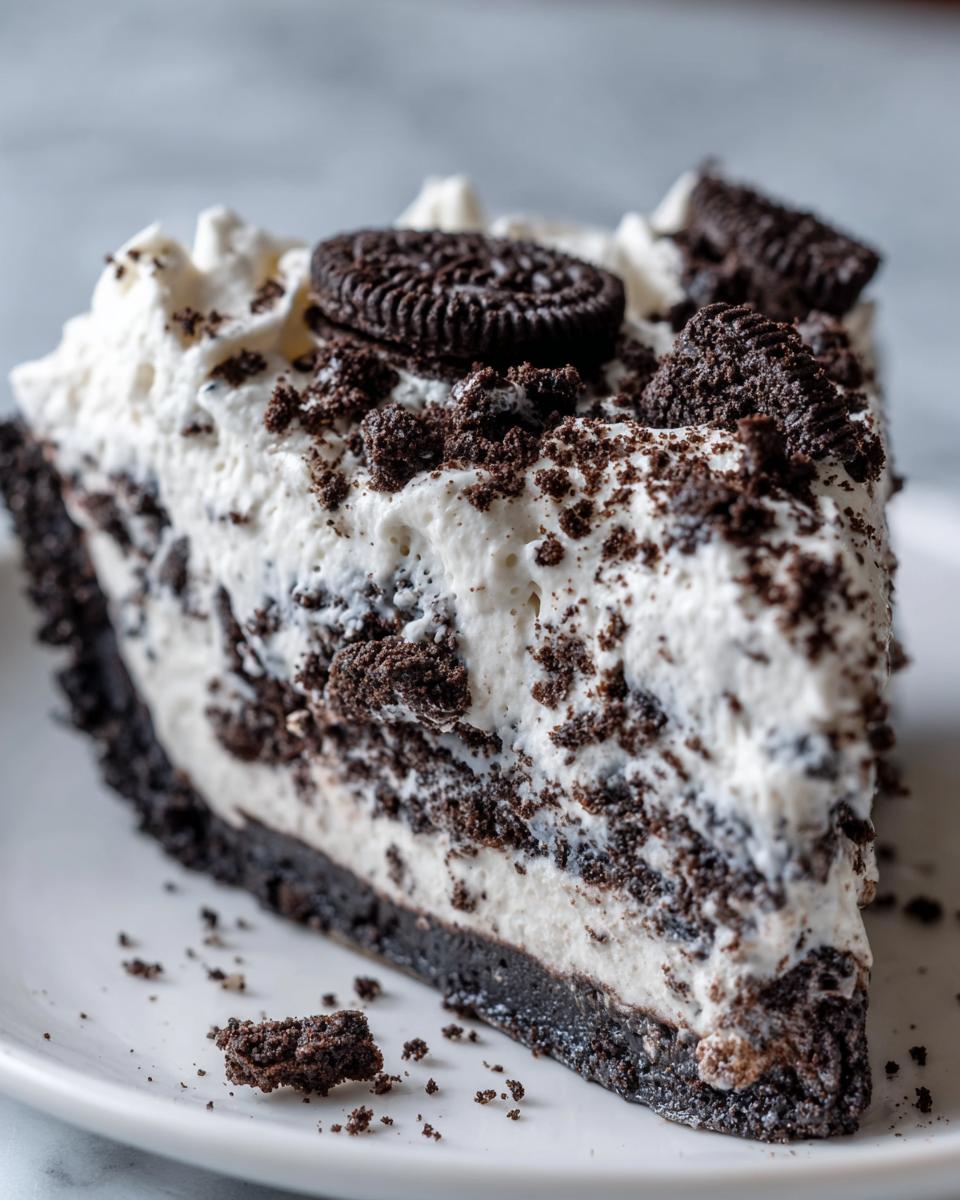
Truthfully, this simple oreo dessert is at its absolute peak within the first 24 hours. It stays wonderfully firm and fresh for up to three full days in the fridge, though the crust might soften just a tiny bit as the days go by. Don’t worry, it’s still delicious! I wouldn’t recommend trying to freeze this one, though. Ice crystals don’t mix well with the creamy filling, and it can get a bit watery when it thaws out. Stick to the fridge for the best results!
Frequently Asked Questions About This Easy Oreo Pie Recipe
When you’re making a recipe for the first time, little questions always pop up. I’ve been asked these same things a hundred times, so let’s clear up any last worries you have about getting this pie perfect. Don’t let confusion stop you from making what might become your new favorite cookies and cream pie!
Can I make this Oreo Pie ahead of time?
Yes, absolutely! In fact, I really recommend it. Since this is a no-bake situation, it needs that chilling time to truly set up into that perfect, sliceable dessert consistency. You can prep the entire icebox pie the night before you plan to serve it, which is fantastic for keeping holiday stress down. If you make it the day before, it firms up beautifully. If you let it sit longer than 36 hours, the crust starts to absorb a little too much moisture from the filling, so aim to serve it within 24 to 36 hours of assembly for the best texture.
What is the difference between this and an Oreo pudding pie?
That is such a great question since the terms get used interchangeably! This recipe is essentially a very deluxe version of an oreo pudding pie, but with a richer backbone. A standard, super simple version might just use pudding mix, milk, and whipped topping. My recipe includes the cream cheese layer, too! That cream cheese makes the filling much more stable, a little denser, and adds a welcome tang that cuts through the sweetness. It steps up the filling from just “pudding” to a truly “creamy dessert” experience!
Can I freeze this no oven dessert?
Hmm, this is one area where I have to say I advise against it if you can avoid it. While this is definitely a no oven dessert, freezing and thawing can really mess with the texture of the filling. Because we rely so much on the cream cheese and whipped topping for that fluffy structure, the ice crystals that form during freezing tend to deflate the air when it thaws. You might end up with a runnier base or liquid separation. Stick to the refrigerator for keeping this one fresh; it holds up beautifully there!
Estimated Nutritional Data for One Slice
I always like to give you a general idea of what you’re digging into when you try one of my fantastic creations! Please remember, these numbers below are estimates based on the specific brand ingredients I listed in the recipe above, like standard chocolate sandwich cookies and regular dairy products. If you make swaps—like using light cream cheese or sugar substitutes—your final count will change, of course!
But for a standard slice of this dreamy, creamy dessert, here’s what you can roughly expect:
- Serving Size: 1 slice
- Calories: 450
- Sugar: 35g
- Sodium: 320mg
- Fat: 28g
- Saturated Fat: 14g
- Carbohydrates: 48g
- Protein: 5g
It’s definitely an indulgent treat, which is why it’s so perfect for parties and special occasions! Enjoy every single bite of that delicious cookies and cream goodness!
Share Your Experience Making This Dessert
Now it’s your turn! I truly want to know what you thought of this Oreo pie. When you create a recipe that feels like it came straight from my kitchen to yours, I love hearing about how it went in yours! Did you manage to keep it hidden until dessert time, or did the family devour it immediately?
Don’t be shy! Please leave a rating right down below in the comments section. If you’ve got a picture of your beautifully set, creamy creation, I’d be thrilled if you shared it with me. You can always send photos or ask follow-up questions over on the contact page if you prefer!
This simple, no-bake recipe is meant to bring joy and ease to your weeknights or holidays, and your feedback helps me make sure every recipe here at Kings Cook continues to be reliable and delicious for everyone. Happy baking—or, well, happy *no-baking*!
PrintEasy No-Bake Creamy Oreo Pie

Make this simple, rich cookies and cream dessert. This no-bake Oreo pie uses few ingredients and sets up quickly in the refrigerator for a fluffy, chilled treat.
- Prep Time: 20 min
- Cook Time: 0 min
- Total Time: 4 hr 20 min
- Yield: 8 servings 1x
- Category: Dessert
- Method: No-Bake
- Cuisine: American
- Diet: Vegetarian
Ingredients
- 1 package (14.3 oz) chocolate sandwich cookies (like Oreos), divided
- 6 tablespoons unsalted butter, melted
- 1 package (8 oz) cream cheese, softened
- 1 cup powdered sugar
- 1 teaspoon vanilla extract
- 1 container (8 oz) frozen whipped topping (like Cool Whip), thawed
- 1 package (3.4 oz) instant vanilla pudding mix
- 1 cup cold milk
Instructions
- Crush 24 of the chocolate sandwich cookies into fine crumbs using a food processor or by placing them in a zip-top bag and crushing with a rolling pin. Set aside about 1/4 cup of the crumbs for topping.
- Mix the cookie crumbs with the melted butter until fully combined. Press this mixture firmly into the bottom and up the sides of a 9-inch pie plate. Place the crust in the freezer while you prepare the filling.
- In a large bowl, beat the softened cream cheese, powdered sugar, and vanilla extract until the mixture is smooth and creamy.
- In a separate medium bowl, whisk the instant vanilla pudding mix and cold milk together for about two minutes until it begins to thicken.
- Gently fold the whipped topping into the cream cheese mixture until just combined.
- Fold the thickened pudding mixture into the cream cheese mixture until smooth.
- Fold in the remaining crushed cookies (reserving the topping crumbs).
- Spoon the filling evenly into the chilled cookie crust.
- Sprinkle the reserved 1/4 cup of cookie crumbs over the top of the pie.
- Cover the pie loosely with plastic wrap and chill in the refrigerator for at least 4 hours, or until the filling is firm.
- Slice and serve cold.
Notes
- You can use a store-bought Oreo crust to save time, but making your own crust with real butter tastes better.
- For a richer chocolate flavor, substitute the vanilla pudding mix with instant chocolate pudding mix.
- This pie is best served cold directly from the refrigerator.
Nutrition
- Serving Size: 1 slice
- Calories: 450
- Sugar: 35g
- Sodium: 320mg
- Fat: 28g
- Saturated Fat: 14g
- Unsaturated Fat: 14g
- Trans Fat: 0.5g
- Carbohydrates: 48g
- Fiber: 1g
- Protein: 5g
- Cholesterol: 45mg