
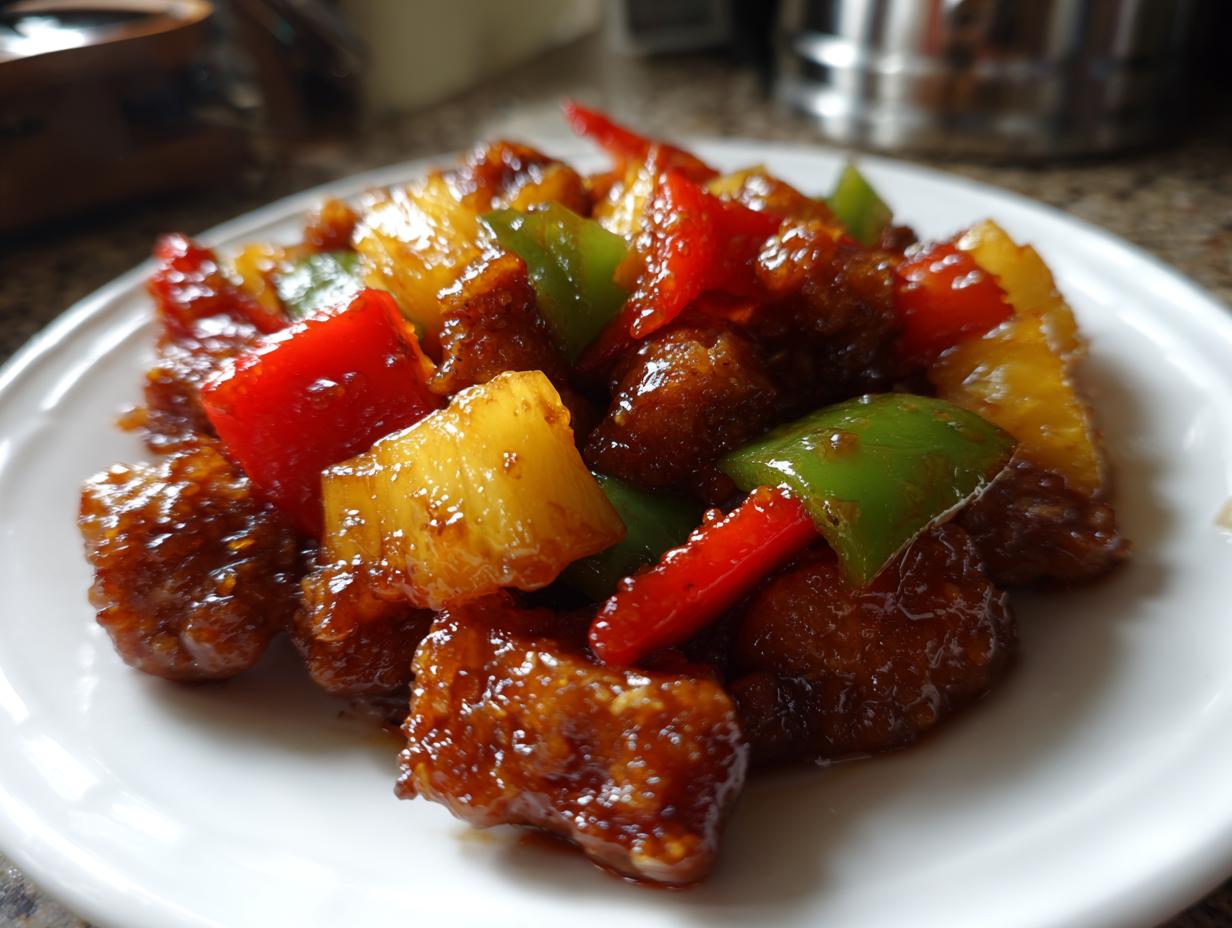
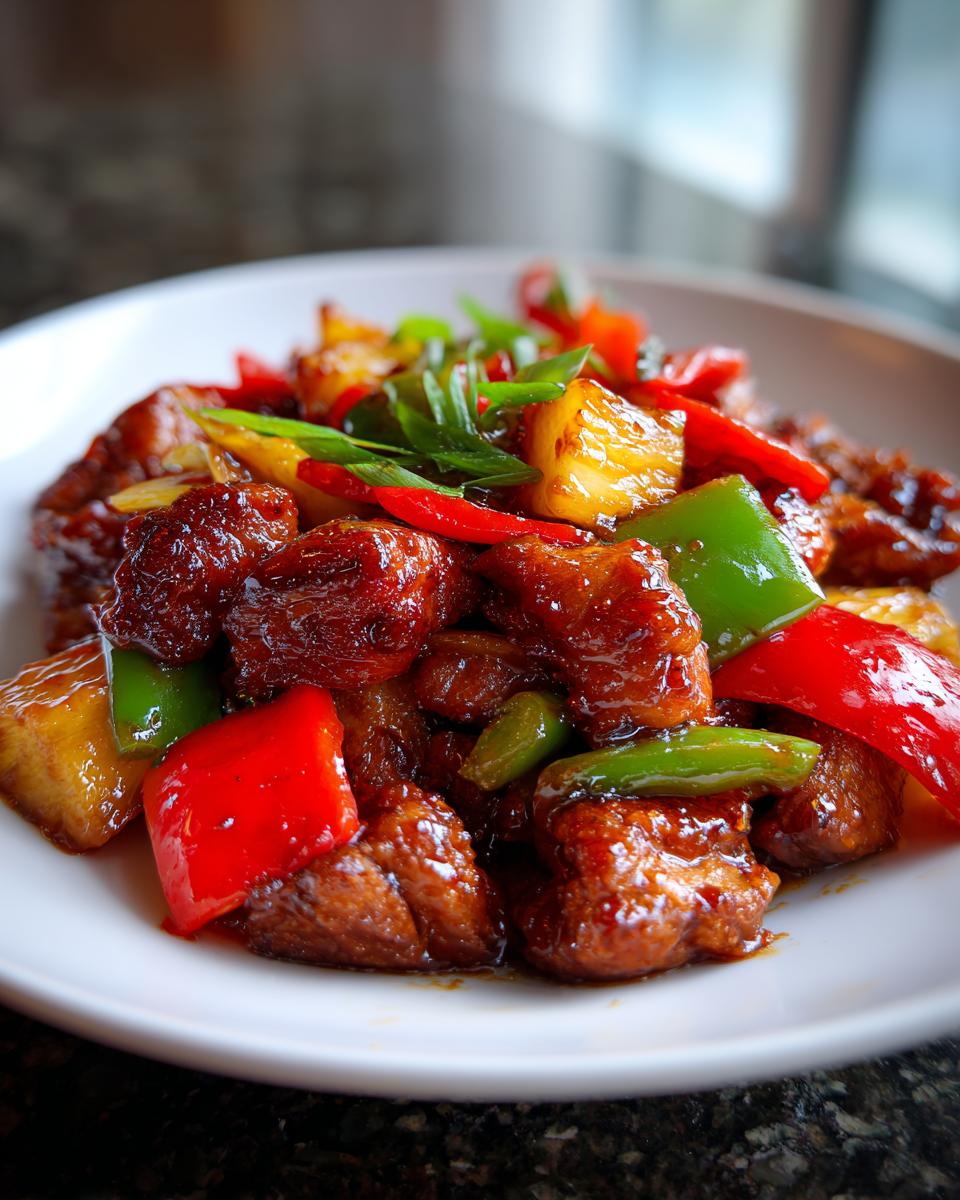
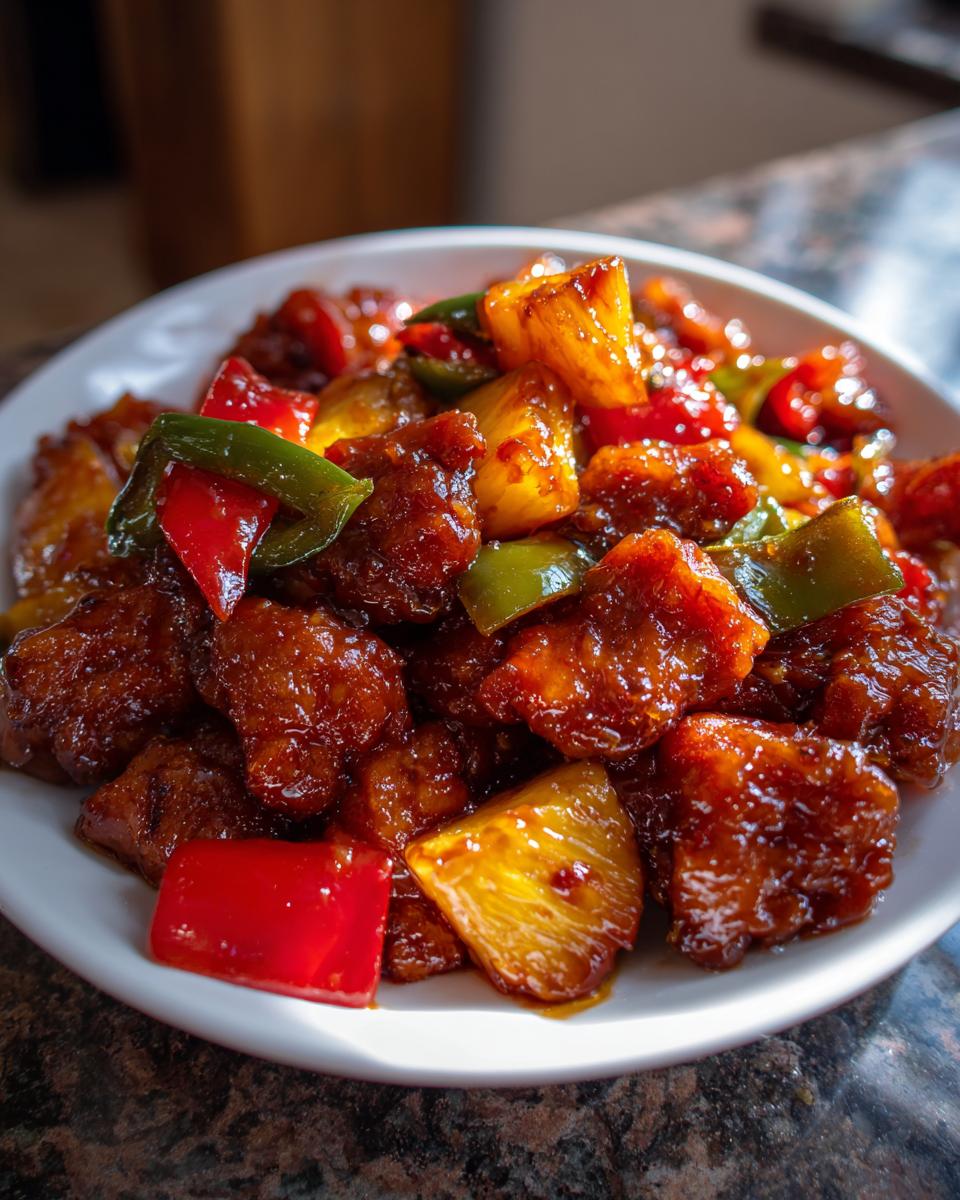
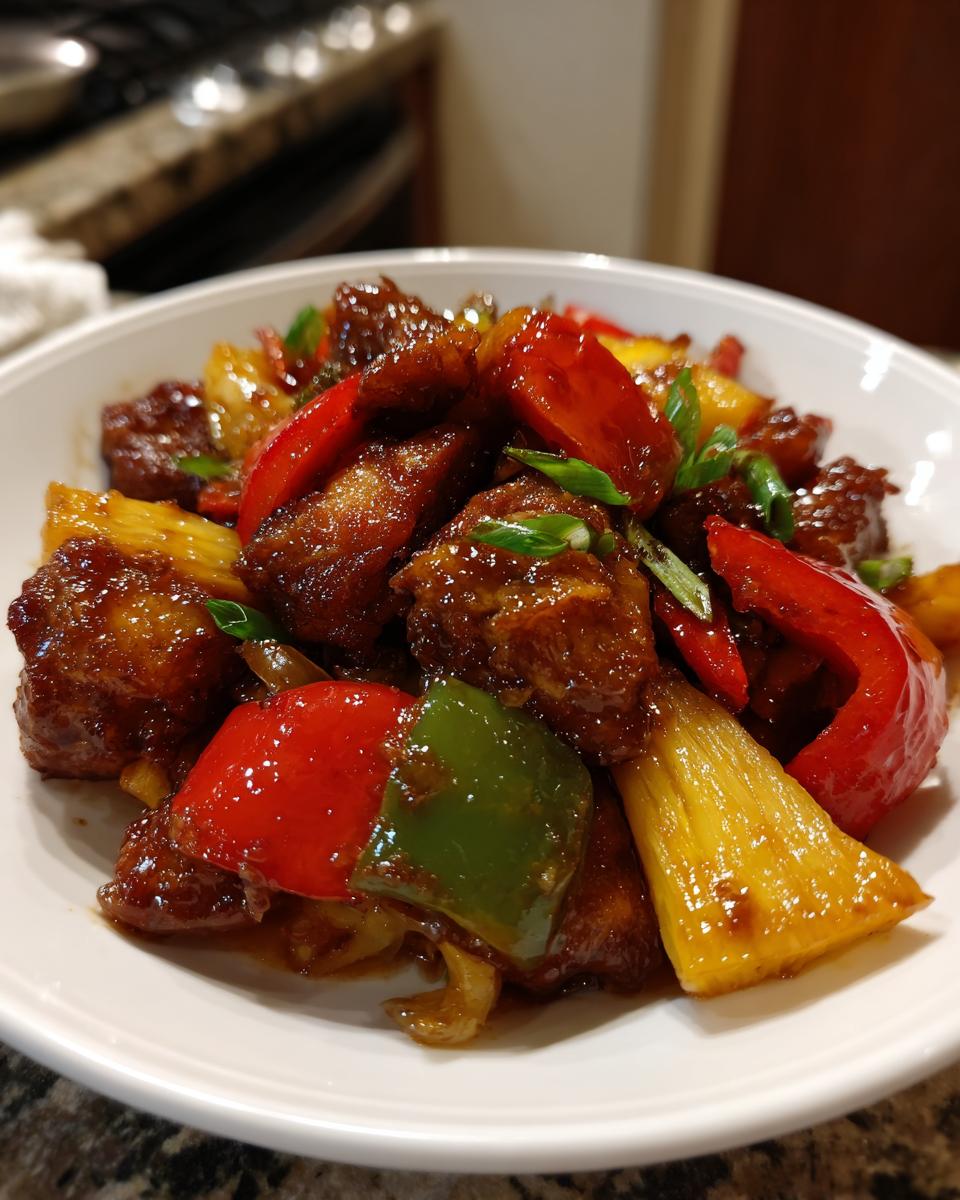
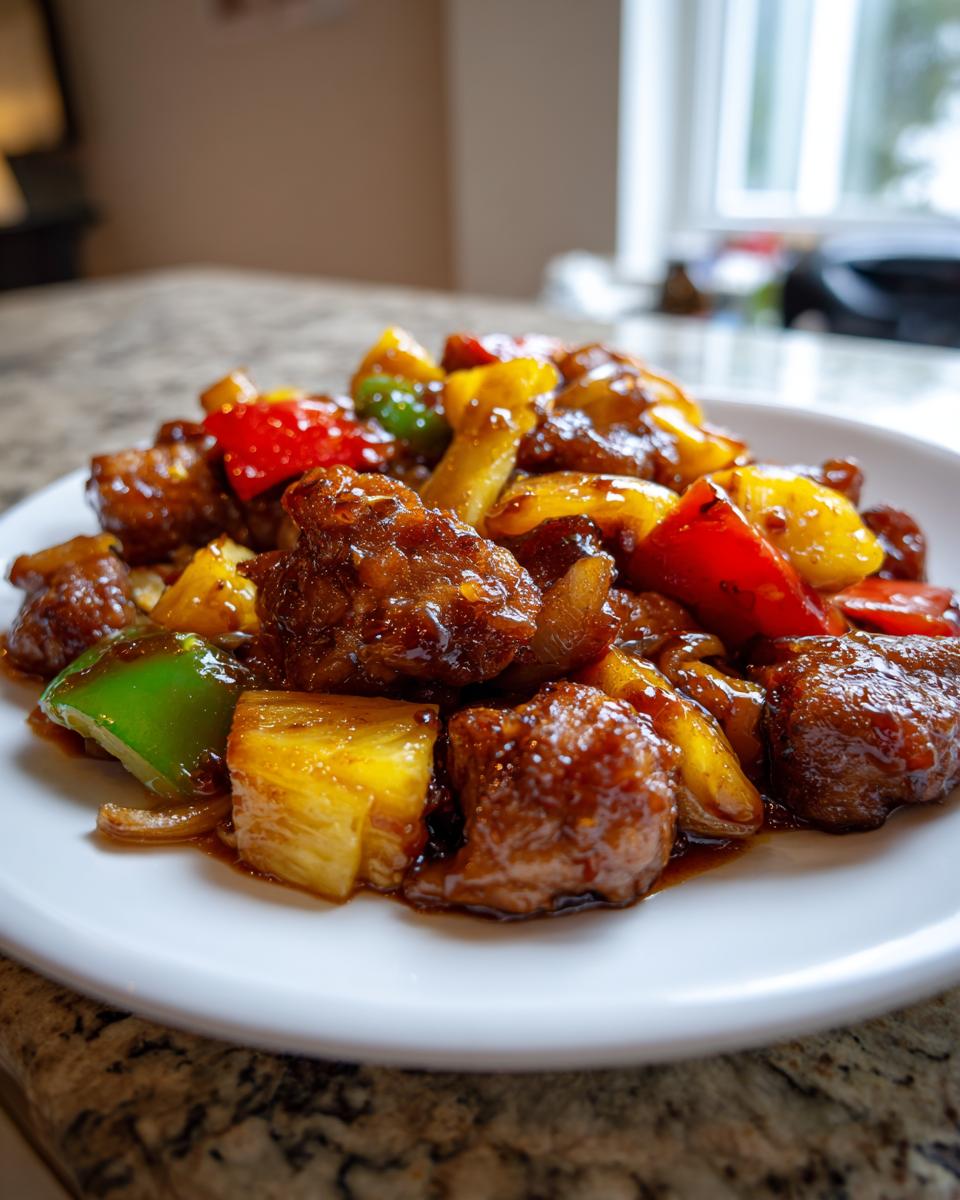
Are you tired of staring into the fridge at 5 PM, utterly defeated by the mountain of pots and pans waiting for you? Seriously, I’ve been there! That feeling of wanting something incredibly flavorful but having zero energy to tackle a huge cooking project? That’s exactly why I’m so excited to share this absolute lifesaver: the **hawaiian chicken sheet pan**. This recipe is my promise to you that you can have sweet, savory, tropical flavor on the table fast, with cleanup that feels like a dream. Here at Kings Cook, I test everything until it’s foolproof, and this one-pan wonder is the definition of reliable ease for your busy evenings. If you need quick, delicious options, check out all my best weeknight dinner recipes!
- Why This Hawaiian Chicken Sheet Pan is Your New Weeknight Favorite
- Ingredients for the Ultimate Hawaiian Chicken Sheet Pan Dinner
- Mastering the Hawaiian Chicken Glaze
- Step-by-Step Instructions for Your Sheet Pan Chicken and Veggies
- Tips for the Perfect Simple Hawaiian Roasted Chicken
- Serving Suggestions for Your Tropical Chicken Recipe
- Storage and Reheating Instructions for Hawaiian Chicken Sheet Pan Leftovers
- Frequently Asked Questions About This One Pan Chicken Recipe
- Estimated Nutritional Information for Hawaiian Chicken Sheet Pan
- Share Your Easy Hawaiian Chicken Creations
Why This Hawaiian Chicken Sheet Pan is Your New Weeknight Favorite
When I say this is my go-to for those nights when I need dinner on the table without stressing, I really mean it! Weeknight cooking needs reliability, and this Quick Sheet Pan Dinner delivers every single time. You don’t have to sacrifice flavor just because you’re short on time, trust me on this one.
Why should you make this Sheet Pan Chicken with Peppers tonight?
- It’s done in under 45 minutes total, prep included! That makes it one of my fastest options available.
- Minimal Cleanup is the name of the game. I always line my pan with parchment, which means cleanup is usually just tossing the paper—maybe washing one bowl!
- The flavor profile is pure happiness. It hits that perfect spot of Sweet and Savory Chicken that both kids and adults devour. If you’re looking for more reliable options, take a look at my quick weeknight dinner recipes collection.
Ingredients for the Ultimate Hawaiian Chicken Sheet Pan Dinner
When building a perfect **Sheet Pan Dinner with Pineapple**, quality ingredients make all the difference. I always reach for chicken thighs here. They are much more forgiving than breasts and stay incredibly juicy even when roasting on a hot pan. Don’t skip the prep work; cutting everything into similar sizes ensures it all cooks evenly.
Here is what you’ll need to pull together this Easy Hawaiian Chicken:
- About 1.5 pounds of boneless, skinless chicken thighs, trimmed and cut into nice 1-inch pieces.
- One large red bell pepper, chopped into squares.
- One large green bell pepper, also chopped up roughly.
- A full cup of pineapple chunks—fresh is best, but if you use the canned stuff, make sure you drain all that extra liquid off!
- For the glaze base, we need 1/2 cup of soy sauce (I lean toward low sodium), 1/4 cup of packed brown sugar (molasses means flavor!), 1/4 cup of pineapple juice, plus ketchup, rice vinegar, ginger, and two cloves of garlic that you’ll mince up fine.
- Don’t forget the cornstarch and water for later!
That’s truly it! Simple stuff that turns into one amazing meal.
Mastering the Hawaiian Chicken Glaze
Okay, listen up, because this glaze is what takes your **Sheet Pan Chicken and Veggies** from ‘good’ to ‘I need this every night.’ The heart of that tropical pop comes from balancing sweet and tangy. That pineapple juice doesn’t just add sweetness; it brings a required tartness that cuts through the richness of the chicken. And the rice vinegar? It’s non-negotiable! It gives that bright, slightly sharp finish that screams island flavor. It really helps turn this into a marvelous **Flavorful One Pan Meal**.
My favorite little trick—which you’ll see in the instructions—is splitting the glaze before you pour it on. You use about two-thirds upfront to coat everything and get that initial caramelization going in the oven. But you *must* hang onto the last third. That preserved portion is pure gold for later application! It keeps the flavor fresh and keeps the sauce from burning during that first cook time.
Creating the Slurry for Your Hawaiian Chicken Sheet Pan
This step seems fussy, but I promise it’s the secret to a professional-looking sauce that sticks perfectly. Before you get the chicken in the oven, whisk that cornstarch and water together—that makes your slurry. It has to be perfectly smooth, or you’ll end up with white lumps, and nobody wants that! Now, here’s the key: we mix the reserved glaze, the one you held back, directly into this slurry.
Why do we do this? Because pure brown sugar and soy sauce tend to scorch if brushed onto already hot food midway through baking. By mixing the remaining glaze with the cornstarch first, you create a slightly more stable mixture. When you drizzle that thicker glaze back over your chicken halfway through, the sugars are protected, and you get that beautiful, glossy coating rather than a burnt mess. See? Simple science for an amazing result!
Step-by-Step Instructions for Your Sheet Pan Chicken and Veggies
We are finally ready to cook! This is where that sweet, easy magic happens. If you want this truly to be a Hawaiian Chicken Sheet Pan that shines, pay attention to the timing of when you add the sauce. It saves you from scorched sugar, which is the enemy of a good caramelized finish!
Preheating and Initial Toss for the Hawaiian Chicken Sheet Pan
First things first, grab your oven rack and scoot it dead center. We need to preheat that oven to 400°F (200°C). Now, about the pan: please, please, please line a large rimmed baking sheet with parchment paper. This step is what guarantees you a truly Minimal Cleanup Dinner later, honestly. Once your pan is ready, spread out all your chicken pieces, the bell peppers, and your pineapple chunks. Try to keep everything in a single layer; anything stacked up will steam instead of roast perfectly. Take about two-thirds of that incredible glaze you mixed up and drizzle it right over the top. Give everything a good, gentle toss right there on the pan until those pieces look nicely coated. Then, pop it into the hot oven.
Roasting and Final Glazing for a Quick Sheet Pan Dinner
Let your pan roast away for a solid 15 minutes. While it’s doing its thing, go ahead and mix up that cornstarch slurry—that’s just the cornstarch whisked into water until smooth. Once the 15 minutes are up, pull the sheet pan carefully out. It’s going to look a little saucy, but not quite finished. Now, drizzle that reserved, thickened glaze mixture evenly over everything. You might need to gently move the chicken and veggies around on the pan one last time so the new sauce coats them nicely. Put it back in to roast for another 10 to 15 minutes. For food safety, and because I’m serious about my food being spot-on, always check that the chicken reaches 165°F internally. You know it’s done when the veggies are tender-crisp and that glaze looks sticky and dark. A perfect roasted chicken and vegetable dish!
Tips for the Perfect Simple Hawaiian Roasted Chicken
Even though this **Simple Hawaiian Roasted Chicken** is built for speed, taking just one extra step can elevate it to ‘Wow, that tastes like a vacation’ level. I always suggest marinating if you have just 30 extra minutes before you need to cook. Take half of that amazing glaze and toss your chicken pieces in it while you chop your peppers. That little bit of soak time makes the flavor sink right into the meat before it even hits the pan. You can find more tips on flavoring thighs in my honey garlic chicken thighs recipe!
Now, let’s talk sauce consistency. If you find your final glaze looks a little thin after the second roast—maybe your pineapple was extra juicy—don’t panic! You can always whip up a tiny extra slurry with just a teaspoon of cornstarch and water, stir it together, and then drizzle it over the hot chicken right after you pull the pan out. That residual heat will thicken it up beautifully. Seriously, check out how other folks are loving this quick sheet pan dinner outcome!
One quick note on the chicken type: if you absolutely must use chicken breasts instead of thighs, just keep a closer eye on them! Breasts lose moisture faster, so they might be done closer to that 25-minute mark total. Stick with thighs for the juiciest results, though—they are made for this roasting method.
Serving Suggestions for Your Tropical Chicken Recipe
Once that **hawaiian chicken sheet pan** comes out of the oven, fragrant and glistening, you need something quick on the side to soak up all those amazing juices. Since we designed this whole meal to be super fast, we aren’t making anything heavy or complicated here. We want sides that complement that sweet and savory profile without taking up precious last-minute oven space or stovetop real estate!
For me, the absolute best way to serve this is over rice. You can cook white rice, or if you want to lean into the island flavors, try whipping up some quick coconut rice while the chicken roasts. Just simmer your rice according to package directions but substitute half the water with canned coconut milk. It is so good, you’ll want to save that recipe for later!
If you’re looking for something lighter, a crisp salad is fantastic. The brightness of lettuce and cucumber really balances out the glaze. I often toss together a simple green salad—maybe one with a light lime vinaigrette—or if I’m feeling a bit more adventurous, I make my Greek salad recipe; the salty feta is a surprisingly good match for the pineapple!
And if you want a whole grain boost that’s just as quick, my quinoa salad recipe can be prepped ahead of time and is ready to go whenever the chicken is. The key is keeping it simple so you can enjoy your well-deserved, **Flavorful One Pan Meal** without spending another twenty minutes cooking!
Storage and Reheating Instructions for Hawaiian Chicken Sheet Pan Leftovers
So, you managed to have leftovers? Great job! That means you’re set for lunch tomorrow, and I love minimizing food waste. Since this **hawaiian chicken sheet pan** meal has chicken, veggies, and a sticky sauce, storage matters. Make sure everything is completely cooled down before you tuck it away into an airtight container in the fridge. It keeps well for about three days—no longer.
When it comes to reheating, I have two methods depending on your mood. The microwave works fastest, of course, but it can steam the peppers and make them a bit soft. If you want them to hold their shape, just pop the leftovers onto a clean piece of foil or parchment on a sheet pan and warm them in the oven at about 350°F until they are piping hot through the center. That little bit of dry oven heat stops the veggies from getting soggy. Enjoy those sweet, savory bites again!
Frequently Asked Questions About This One Pan Chicken Recipe
I always get so many great questions when people try out a new format, and that’s fantastic! It means you’re really thinking about how to make this **hawaiian chicken sheet pan** fit *your* life perfectly. I gathered up the ones I hear most often regarding this super easy weeknight meal. Whether you’re swapping out ingredients or trying to shave off a few minutes, I’ve got you covered!
Can I make this Healthy Sheet Pan Dinner with chicken breasts?
That is such a common question! And yes, you absolutely can use chicken breasts if that’s what you have on hand or prefer. Breasts are leaner, which technically makes this a slightly lighter option, fitting into that **Healthy Sheet Pan Dinner** category nicely. However, here’s the trade-off: chicken thighs are much more forgiving during the roasting time. If you switch to breasts, just keep a close watch on them! They tend to firm up and dry out faster, so you might pull them out around the 22-minute total mark instead of the full 30. I still recommend the thighs for that juicy, melt-in-your-mouth texture, but breasts work in a pinch!
How do I ensure a Minimal Cleanup Dinner?
This is the secret to making this recipe a true savior on a busy night! The whole reason we love this **Quick Sheet Pan Dinner** is the cleanup, right? My biggest piece of advice is going overboard with the lining. Don’t just use foil if it’s thin; use quality parchment paper that completely covers the bottom and edges of your rimmed baking sheet. When the glaze caramelizes, it can stick like glue to bare metal. Once everything is cooked, just lift up the parchment paper and toss it—done! Also, try to do all your glaze mixing in just one bowl, as the instructions suggest. That way, you only have that one bowl and the cutting board to worry about later. It really makes the job so much faster.
If you are looking for more meals that cut down on dishes, you must check out my whole section dedicated to weeknight dinner recipes!
If you ever get stuck on the glaze consistency, I always tell folks to check out how others handled this step over at Cooky Cooky for visualization!
Estimated Nutritional Information for Hawaiian Chicken Sheet Pan
Now, I’m not a nutritionist, not by a long shot, but I do record the numbers so you know what you are serving your family. This information is incredibly helpful, especially when trying to balance out the week! Just remember that because we are using chicken thighs instead of leaner cuts, and because that glorious glaze has brown sugar in it, these numbers reflect the full recipe as written.
These estimates are based on 4 servings:
- Calories: Roughly 380 per serving. Not bad for such a satisfying meal!
- Protein Power: You’re getting about 40 grams of protein, which is fantastic.
- Carbohydrates: About 25 grams. Much of this comes from the pineapple chunks and the sugar in the sauce.
- Fat Content: Around 12 grams total fat.
A quick note on sodium: since we use regular soy sauce, the sodium comes in a bit high at 750mg. If you are watching that, please use low-sodium soy sauce, and you can easily knock a good chunk off that number! I always suggest that swap when making this **hawaiian chicken sheet pan**. It’s a simple tweak that keeps the flavor profile intact while making it a better fit for everyone.
Share Your Easy Hawaiian Chicken Creations
Well, that’s it! We’ve covered everything from the juicy chicken thighs right down to how to perfectly thicken that glorious glaze for your **hawaiian chicken sheet pan**. Now, the best part comes next: I want to hear all about it!
I put my heart into making sure every recipe here works perfectly for you, the busy home cook. When you try this **Easy Hawaiian Chicken** and it hits that sweet spot of flavor with minimal cleanup, please come back and let me know! You can rate the recipe right below the instructions—I’m always hoping for a solid 5 stars from you folks!
And if you managed to snap a photo of your gorgeous, sticky, caramelized chicken and peppers, tag me! I absolutely love seeing how my recipes look when they land on your dinner table. Connecting with you is the best part of running Kings Cook. If you have a special note or a photo of your success, please reach out directly through my contact page—I read every single message!
If you’re still looking for inspiration after serving up your dinner, check out what another great cook is doing with their version over at Skilled Cooks! Go ahead, give this recipe a try, and let the island flavors transport you, even if it’s just for one simple weeknight meal!
PrintHawaiian Chicken Sheet Pan Dinner with Pineapple and Peppers
Make this quick and easy Hawaiian Chicken Sheet Pan dinner for a flavorful, tropical meal with minimal cleanup. Juicy chicken, sweet pineapple, and colorful peppers roast together on one pan.
- Prep Time: 15 min
- Cook Time: 30 min
- Total Time: 45 min
- Yield: 4 servings 1x
- Category: Dinner
- Method: Baking
- Cuisine: American/Tropical
- Diet: Low Lactose
Ingredients
- 1.5 lbs boneless, skinless chicken thighs, cut into 1-inch pieces
- 1 large red bell pepper, cut into 1-inch pieces
- 1 large green bell pepper, cut into 1-inch pieces
- 1 cup fresh or canned pineapple chunks, drained if canned
- 1/2 cup soy sauce (low sodium preferred)
- 1/4 cup brown sugar, packed
- 1/4 cup pineapple juice
- 2 tablespoons ketchup
- 1 tablespoon rice vinegar
- 1 teaspoon ground ginger
- 2 cloves garlic, minced
- 1 tablespoon cornstarch
- 1 tablespoon water
- Optional: 1/4 cup sliced green onions for garnish
Instructions
- Preheat your oven to 400°F (200°C). Line a large rimmed baking sheet with parchment paper for easy cleanup.
- In a small bowl, whisk together the soy sauce, brown sugar, pineapple juice, ketchup, rice vinegar, ginger, and minced garlic. This is your Hawaiian glaze.
- Place the cut chicken thighs, bell peppers, and pineapple chunks onto the prepared sheet pan. Spread them into a single layer.
- Pour about two-thirds of the Hawaiian glaze over the chicken and vegetables. Toss everything gently on the pan until coated.
- Place the sheet pan in the preheated oven and roast for 15 minutes.
- While the chicken roasts, prepare the thickening slurry: In the small bowl used for the glaze, whisk the cornstarch and water together until smooth. Pour the remaining one-third of the glaze into this slurry and mix well.
- After 15 minutes of roasting, remove the sheet pan from the oven. Drizzle the thickened glaze mixture evenly over the chicken and vegetables. Gently toss everything on the pan again.
- Return the sheet pan to the oven and roast for another 10 to 15 minutes, or until the chicken is cooked through (internal temperature reaches 165°F or 74°C) and the vegetables are tender-crisp.
- Remove from the oven. Garnish with sliced green onions, if using. Serve immediately over rice or enjoy as is.
Notes
- For extra flavor, you can marinate the chicken pieces in half of the glaze for 30 minutes before adding the vegetables and roasting.
- If you prefer a thicker glaze, use 1.5 tablespoons of cornstarch instead of 1 tablespoon.
- This recipe works well with chicken breasts, but they may dry out faster; reduce the total cook time slightly if using breasts.
Nutrition
- Serving Size: 1 serving
- Calories: 380
- Sugar: 22
- Sodium: 750
- Fat: 12
- Saturated Fat: 3
- Unsaturated Fat: 9
- Trans Fat: 0
- Carbohydrates: 25
- Fiber: 2
- Protein: 40
- Cholesterol: 120