
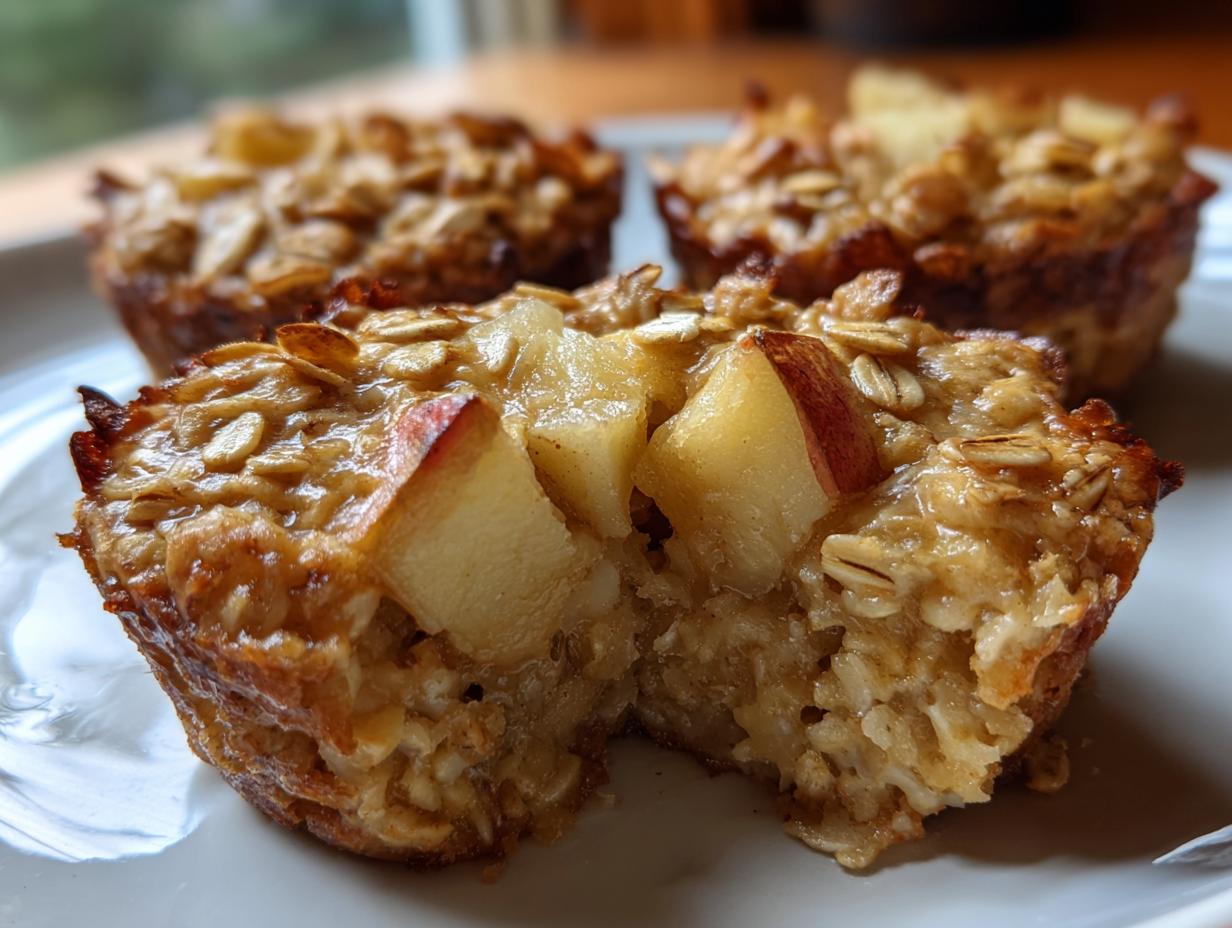
Oh, the morning rush! You know the feeling, right? Coats flying, backpacks slung, and the question hanging in the air, “Mom, what’s for breakfast?!” If your mornings feel more like a mad dash than a calm start, I totally get it. That’s exactly why I’m so excited to share these amazing baked apple oatmeal cups with you. They’re like a little hug for your busy mornings – portable, packed with goodness, and oh-so-delicious. As someone who studied nutrition science and absolutely believes that cooking should be joyful, not intimidating, I created these with you in mind. They’re super easy to whip up, totally reliable, and taste like a little slice of fall heaven. Think of them as your secret weapon for a healthy, happy start to the day, straight from my kitchen to yours here at Kings Cook! You can learn more about my passion for making cooking accessible on my About page.
- Why You'll Love These Baked Apple Oatmeal Cups
- Gather Your Ingredients for Baked Apple Oatmeal Cups
- Essential Equipment for Making Baked Apple Oatmeal Cups
- Step-by-Step Guide to Baked Apple Oatmeal Cups
- Tips for Perfect Baked Apple Oatmeal Cups
- Customizing Your Baked Apple Oatmeal Cups: Dairy-Free and Egg-Free Options
- Storing and Freezing Your Baked Apple Oatmeal Cups for Meal Prep
- Reheating Your Delicious Baked Apple Oatmeal Cups
- Frequently Asked Questions About Baked Apple Oatmeal Cups
- Nutritional Information for Baked Apple Oatmeal Cups
- Share Your Baked Apple Oatmeal Cup Creations!
Why You’ll Love These Baked Apple Oatmeal Cups
Seriously, these little cups are a game-changer! Here’s why you’ll be making them again and again:
- Super Convenient: Perfect for busy mornings! They’re grab-and-go and make healthy breakfast meal prep a total breeze.
- Deliciously Healthy: Packed with whole grains, fruit, and just a touch of sweetness. They’re a much better option than sugary cereals!
- Totally Portable: Muffins are great, but these oatmeal cups are even better. Tuck them into lunchboxes, bags, or just eat ‘em on the run!
- Kid-Friendly Breakfast Prep: Even picky eaters love the warm apple and cinnamon flavor. They’re a fantastic way to get some good stuff into them before school.
- Flavorful & Customizable: That mix of apple, cinnamon, and oats is pure comfort. Plus, you can easily tweak them to fit your needs!
Gather Your Ingredients for Baked Apple Oatmeal Cups
Alright, let’s get our ducks (or in this case, oats!) in a row! Here’s what you’ll need to whip up these delicious baked apple oatmeal cups. Don’t worry, these are all super common things you probably have hiding in your pantry right now:
- 2 cups rolled oats (make sure they’re the old-fashioned kind, not instant!)
- 1 teaspoon baking powder (this gives them that nice little lift!)
- 1 teaspoon ground cinnamon (our star spice!)
- 1/4 teaspoon ground nutmeg (just a pinch adds so much warmth!)
- 1/4 teaspoon salt (enhances all those yummy flavors)
- 2 large eggs (or your favorite egg replacer, more on that later!)
- 1/2 cup unsweetened almond milk (or any milk you prefer, dairy or non-dairy!)
- 1/4 cup maple syrup (for just the right touch of natural sweetness)
- 1/4 cup unsweetened applesauce (this is key for moisture!)
- 1 teaspoon vanilla extract (because vanilla makes everything better!)
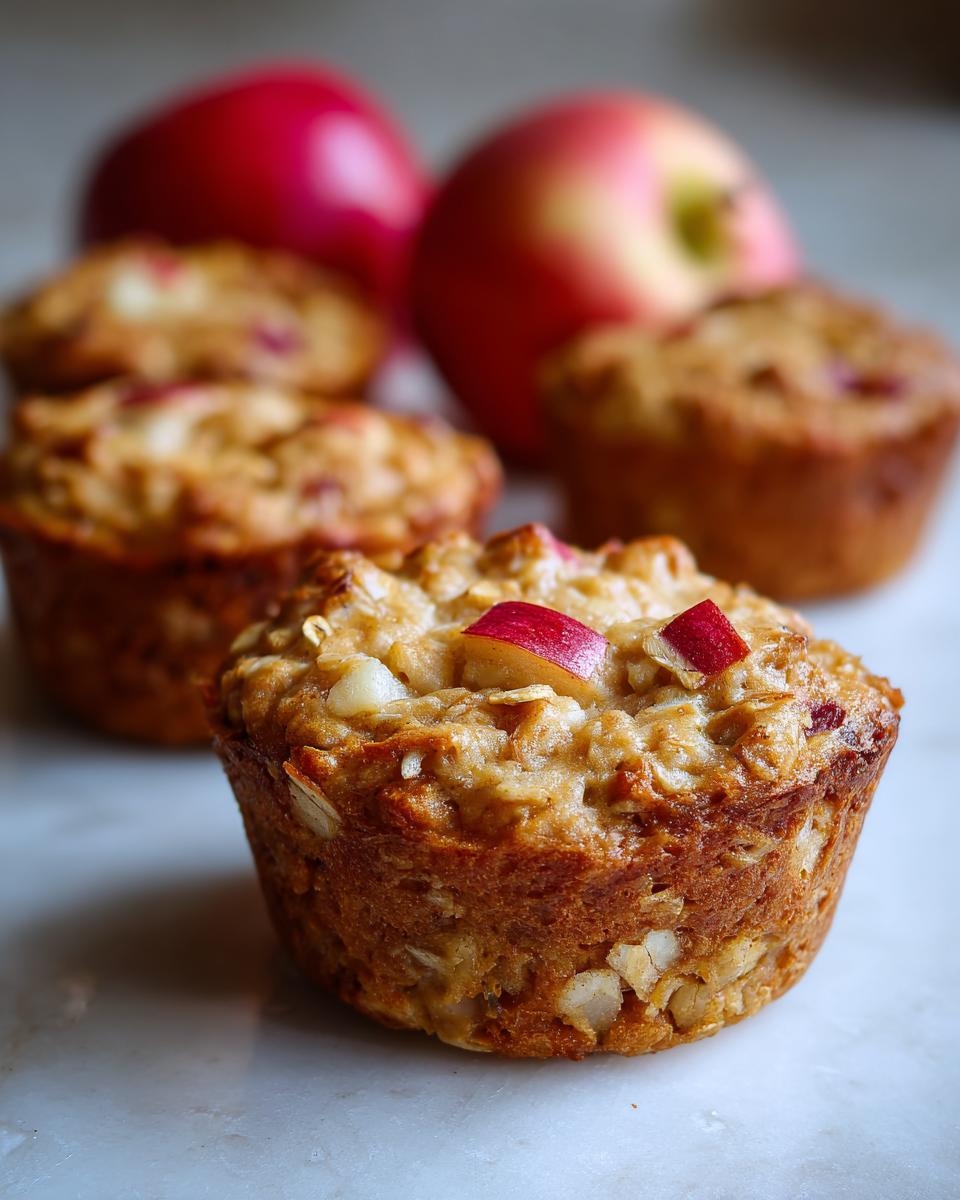
- 1 cup finely diced apples (about 1 medium apple – I love Honeycrisp or Fuji, but use what you like!)
Essential Equipment for Making Baked Apple Oatmeal Cups
You don’t need anything fancy for these! Just grab a good old 12-cup muffin tin – greasing it well or using liners is key. You’ll also want a couple of mixing bowls (one for dry, one for wet ingredients), a whisk, a sturdy spoon for mixing, and a wire rack for cooling. That’s it, super simple!
Step-by-Step Guide to Baked Apple Oatmeal Cups
Alright, let’s dive into making these amazing baked apple oatmeal cups! It’s seriously straightforward, and before you know it, you’ll have a whole batch ready to go. Trust me, the smell that fills your kitchen will be absolutely divine.
Mixing the Dry Ingredients for Your Baked Apple Oatmeal Cups
First things first! Grab a large bowl and whisk together your rolled oats, baking powder, cinnamon, nutmeg, and salt. Just give it a good stir to make sure everything is nicely combined. This is where all those warm, lovely spices meet the hearty oats.
Combining Wet and Dry for the Perfect Baked Apple Oatmeal Cups Batter
Now, in a separate medium bowl, whisk up your wet ingredients: the eggs, almond milk, maple syrup, applesauce, and vanilla extract. Whisk until it’s all smooth and lovely. Then, pour this wet mixture right into your dry ingredients. Stir it all together until it’s *just* combined. Seriously, don’t go crazy mixing here – a few streaks of dry are totally fine. Overmixing can make them tough, and we want tender, fluffy apple oatmeal cups!
Adding the Apples and Filling the Cups
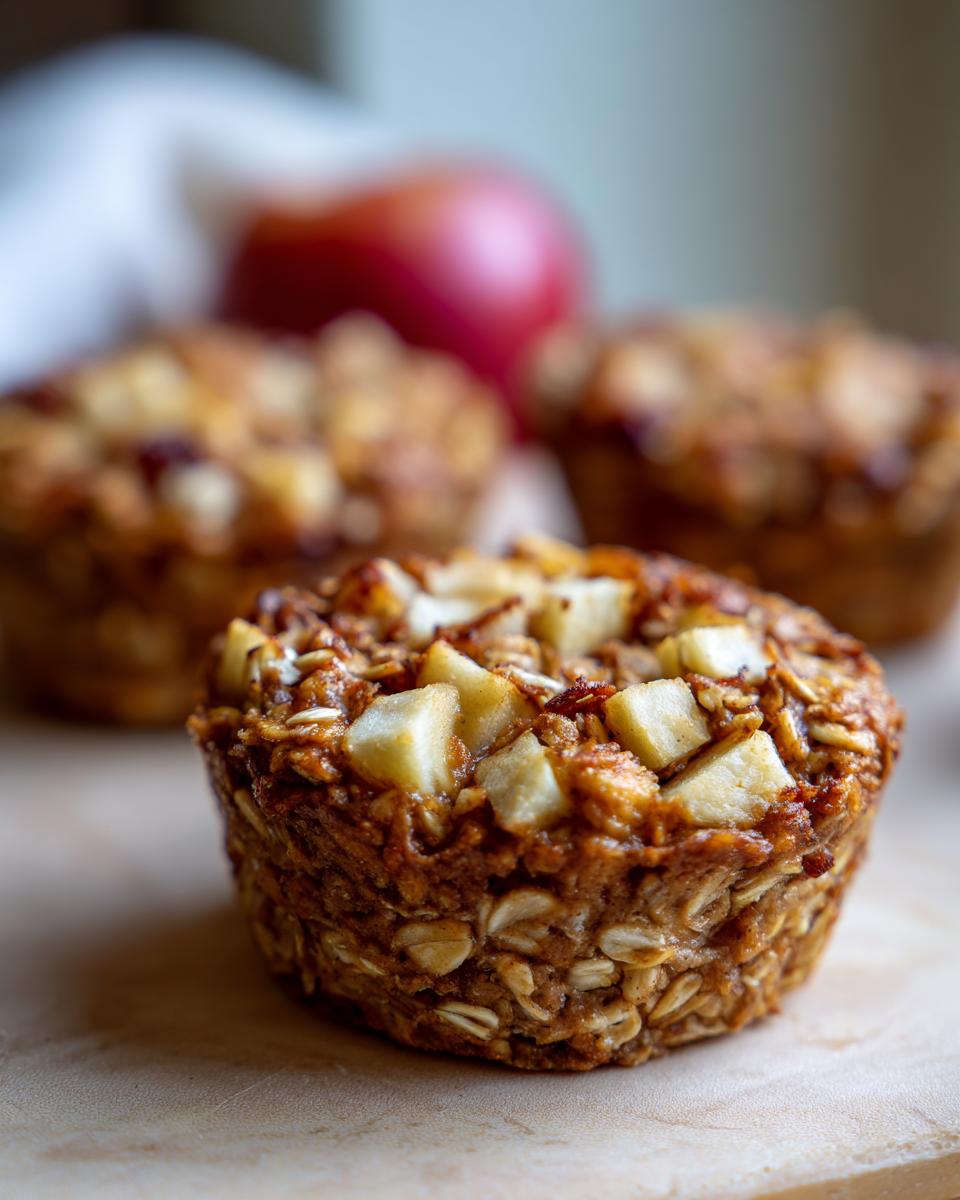
Gently fold in those finely diced apples. You want them distributed throughout the batter, but be careful not to overwork it. Once your apples are incorporated, it’s time to fill the muffin cups! Spoon the batter evenly into your prepared muffin tin, filling each cup about two-thirds full. This gives them a little room to puff up.

Baking and Cooling Your Baked Apple Oatmeal Cups
Pop that muffin tin into your preheated oven at 375°F (190°C). Let them bake for about 18 to 22 minutes. You’ll know they’re ready when a toothpick inserted right into the center comes out clean – no wet batter clinging to it! Once they’re done, let them cool in the tin for about 5 minutes. This helps them set up. Then, carefully transfer them to a wire rack to cool completely before you dive in!
Tips for Perfect Baked Apple Oatmeal Cups
Okay, so you’ve got the recipe, but let’s talk about making these baked apple oatmeal cups absolutely *perfect* every single time. Think of these little tips as secrets straight from my kitchen to yours! For starters, the type of apple really matters for these kinds of fall breakfast ideas. I love using something crisp and slightly tart like a Honeycrisp or Fuji, but a Gala works beautifully too. Just dice them nice and small so they get perfectly tender as they bake. And if you’re worried about them getting soggy, don’t be! The applesauce and eggs create plenty of moisture, but dicing them small helps them integrate perfectly without excess water. I’ve baked these tons of times, and they always come out with that lovely golden-brown top and moist, chewy center. If you love apples as much as I do, you also have to check out my apple coffee cake and my easy apple crisp – they’re family favorites!
Customizing Your Baked Apple Oatmeal Cups: Dairy-Free and Egg-Free Options
My baked apple oatmeal cups are pretty adaptable, which I just *love* about them! If you’re looking to make them dairy-free or egg-free, it’s super simple. For dairy-free, just swap out the regular milk for your favorite plant-based option. Unsweetened almond milk oatmeal cups are fantastic, but soy, oat, or even cashew milk work great too. Just make sure it’s unsweetened so you don’t mess with the sweetness level!
Now, for the eggs, if you need to go egg-free (and don’t want to use banana, either!), my go-to is a flax egg. It’s really easy: just mix one tablespoon of ground flaxseed with three tablespoons of water in a small bowl, give it a stir, and let it sit for about five minutes. It’ll get nice and gelatinous, just like an egg! You’ll need two of these for the recipe. Or, if you have a commercial egg replacer you love, just use that according to its package directions. Easy peasy!
Storing and Freezing Your Baked Apple Oatmeal Cups for Meal Prep
Now for the fun part: making sure you can enjoy these yummy baked apple oatmeal cups all week long! Making a big batch for baked apple oatmeal cups meal prep is the best way to guarantee a healthy breakfast is always on hand. Once they’ve cooled completely on the wire rack – and I really mean *completely* cool, otherwise you’ll end up with condensation and sad, soggy cups – pop them into an airtight container. They’ll stay lovely and fresh in the fridge for up to 4 days. They’re so good cold, but you can totally pop one in the microwave for a quick warm-up if you prefer!
Want to keep them even longer? Freezing is your best friend! To do this properly, and make sure you know how to freeze oatmeal cups so they don’t stick together, wrap each cooled oatmeal cup individually in plastic wrap. Then, layer them neatly into a freezer-safe bag or container. This way, you can just grab one or two whenever the craving strikes! They’ll keep beautifully in the freezer for up to 3 months. It’s like having a stash of deliciousness ready whenever you need it! If you love making things ahead, you should totally check out my pumpkin pie overnight oats recipe too!
Reheating Your Delicious Baked Apple Oatmeal Cups
Got some leftover baked apple oatmeal cups? No problem! If they’ve been chilling in the fridge, just pop one or two onto a microwave-safe plate and zap ’em for about 30-60 seconds, until they’re warm and gooey. If you’re grabbing one from the freezer, it’ll take just a tiny bit longer, maybe 1-2 minutes in the microwave. Honestly, though, they’re pretty tasty cold too if you’re in a super-duper rush!
Frequently Asked Questions About Baked Apple Oatmeal Cups
Got questions? I’ve got answers! These baked apple oatmeal cups are pretty foolproof, but I know sometimes little things pop up. Here are a few things people often ask:
Can I make these gluten-free oatmeal cups?
Absolutely! The recipe uses rolled oats, which are naturally gluten-free, but it’s super important to make sure you buy oats that are certified gluten-free. This is because oats can sometimes get cross-contaminated during processing. So, if you need them to be strictly gluten-free, just check your packaging carefully! They’ll still turn out wonderfully. If you’re looking for gluten-free prepared meals, you might want to check out gluten-free meal delivery services too!
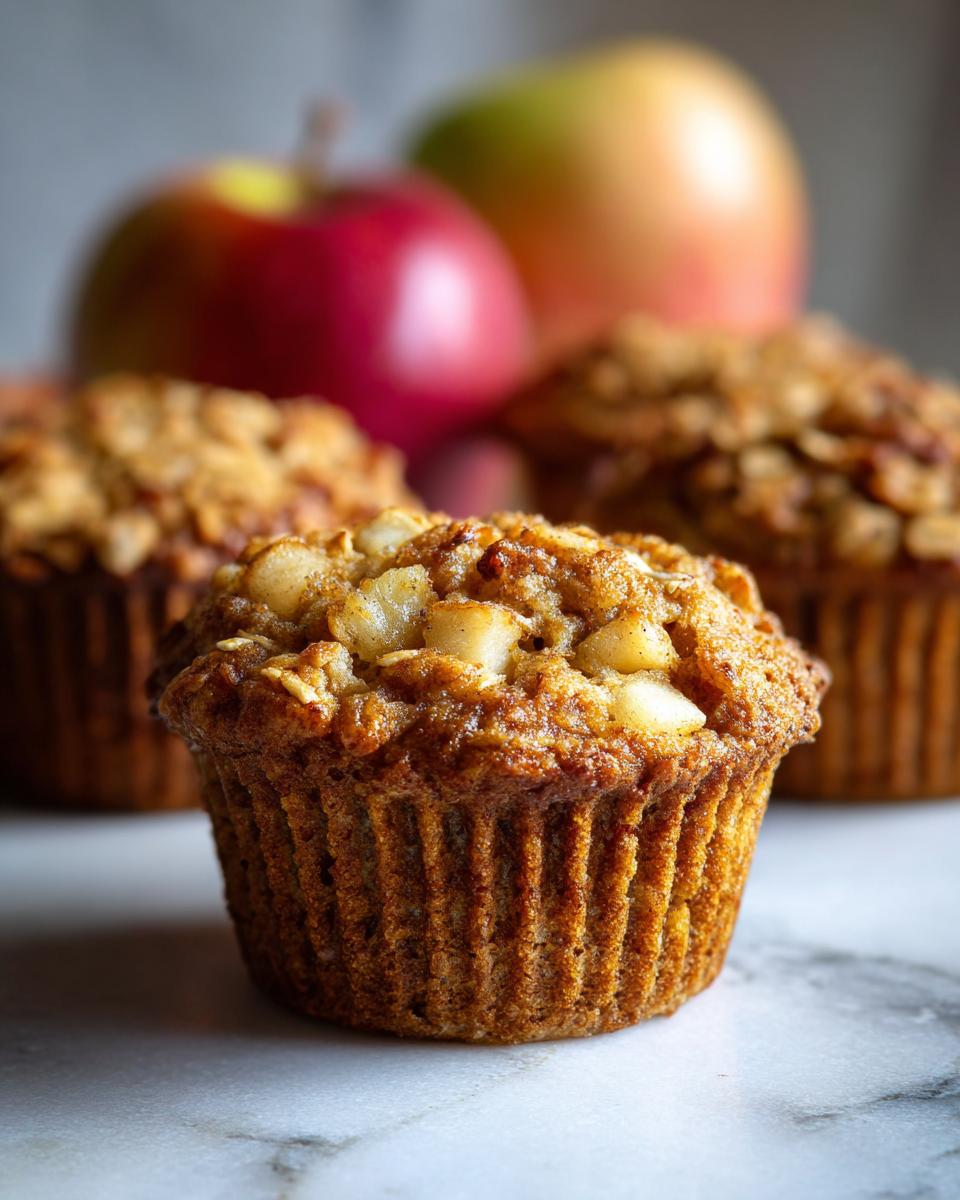
What’s the best way to get that perfect chewy texture?
The secret to that perfect chewy-but-tender texture in these portable oatmeal muffins is the type of oats you use and not overmixing. Always use old-fashioned rolled oats – they hold their shape and give you that lovely chew. Instant oats tend to get a bit gummy. And remember what I said about not overmixing the batter after you add the wet ingredients? That’s crucial! Just stir until it’s combined, and you’ll get that perfect texture every time.
Can I add other fruits or mix-ins?
Oh, you totally can! These cups are really versatile. You could try adding about half a cup of fresh or frozen berries along with the apples, or maybe some chopped nuts like walnuts or pecans for extra crunch. A little handful of raisins or dried cranberries would be delicious too! Just keep the total amount of mix-ins around 1.5 cups so the batter doesn’t get too overloaded and you still get that great oatmeal-to-mix-in ratio.
Nutritional Information for Baked Apple Oatmeal Cups
Keep in mind these are just estimates, as things can vary a bit based on the exact ingredients you use, like the type of milk or if you add any extra mix-ins! But generally, one of these delicious baked apple oatmeal cups comes in around:
- Serving Size: 1 cup
- Calories: 150
- Fat: 4g
- Saturated Fat: 1g
- Unsaturated Fat: 3g
- Trans Fat: 0g
- Carbohydrates: 25g
- Fiber: 3g
- Sugar: 8g
- Protein: 4g
- Cholesterol: 30mg
- Sodium: 100mg
Share Your Baked Apple Oatmeal Cup Creations!
I truly can’t wait to hear what you think of these baked apple oatmeal cups! Did you try any fun mix-ins? Did the kids devour them? Please leave a comment below and let me know how yours turned out. And if you snap any sweet photos, tag us on social media! We love seeing your culinary adventures. You can also reach out through my contact page anytime!
PrintBaked Apple Oatmeal Cups
Make these grab-and-go baked apple oatmeal cups for a healthy, portable breakfast. They are perfect for meal prep and can be customized for dairy-free or egg-free diets.
- Prep Time: 15 min
- Cook Time: 20 min
- Total Time: 35 min
- Yield: 12 servings 1x
- Category: Breakfast
- Method: Baking
- Cuisine: American
- Diet: Vegetarian
Ingredients
- 2 cups rolled oats
- 1 teaspoon baking powder
- 1 teaspoon ground cinnamon
- 1/4 teaspoon ground nutmeg
- 1/4 teaspoon salt
- 2 large eggs
- 1/2 cup unsweetened almond milk
- 1/4 cup maple syrup
- 1/4 cup unsweetened applesauce
- 1 teaspoon vanilla extract
- 1 cup finely diced apples
Instructions
- Preheat your oven to 375°F (190°C). Grease a 12-cup muffin tin or line with paper liners.
- In a large bowl, combine the rolled oats, baking powder, cinnamon, nutmeg, and salt.
- In a separate medium bowl, whisk together the eggs, almond milk, maple syrup, applesauce, and vanilla extract until well combined.
- Pour the wet ingredients into the dry ingredients and stir until just combined. Do not overmix.
- Gently fold in the diced apples.
- Divide the batter evenly among the prepared muffin cups, filling each about two-thirds full.
- Bake for 18-22 minutes, or until a toothpick inserted into the center comes out clean.
- Let the oatmeal cups cool in the muffin tin for 5 minutes before transferring them to a wire rack to cool completely.
Notes
- For dairy-free: Use your favorite plant-based milk, such as almond, soy, or oat milk.
- For egg-free: You can substitute the eggs with a flax egg (1 tablespoon ground flaxseed mixed with 3 tablespoons water, let sit for 5 minutes) or a commercial egg replacer.
- Storage: Store cooled oatmeal cups in an airtight container in the refrigerator for up to 4 days.
- Freezing: Wrap cooled oatmeal cups individually in plastic wrap, then place them in a freezer-safe bag or container. Freeze for up to 3 months.
- Reheating: Microwave frozen oatmeal cups for 1-2 minutes, or until heated through. You can also reheat refrigerated cups for 30-60 seconds.
Nutrition
- Serving Size: 1 cup
- Calories: 150
- Sugar: 8g
- Sodium: 100mg
- Fat: 4g
- Saturated Fat: 1g
- Unsaturated Fat: 3g
- Trans Fat: 0g
- Carbohydrates: 25g
- Fiber: 3g
- Protein: 4g
- Cholesterol: 30mg