
Oh my goodness, if you’re like me and love a good dessert but are *not* a fan of fuss, then you are going to fall head over heels for this no-bake peanut butter pie! Seriously, it’s a lifesaver for busy weeknights or when you just need a little something sweet without breaking a sweat. I’m Kate Connolly – you can find out more about my passion for making cooking accessible right here! – and here at Kings Cook, my whole thing is making sure *you* feel totally confident and excited in the kitchen, even if you think you can’t cook!
This incredible no-bake peanut butter pie recipe is ridiculously simple and tastes like a dream. It’s the perfect example of how delicious home cooking can be when it’s accessible, and I can’t wait for you to try it!
- Why You'll Love This No-Bake Peanut Butter Pie
- Effortless Ingredients for Your No-Bake Peanut Butter Pie
- Simple Steps to Make No-Bake Peanut Butter Pie
- Tips for the Best No-Bake Peanut Butter Pie
- Variations and Toppings for Your Peanut Butter Pie
- Making a Healthy High-Protein Peanut Butter Pie
- Peanut Butter Pie Calories Per Slice and Nutritional Estimates
- Frequently Asked Questions About No-Bake Peanut Butter Pie
- Storing and Reheating Your Delicious Pie
Why You’ll Love This No-Bake Peanut Butter Pie
Okay, you are going to *adore* this pie because it’s ridiculously simple. We’re talking minimal effort for maximum deliciousness! It’s seriously a lifesaver when you need a treat but don’t have a ton of time – maybe you’ve got last-minute company or you’re just craving something sweet fast. Plus, the flavors are just heavenly. That creamy peanut butter filling with the chocolate crust? Pure perfection! It’s also one of those dreamy desserts you can make ahead, which is always a win in my book. Think of it as your go-to fridge dessert, always ready when that sweet tooth strikes!
Effortless Ingredients for Your No-Bake Peanut Butter Pie
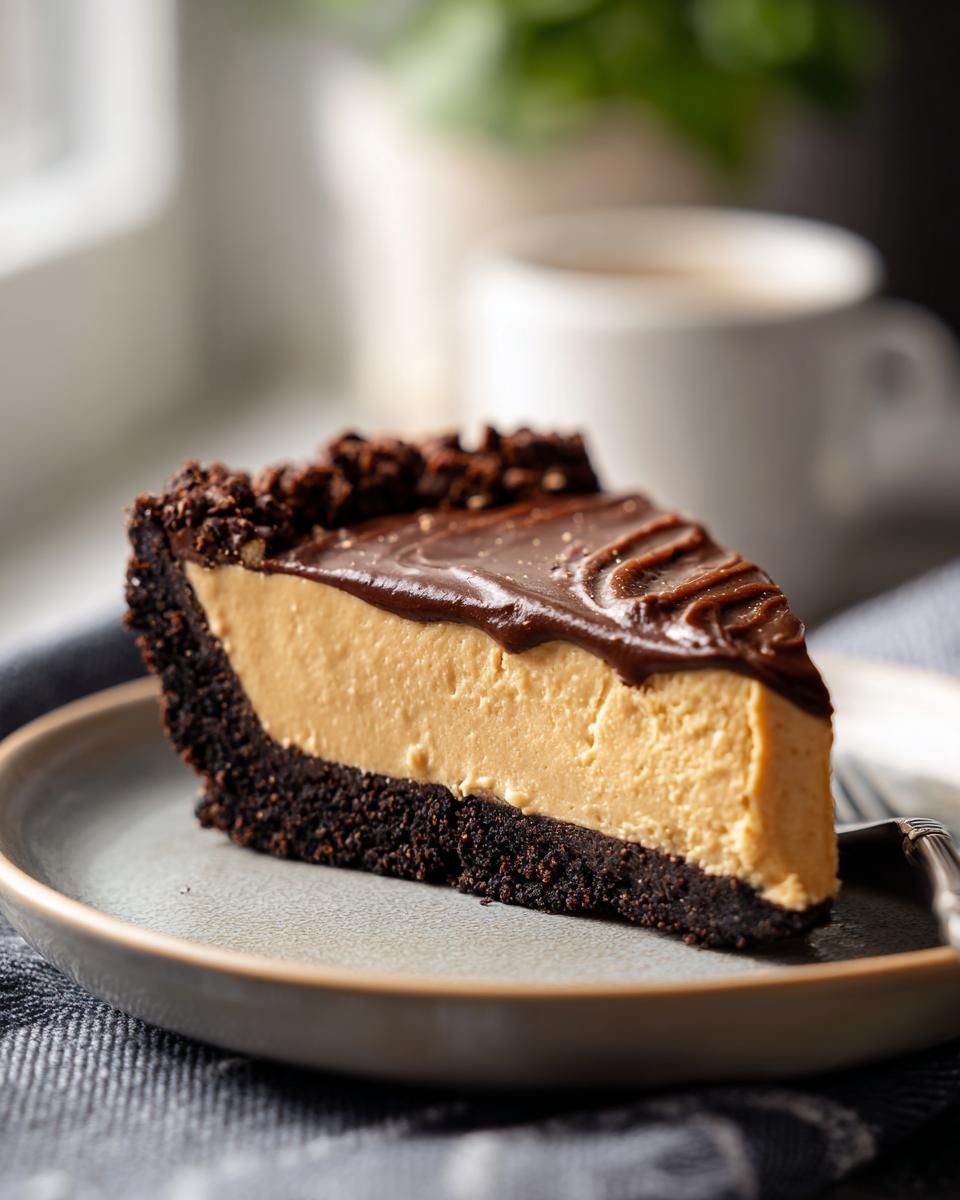
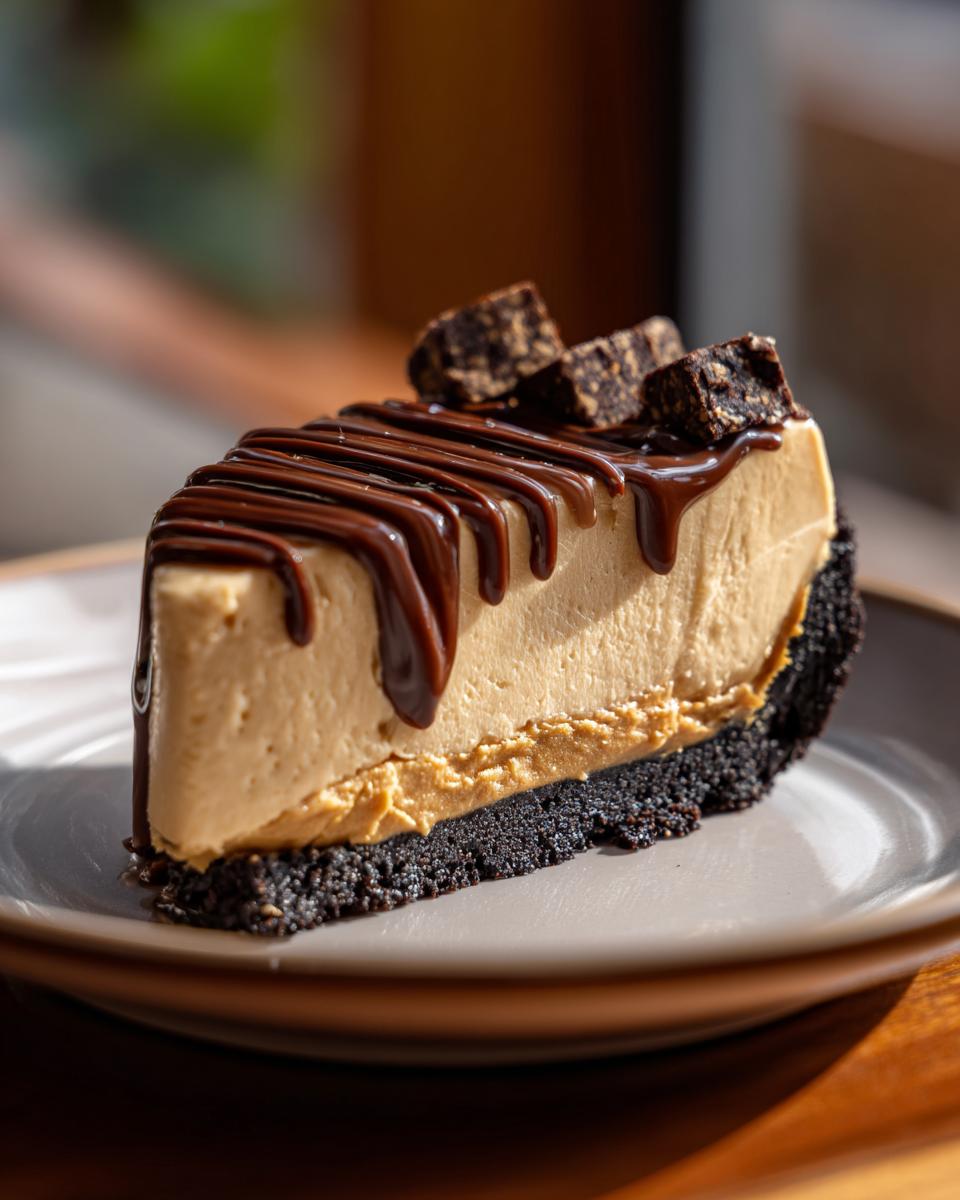
Seriously, the ingredient list for this no-bake peanut butter pie is as straightforward as it gets, which is exactly what I love! It all starts with that super convenient pre-made chocolate cookie crust – it’s a game-changer, trust me. Inside, we’ve got the star: creamy peanut butter (I like to use regular creamy, not the natural kind that separates, for the smoothest filling). Then, there’s softened cream cheese, that’s totally key for getting it nice and smooth without any lumps. A little powdered sugar for sweetness, a splash of vanilla extract for that classic pie flavor, and the magic ingredient – a whole container of Cool Whip, thawed, which gives it that incredible, light, airy texture. It all just comes together so easily, and it’s proof that simple ingredients can make something truly spectacular!
Crust Options: Oreo vs. Graham Cracker
Now, while I’m usually all about that rich, chocolatey goodness with a store-bought chocolate cookie crust, sometimes I like to switch it up! If you’re feeling a little DIY, a homemade graham cracker crust is just as easy and oh-so-delicious. All you need is about 1 and 1/2 cups of graham cracker crumbs – usually, that’s around 10-12 full cracker sheets, just blitzed up in the food processor. Mix that with 1/4 cup of melted butter and maybe 2 tablespoons of sugar for a little extra flair. Press it into your pie plate while it’s still a bit crumbly, then pop it in the fridge for like, 10 minutes, to set up. Both crusts are amazing, but the graham cracker one adds this subtle honey-sweetness that pairs beautifully with the peanut butter!
Simple Steps to Make No-Bake Peanut Butter Pie
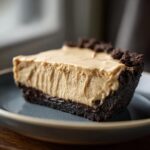
Making this pie is honestly so easy, even my dad could do it, and you know how he is in the kitchen! First things first, grab a big mixing bowl. We’re going to beat together that softened cream cheese, the pillow-y smooth peanut butter, and the powdered sugar until it’s all nice and creamy. No lumps allowed! Then, stir in that little bit of vanilla extract – it just wakes everything up. The most important part, though, is gently folding in the thawed whipped topping. When I say fold, I mean gently scoop and turn, like you’re tucking a fluffy blanket around it. We want to keep all that airiness! Pour this dreamy mixture into your pre-made crust (or your chilled homemade one!), and smooth the top with a spatula so it looks all neat and tidy. Tidy tops for tidy slices, right?
How Long to Chill Peanut Butter Pie for Perfect Slices
Okay, so this is where a little patience pays off BIG time. You’ve got to let this pie chill in the fridge for at least 4 hours. This is super important for it to get nice and firm so you can get those beautiful, clean slices that look extra fancy. Trust me, if you try to cut it too soon, it’ll just look… well, like a delicious mess! If you’re in a real pinch and can’t wait the full four hours, you *can* pop it in the freezer for about 1 to 2 hours. It’ll help it set up faster, but just be aware that freezing it for too long might change the texture slightly. For the ultimate slice, though, the fridge is your best friend for this amazing fridge dessert!
Tips for the Best No-Bake Peanut Butter Pie
Alright, so you’ve got your ingredients ready and you’re about to whip up this pie – let me give you a couple of my best tips to make sure it’s absolutely perfect! First off, make sure your cream cheese is truly softened. If it’s still a bit firm right from the fridge, it’ll be harder to get that super smooth filling, and nobody wants lumps in their peanut butter pie! I usually forget and have to microwave it for like, 10-15 seconds, but really letting it sit on the counter for an hour beforehand is best. Also, when you add the thawed whipped topping, don’t go crazy with the mixer! Just gently fold it in. I learned the hard way once, mixing too vigorously, and ended up with a denser pie. We want this light and fluffy, remember?
Cool Whip vs. Homemade Whipped Cream
So, the recipe calls for Cool Whip, which is just so darn easy, right? It’s what gives this pie its fantastic, stable texture. But, if you’re feeling a little bit fancy or maybe you just don’t have any Cool Whip hiding in your freezer, homemade whipped cream is totally your friend! To make it, you’ll whip up about 1 cup of heavy whipping cream with 2 tablespoons of powdered sugar and just a half teaspoon of vanilla until you get stiff peaks. It makes the pie taste a bit richer, almost like a mousse, and it’s divine. Just make sure to fold it in gently, same as you would the Cool Whip, so you don’t lose all that air!
Variations and Toppings for Your Peanut Butter Pie
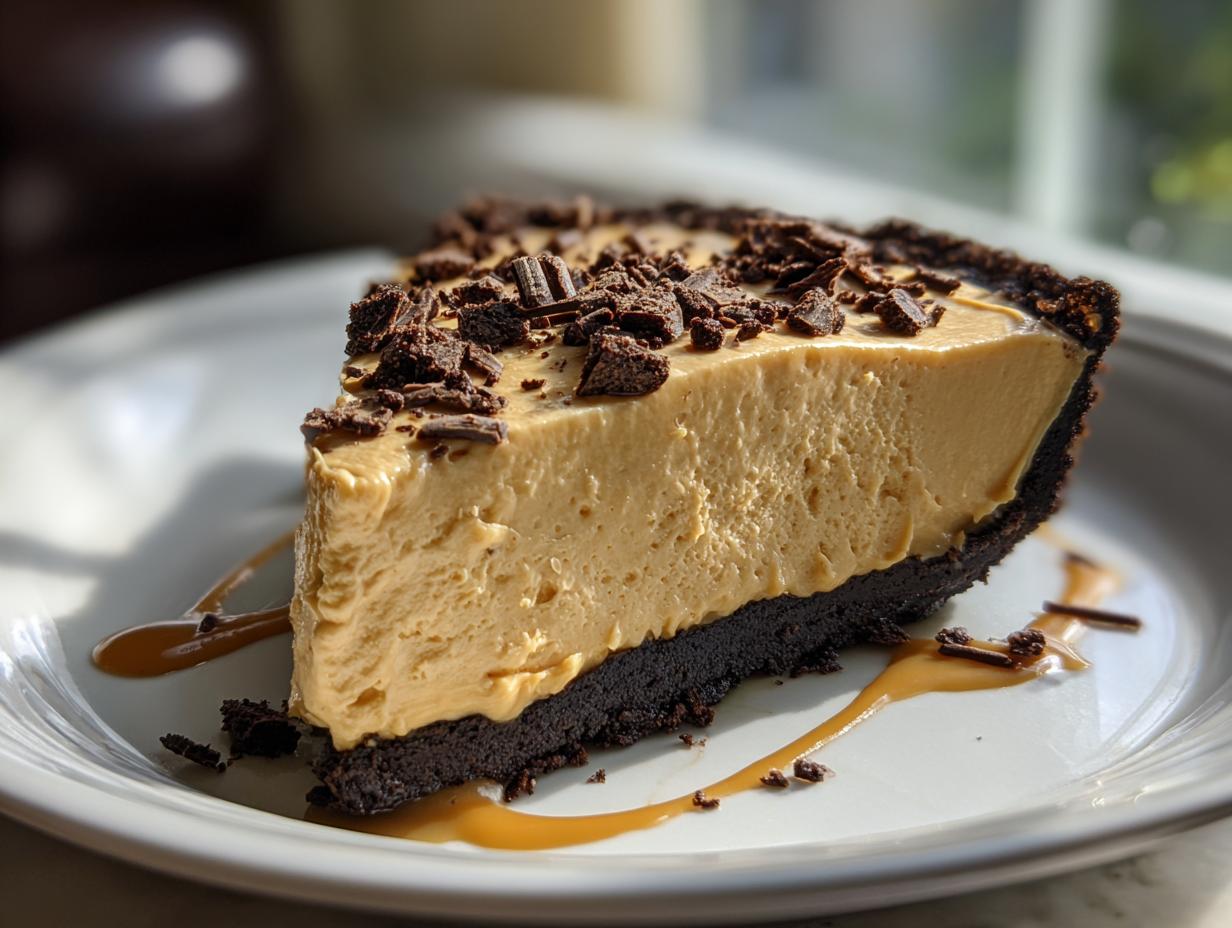
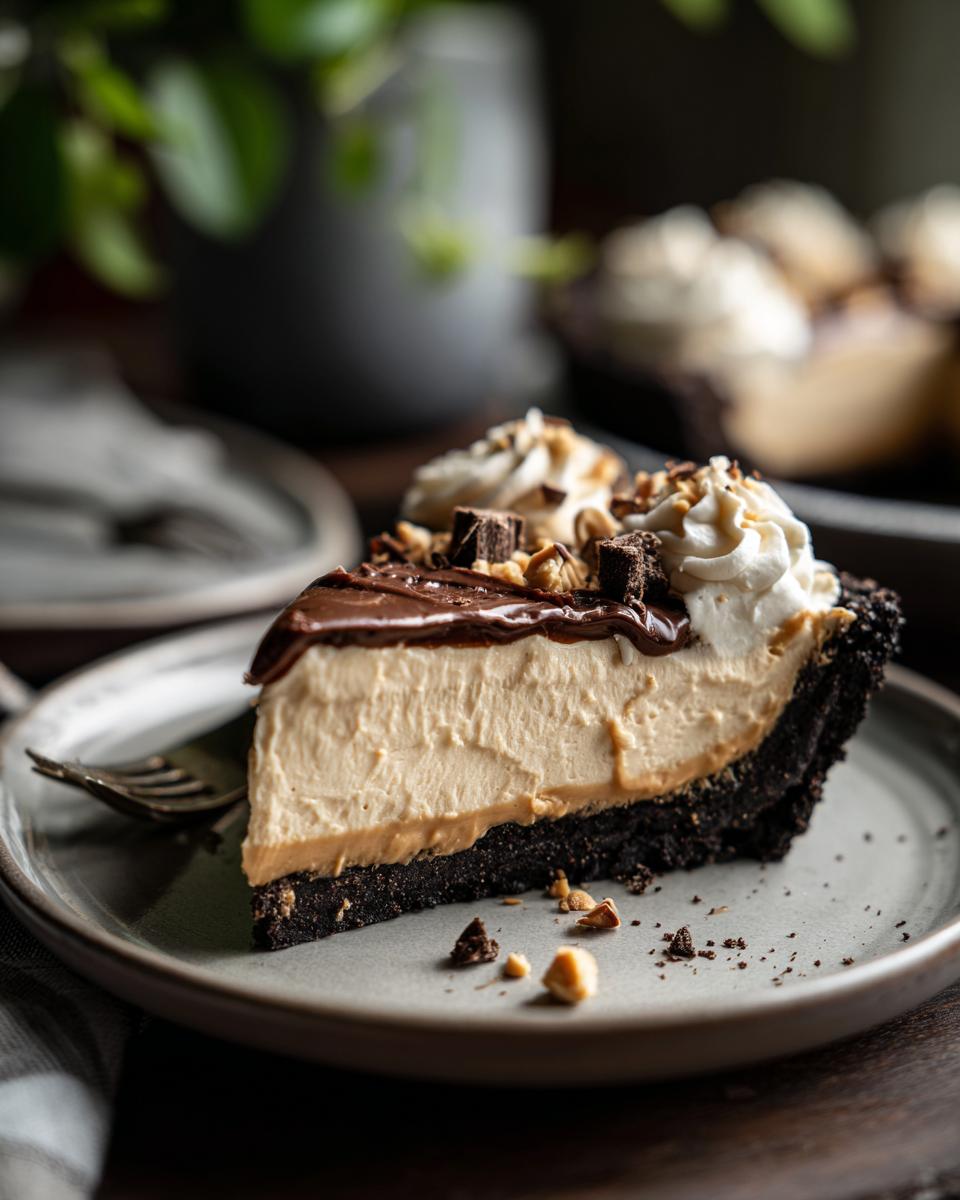
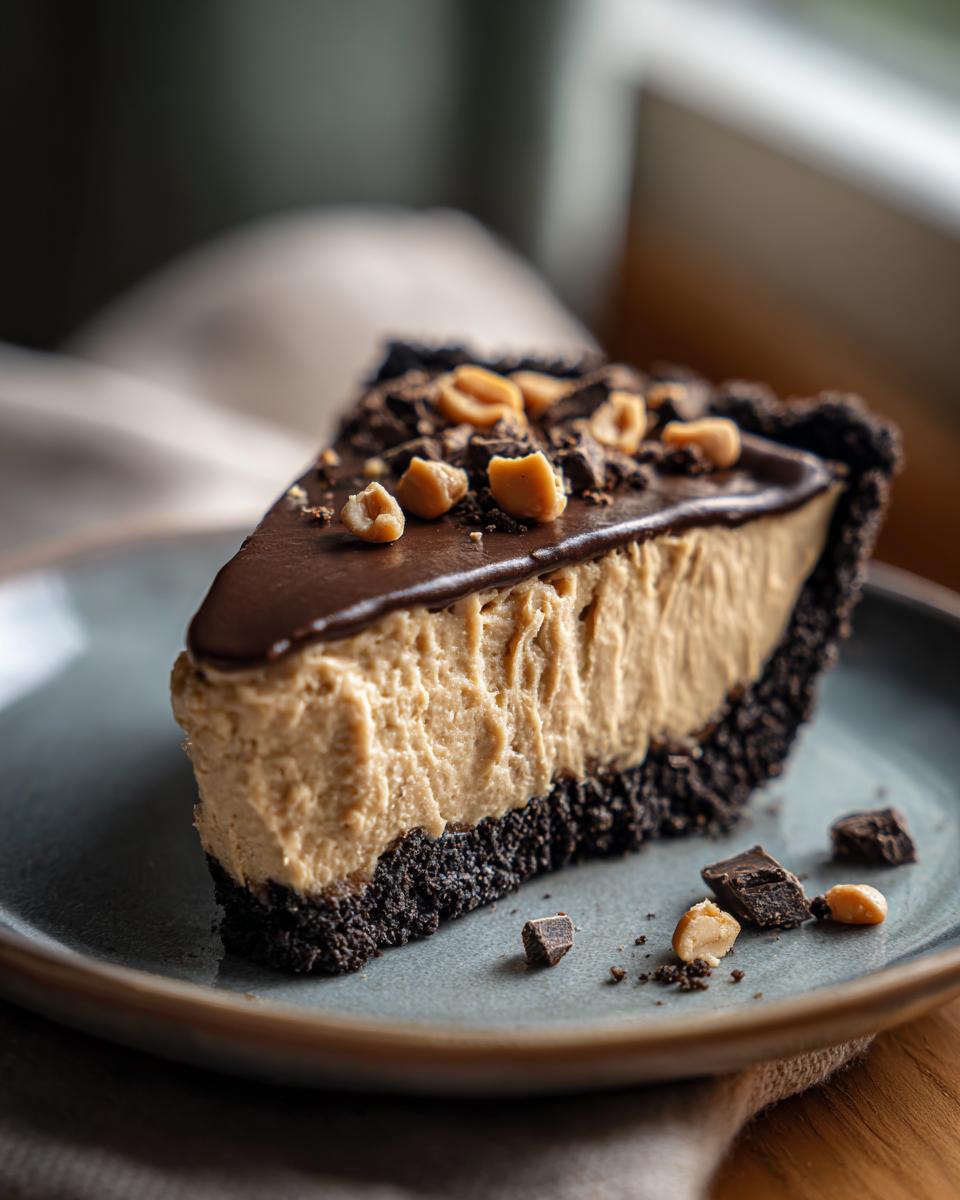
Now, as much as I adore this pie just as it is, you know me – I can’t resist playing around a little! You can totally jazz this up! If you’re not feeling the chocolate crust, how about making your own with graham crackers? Or even better, use crushed Oreos for a double chocolate chocolate situation! Sometimes, I’ll even fold in a handful of chocolate chips right into the filling, or maybe use a crunchy peanut butter for a little extra texture. And the toppings! Oh, the toppings are where it’s at. Drizzle on some chocolate syrup, sprinkle on some salty chopped peanuts, or my absolute favorite: get some Reese’s candy pieces scattered all over the top. It’s like a party in every bite!
Making a Healthy High-Protein Peanut Butter Pie
Now, I know some of you might be looking for a way to make this dreamy pie a little lighter or maybe even boost the protein. While this recipe is already pretty darn good, you *can* totally experiment with substitutions if you’re feeling adventurous! Some folks have tried swapping out some of the cream cheese or whipped topping for Greek yogurt, and others have even played around with adding protein powder. Just a heads-up, though: these changes *will* affect the texture and flavor. Greek yogurt can add a tanginess, and protein powder might make it a bit grainier. They’re definitely interesting options if you’re aiming for a healthier, high-protein peanut butter pie, but know that the original creamy, dreamy texture might shift a bit!
Peanut Butter Pie Calories Per Slice and Nutritional Estimates
So, let’s talk numbers for a sec! For this glorious no-bake peanut butter pie, we’re looking at roughly 375 calories per slice, give or take. That estimate is based on cutting it into 8 nice, even servings, but remember, if you go overboard with toppings like chocolate syrup or Reese’s candies, those calories can creep up faster than you think! It’s great for a bit of meal planning though, so you know what you’re getting into. It’s a treat, for sure, but knowing the estimates helps balance those cravings!
Frequently Asked Questions About No-Bake Peanut Butter Pie
Got questions? I’ve got answers! It’s totally normal to have a few little queries when you’re diving into a new recipe, especially one as awesome as this no-bake peanut butter pie. I’ve gathered some of the questions I get asked most often, so hopefully, we can clear everything up!
Can I make this pie ahead of time?
Oh, definitely! In fact, I highly recommend it. Making this pie ahead of time is the secret to getting those perfect, clean slices. It really needs that minimum of 4 hours (or longer!) in the fridge to firm up properly. So go ahead, whip it up the day before a party or even two days before serving. It stores wonderfully in the refrigerator, all covered up, and is even better the second day!
Can I use crunchy peanut butter instead of creamy?
You totally can! If you love that little bit of texture and crunch, crunchy peanut butter will work just fine. Just be aware that it might change the filling slightly – it won’t be as super-smooth as with creamy peanut butter, and you might have little bits of peanuts throughout. It’s still delicious, though! Just make sure you’re using regular crunchy peanut butter, not the natural kind that separates, or you might find your filling gets a bit oily.
What if my pie filling is too soft after chilling?
Oops! If your filling is still too soft after chilling, don’t panic! It usually means it just needs a bit more time. Try popping it back in the fridge for another hour or two. If it’s still a bit wonky after that, you can give it a little time in the freezer – maybe 30 minutes to an hour – but be careful not to freeze it solid if you want to serve it easily. Sometimes, it can be a sign that the whipped topping wasn’t folded in quite enough, or maybe your cream cheese wasn’t fully softened. Either way, a little extra chill time usually does the trick!
Can I freeze this pie?
You *can* freeze this no-bake peanut butter pie, but I don’t always recommend it if you can help it. Freezing can definitely change the texture of the filling, making it a bit more crumbly or icy when it thaws. If you *do* need to freeze it, wrap it really well in plastic wrap and then foil, and try to thaw it slowly in the refrigerator overnight. It won’t be quite the same as a freshly chilled pie, but it’ll still be tasty!
Storing and Reheating Your Delicious Pie
You know, one of the best things about this no-bake peanut butter pie is that it’s practically *made* for leftovers! Once it’s chilled and firm, just cover it up really well with plastic wrap, making sure to press it down gently onto the surface of the pie to prevent any air from getting in and causing it to dry out. Pop it back into the refrigerator, and it’ll stay absolutely delicious for about 3 to 4 days. It’s seriously perfect for having a slice with my morning coffee or as a little afternoon pick-me-up as part of my meal planning. Honestly, I find it tastes even better the next day!
As for reheating, this pie is really best served cold, straight from the fridge. So, no need to worry about reheating! Just grab a slice, maybe add a little extra drizzle of chocolate or a sprinkle of peanuts if you’re feeling fancy, and enjoy!
PrintNo-Bake Peanut Butter Pie
A simple, no-bake peanut butter pie with a creamy filling and a chocolate crust. This recipe is easy to make and perfect for any occasion.
- Prep Time: 20 min
- Cook Time: 0 min
- Total Time: 4 hr 20 min
- Yield: 8 servings 1x
- Category: Dessert
- Method: No-Bake
- Cuisine: American
- Diet: Vegetarian
Ingredients
- 1 (9 inch) pre-made chocolate cookie crust
- 1 cup creamy peanut butter
- 1 (8 ounce) package cream cheese, softened
- 1 cup powdered sugar
- 1 teaspoon vanilla extract
- 1 (8 ounce) container frozen whipped topping, thawed
- Optional toppings: chocolate syrup, chopped peanuts, Reese’s Pieces
Instructions
- In a large bowl, beat together the peanut butter, softened cream cheese, and powdered sugar until smooth.
- Stir in the vanilla extract.
- Gently fold in the thawed whipped topping until just combined.
- Pour the peanut butter mixture into the prepared chocolate cookie crust.
- Smooth the top with a spatula.
- Chill the pie in the refrigerator for at least 4 hours, or until firm.
- Before serving, add your desired toppings.
Notes
- For a graham cracker crust, mix 1 1/2 cups graham cracker crumbs with 1/4 cup melted butter and 2 tablespoons sugar. Press into a 9-inch pie plate and chill for 10 minutes before filling.
- You can substitute Cool Whip with homemade whipped cream for a richer flavor. Whip 1 cup of heavy cream with 2 tablespoons of powdered sugar and 1/2 teaspoon of vanilla extract until stiff peaks form.
- Chill time is crucial for clean slices. If you are short on time, you can place the pie in the freezer for 1-2 hours.
- For a healthier, high-protein version, you can experiment with Greek yogurt or protein powder, but this will alter the texture and flavor.
- A 9-inch pie typically yields 8 servings. Calories per slice are estimated to be around 350-400, depending on ingredients and toppings.
- This recipe is a great base for meal planning, offering a satisfying dessert option.
Nutrition
- Serving Size: 1 slice
- Calories: 375
- Sugar: 28g
- Sodium: 250mg
- Fat: 24g
- Saturated Fat: 8g
- Unsaturated Fat: 16g
- Trans Fat: 0g
- Carbohydrates: 35g
- Fiber: 2g
- Protein: 7g
- Cholesterol: 25mg