
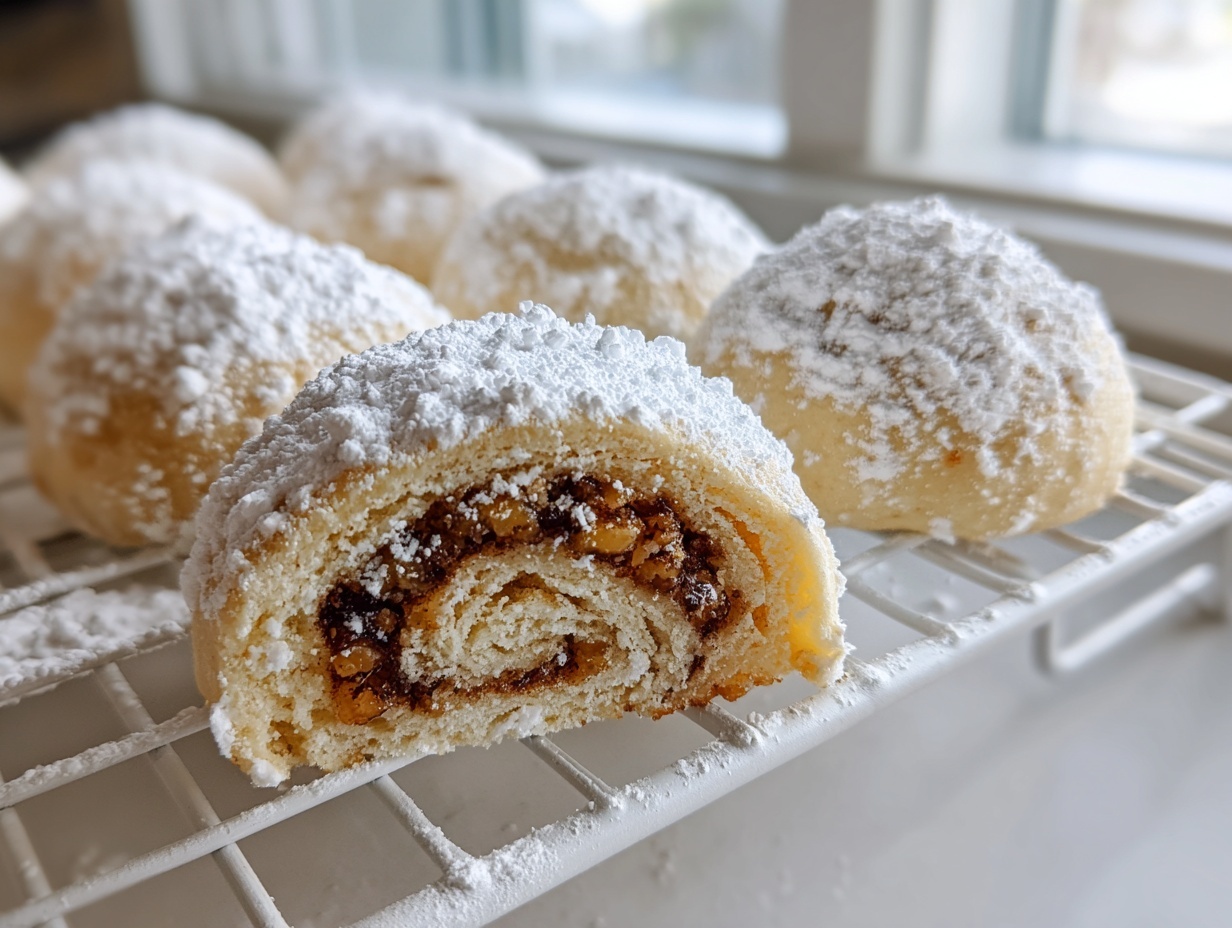
If you’ve ever smelled the air during an Italian holiday gathering, you know there’s a distinct, comforting aroma that’s just pure magic. That scent comes from those incredible, lovingly made pastries, and today, we are tackling one of the very best: the tasteful bites italian nut roll cookies! These aren’t just any cookies; they carry that beautiful tradition of a spiced nut filling wrapped snugly inside a tender, buttery dough. I promise you, these are absolutely reliable, delivering that sought-after authentic flavor every single time.
I know baking old-world recipes can feel intimidating, but that’s why I’ve spent hours testing and re-testing this recipe here in my kitchen. My goal at Kings Cook is to make sure you feel confident, and these Italian nut roll cookies are proof that you can achieve royalty-level results without the stress. Get ready to create a new favorite for your next special occasion!
- Why This Tasteful Bites Italian Nut Roll Cookies Recipe Works (E-E-A-T Focus)
- Gathering Ingredients for Your Tasteful Bites Italian Nut Roll Cookies
- Step-by-Step Instructions for Tasteful Bites Italian Nut Roll Cookies
- Tips for Success with Your Tasteful Bites Italian Nut Roll Cookies
- Storage and Serving Suggestions for Tasteful Italian Cookie Recipes
- Variations on the Italian Nut Roll Cookie Recipe
- Frequently Asked Questions About Tasteful Bites Italian Nut Roll Cookies
- Nutritional Estimates for This Authentic Italian Dessert Recipe
- Share Your Tasteful Italian Nut Roll Cookies Creations
Why This Tasteful Bites Italian Nut Roll Cookies Recipe Works (E-E-A-T Focus)
What makes these cookies truly ‘tasteful’ is the marriage between the rich filling and that perfectly balanced shortbread-style dough we create. I’ve tinkered with the butter-to-flour ratio countless times in my kitchen to ensure the dough holds its shape during rolling but melts beautifully in your mouth once baked. Trust me, this isn’t some fleeting trend; this recipe delivers some of the best homemade Italian nut pastries you’ll ever taste.
Every step, especially how we handle the filling, has been refined through rigorous testing designed to eliminate common kitchen mishaps. We aren’t leaving anything to chance here—we want guaranteed deliciousness every time you pull a sheet out of the oven!
Perfecting the Nut Filling Cookies Texture
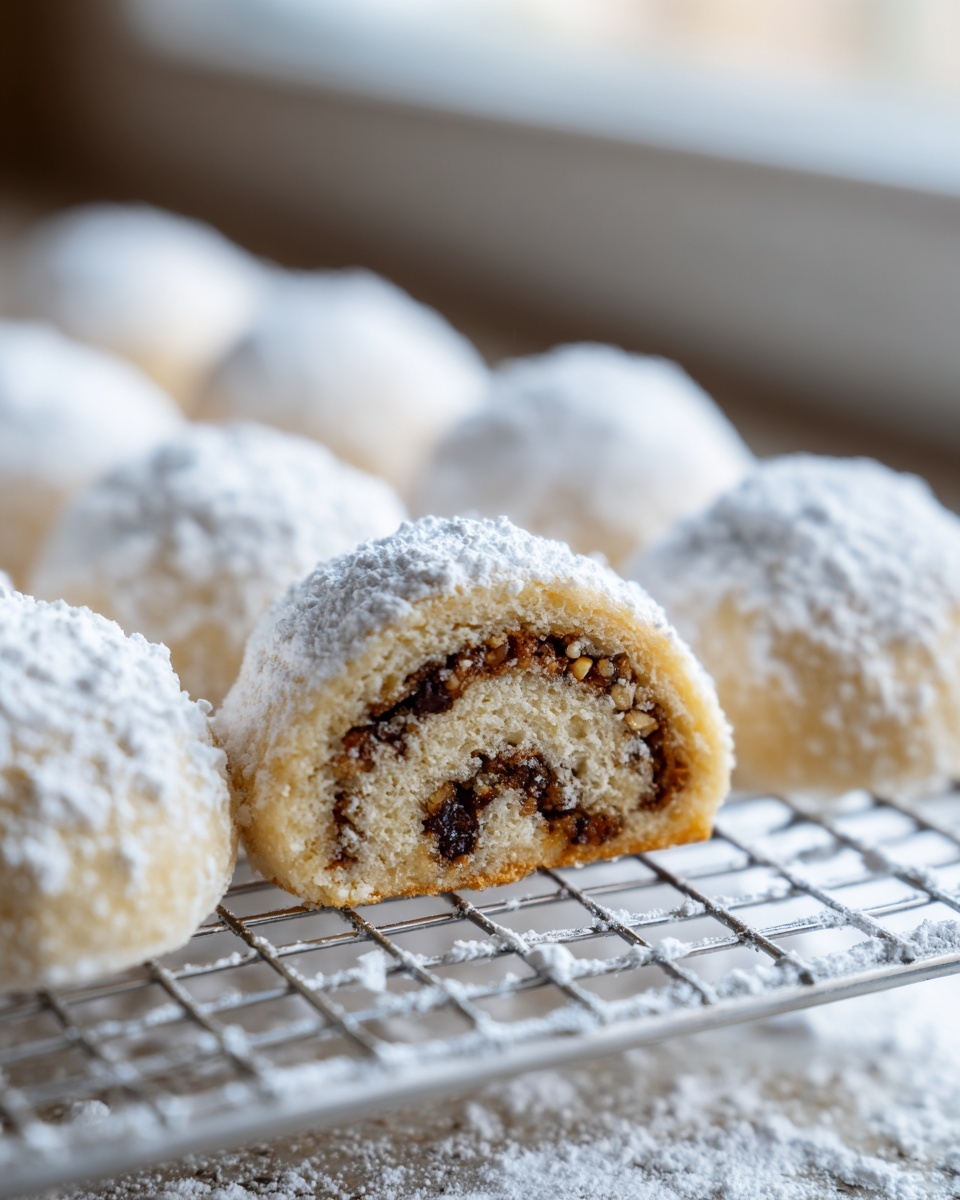
The secret to success lies in cooking that nut mixture slowly. If you rush it, you end up with gritty, runny paste that oozes out everywhere when you slice the rolls. We want a thick, dense, spreadable paste—almost like a soft peanut butter consistency—so it stays perfectly tucked inside the dough log.
Stirring constantly over low heat allows just the right amount of moisture from the milk to evaporate, concentrating the cinnamon and lemon zest flavors. Cook it until it fights back a little bit when you stir it; that’s how you know it’s ready to cool completely before it touches your chilled dough!
Gathering Ingredients for Your Tasteful Bites Italian Nut Roll Cookies
When we talk about making these truly tasteful Italian cookie recipes, it all comes down to treating our core ingredients right. Remember, what we put in directly impacts the final, beautiful product! Since these Italian Nut Roll Cookies are made of two main parts—the dough that holds everything together and the spiced filling—I’ve broken the list down for you. Don’t skip reading the notes under the ingredients; those tiny details are what elevate these cookies from good to absolutely memorable.
Using room-temperature butter and freshly ground nuts makes a huge difference, and it’s part of my promise to you that these recipes actually work!
Dough Components
For the pastry itself, we want richness, which means quality butter is a must. Always start with unsalted butter that is properly softened—I mean, leaving it out on the counter for about an hour before you plan to bake. If the butter is too cold, we can’t cream it properly, and that impacts the texture of our final cookie!
- 1 cup (2 sticks) unsalted butter, softened
- 1/2 cup granulated sugar
- 2 large egg yolks
- 1 teaspoon vanilla extract
- 2 1/2 cups all-purpose flour
- 1/2 teaspoon baking powder
- Pinch of salt
The Rich Nut Roll Filling
This is where the deep, warm flavor shines through! The key ingredient here is making absolutely sure those nuts are ground very, very fine. If you have whole walnuts or hazelnuts, pulse them in a food processor until they look almost like coarse flour. We are also adding lemon zest because that little bit of brightness cuts through the richness of the nuts so beautifully. It’s an old-world secret that really makes these nut filling cookies sing!
- 1 1/2 cups finely ground walnuts or hazelnuts (for filling)
- 1/2 cup granulated sugar (for filling)
- 1/4 cup milk (for filling)
- 1 teaspoon ground cinnamon (for filling)
- Zest of 1 lemon (for filling)
Oh, and don’t forget the egg white! That’s just for brushing the tops before baking, which helps achieve that perfect, subtle golden hue.
Step-by-Step Instructions for Tasteful Bites Italian Nut Roll Cookies
Okay, here’s where the magic really happens! If you follow these steps closely, you’ll be amazed at how straightforward it is to achieve these beautiful walnut roll cookies baking results. We are moving step-by-step so that nothing gets rushed. Remember, patience in the dough stage pays off big time later!
Making and Chilling the Cookie Dough
First up, get that dough happy! You need to cream your softened butter and the half-cup of sugar together until they are super light and fluffy—this creates the air pockets that make the cookie tender later on. Then, introduce those two egg yolks one at a time, mixing well after each addition, before stirring in the vanilla. In a separate bowl, whisk your flour, baking powder, and salt. Now, add the dry stuff to the wet stuff slowly, just until it barely comes together. Seriously, stop mixing as soon as you can’t see any more dry streaks. This dough needs a good long rest! Wrap it tightly in plastic and pop it in the fridge to chill for at least one full hour.
Cooking the Traditional Nut Filling
While that dough is getting nice and firm, let’s make your filling aromatic! Combine your ground nuts, the second half-cup of sugar, milk, cinnamon, and lemon zest in a small saucepan. You need to cook this over medium-low heat, and you absolutely must stir constantly! If you walk away for even a second, you risk scorching those lovely nuts. Keep stirring until that mixture really thickens up into what I call a ‘spreadable paste’—it should look dense and almost glue-like. Pull it off the heat immediately! My little trick is to gently press the back of a spoon into it once it’s off the burner; if it doesn’t start to ooze back together right away, it’s done. Let this cool completely before you try to use it; warm filling turns chilled dough into soup, and we don’t want that!
Assembly and Baking the Italian Nut Roll Cookies
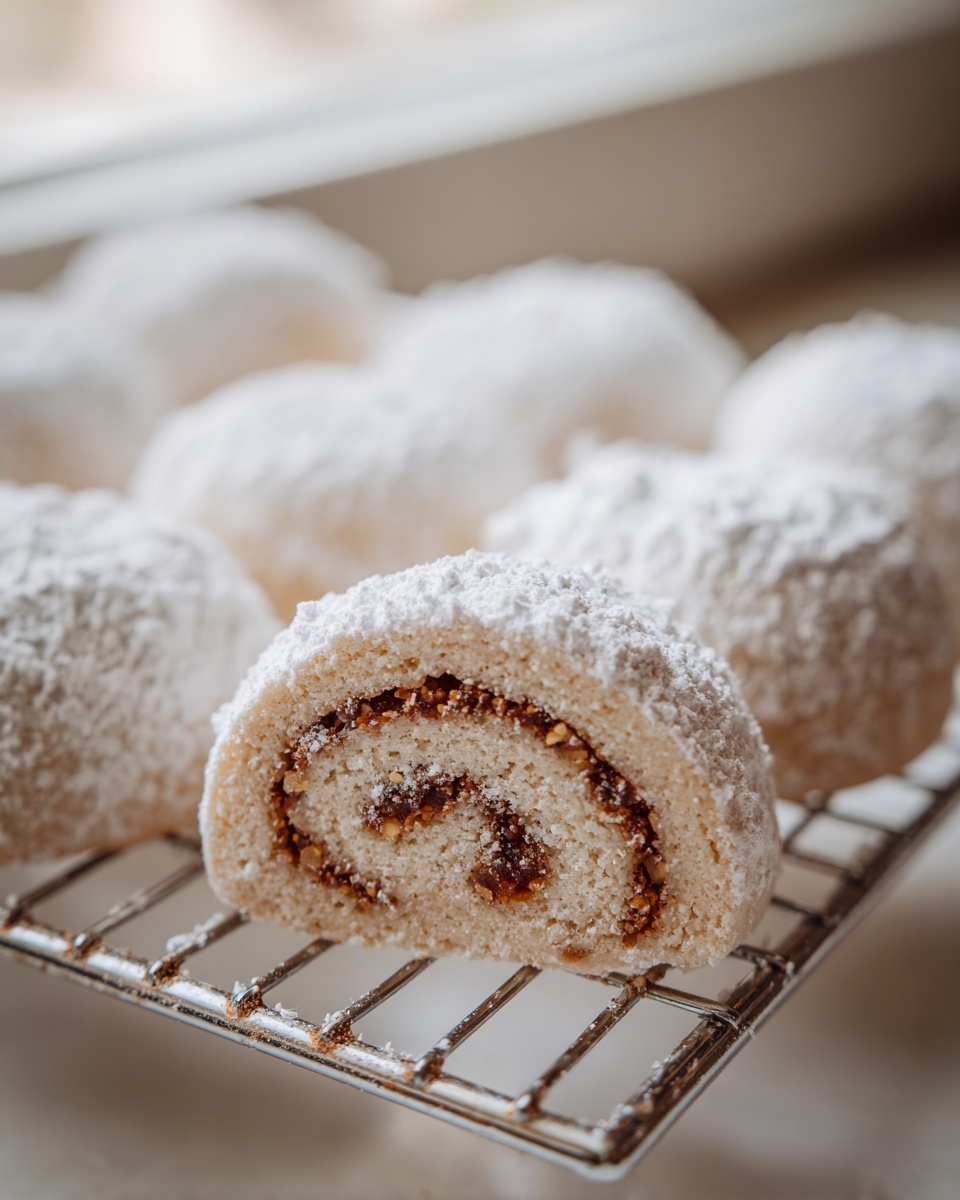
Once everything is cool, preheat that oven to 350 degrees F (175 degrees C) and grab your parchment paper for the baking sheets. Take half of your chilled dough and roll it out on a lightly floured surface into a neat rectangle, aiming for about 1/8 inch thick. Now, spread half of your cooled nut paste evenly over that dough, but make sure you leave a clean half-inch border all the way around. This border is critical for sealing! Starting from one long side, roll that dough up as tightly as you can, making sure to seal that final seam well. Slice the log into half-inch rounds and place them cut-side up on your sheet. Give the tops a quick, light brush with your beaten egg white, and bake them for about 15 to 18 minutes. We want the edges just barely kissing golden brown; keep the tops pale!

After they come out, let them rest on the pan for five minutes—so they set up—before moving them to a rack to cool. Once they are totally cool, dust them generously with powdered sugar. You can find more baking tips over here in my best dessert recipes collection!
Tips for Success with Your Tasteful Bites Italian Nut Roll Cookies
I want you to have the absolute best experience making these old world Italian baked goods, so let’s talk strategy! Since I test everything so thoroughly for you, I’ve learned a few things that move these cookies from great to truly exceptional. If you pay attention to the texture of your nuts and the feel of your dough, you’ve already won half the battle against lackluster holiday baking!
Nut Grinding Technique
If you buy pre-ground nuts, you’ll likely end up with a texture that’s too fine sometimes, or too chunky other times. My best advice? Use whole nuts and stop using a grater! Just toss your walnuts or hazelnuts into the food processor and pulse them a few quick times. You aren’t making butter; you’re aiming for something that looks and feels like coarse flour. Too chunky and the filling won’t hold its shape, too fine and it gets pasty!
Achieving the Right Dough Consistency
Dough consistency is heavily affected by the day you bake— humidity is the enemy of tender pastries! If, after chilling, your dough feels overly stiff and crumbly—which happens sometimes if your kitchen is dry—don’t panic! Just take a tablespoon of cold water or milk and gently knead it in a few times until it feels pliable again. Conversely, if it feels sticky, just dust your hands with a tiny bit of flour while rolling; you never want to add much extra flour to the bulk of the dough, or they get tough!
Storage and Serving Suggestions for Tasteful Italian Cookie Recipes
These tasteful Italian cookie recipes are always better the next day, I swear! Once they’ve rested overnight, the moisture from that gorgeous nut filling has time to gently soften the pastry, making them absolutely melt in your mouth. Store your finished, cooled, and powdered cookies in a single layer in an airtight container at room temperature. They stay wonderfully fresh for at least five days—if they last that long!
For serving, they pair perfectly with a strong espresso or maybe a dessert wine. If you’re looking for more ideas on what to serve alongside them, check out some of my favorite pairings over on my best dessert recipes page!
Variations on the Italian Nut Roll Cookie Recipe
While this recipe provides that classic, established flavor profile we love, I always encourage you to make it your own! You asked about exploring substitutions, and I’m all for it, especially when it comes to these nut filling cookies. If you’re out of walnuts, don’t fret! Finely ground almonds or even hazelnuts work beautifully and yield a slightly different, but equally ‘tasteful’ result.
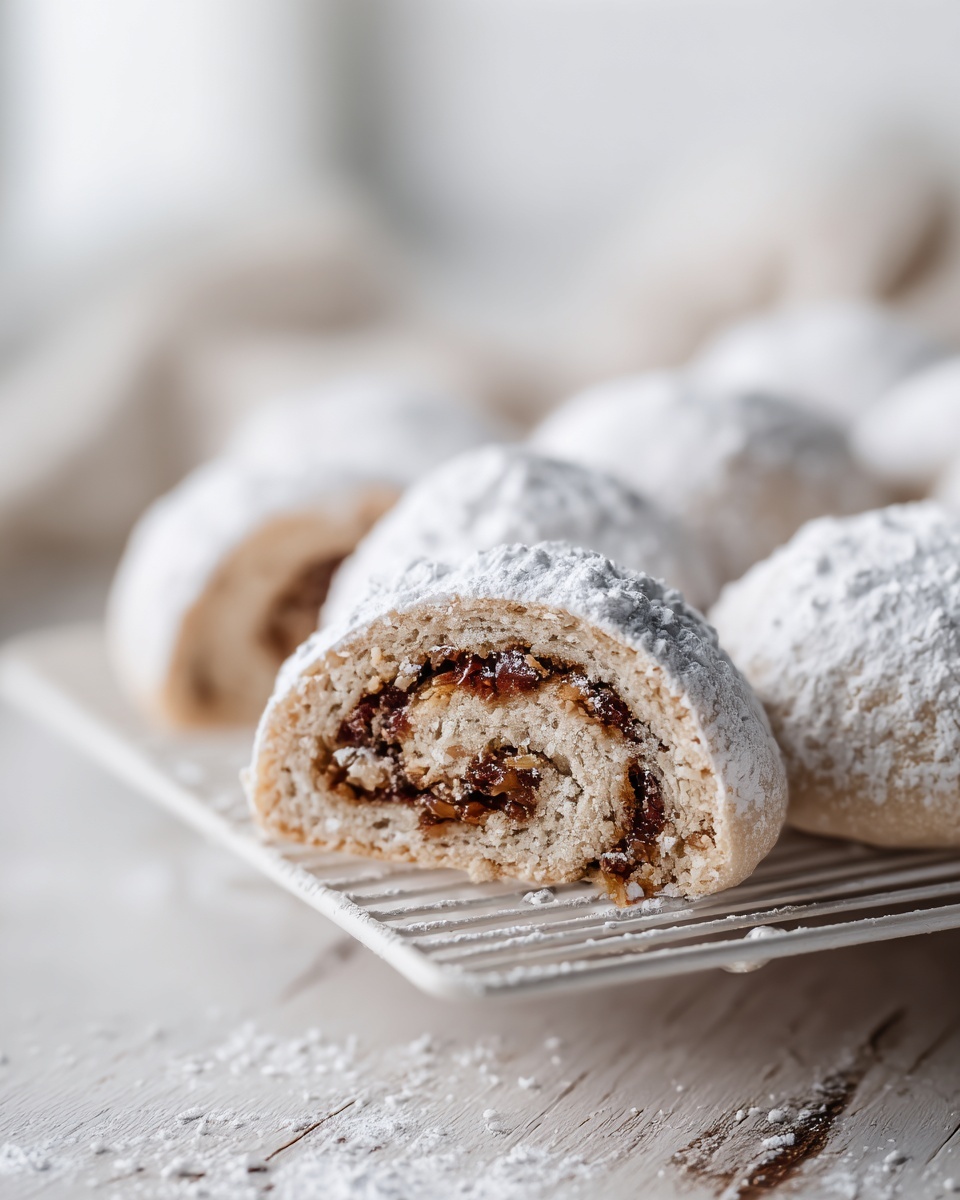
For the dough, try adding a touch of orange zest along with the lemon zest in the filling—the citrus combo is amazing. Another fun, simple tweak is to swap out half of the ground nuts for finely ground dried figs for a chewier texture. That’s how we honor the spirit of these old-world treats while keeping things interesting!
Frequently Asked Questions About Tasteful Bites Italian Nut Roll Cookies
Can I use pecans instead of walnuts in this Italian nut roll cookie recipe?
Absolutely, you can! Pecans create a slightly sweeter, richer cookie because pecans naturally have a higher fat content than walnuts. The texture will be wonderfully soft, making this one of my favorite variations on the standard Italian nut roll cookie recipe. Just make sure you grind them finely for the best outcome!
What is the best way to slice the rolled logs neatly?
This is such a common struggle! If you try to slice the log right away, the filling often squishes out the sides. My strong recommendation is to chill the assembled log in the freezer for about 20 minutes before slicing. Once it’s quite firm, use a very sharp, thin-bladed knife—nothing serrated—and slice quickly with a gentle sawing motion. Chilling it further before the final bake helps immensely too!
Are these considered Classic Italian Christmas cookies?
Yes, they certainly are! While you can bake these tasteful bites italian nut roll cookies any time of year, they are deeply rooted in holiday tradition across many regions of Italy, often appearing as one of the star Classic Italian Christmas cookies on holiday tables. They are the epitome of Old world Italian baked goods!
If you’re curious about my background and how I develop these tried-and-true recipes, feel free to read a little more about me on my About Page!
Nutritional Estimates for This Authentic Italian Dessert Recipe
Now, I know we cook with love, not spreadsheets, but sometimes it’s helpful to see what’s in these amazing authentic Italian dessert recipes! Please remember, these figures are just estimates based on standard ingredient measurements for two cookies. Since we are using real butter and rich nuts, these are definitely an indulgence—but trust me, they are worth every single calorie!
- Serving Size: 2 cookies
- Calories: 180
- Fat: 12g
- Carbohydrates: 16g
- Protein: 3g
If you count things, take note that the sugar content is around 12 grams per serving, but that’s balanced out by the healthy fats from the walnuts. Enjoy them guilt-free today!
Share Your Tasteful Italian Nut Roll Cookies Creations
I truly hope you loved making these cookies as much as I love sharing them with you! Now that you’ve experienced the joy of kneading the dough and tasting that spiced filling, I want to see what you’ve created in your kitchen. Baking is always better when it’s shared, right?
If you made the tasteful bites italian nut roll cookies and they turned out perfectly (which I know they did!), please take a quick moment to leave a star rating right below this section. A rating helps other busy home cooks like you feel confident trying a new recipe!
And if you snapped a picture of your finished, powdered delights, please share it on social media and tag me! I absolutely adore scrolling through and seeing these tasteful Italian cookie recipes come to life in different kitchens across the country. Knowing I helped you feel that confidence in the kitchen is the best reward!
PrintTasteful Italian Nut Roll Cookies (Biscotti di Noci)

Make these traditional Italian Nut Roll Cookies, featuring a rich, spiced nut filling wrapped in a tender pastry dough. This recipe provides clear steps for a delicious, classic holiday treat.
- Prep Time: 45 min
- Cook Time: 35 min
- Total Time: 80 min
- Yield: About 3 dozen cookies 1x
- Category: Dessert
- Method: Baking
- Cuisine: Italian
- Diet: Vegetarian
Ingredients
- 1 cup (2 sticks) unsalted butter, softened
- 1/2 cup granulated sugar
- 2 large egg yolks
- 1 teaspoon vanilla extract
- 2 1/2 cups all-purpose flour
- 1/2 teaspoon baking powder
- Pinch of salt
- 1 1/2 cups finely ground walnuts or hazelnuts (for filling)
- 1/2 cup granulated sugar (for filling)
- 1/4 cup milk (for filling)
- 1 teaspoon ground cinnamon (for filling)
- Zest of 1 lemon (for filling)
- 1 large egg white, lightly beaten (for egg wash)
- Powdered sugar for dusting
Instructions
- Prepare the dough: In a large bowl, cream the softened butter and 1/2 cup sugar until light and fluffy. Beat in the egg yolks one at a time, then add the vanilla extract.
- In a separate bowl, whisk together the flour, baking powder, and salt. Gradually add the dry ingredients to the wet ingredients, mixing until a soft dough forms. Do not overmix. Wrap the dough in plastic wrap and chill in the refrigerator for at least 1 hour.
- Prepare the nut filling: In a small saucepan, combine the ground nuts, 1/2 cup sugar, milk, cinnamon, and lemon zest. Cook over medium-low heat, stirring constantly, until the mixture thickens into a spreadable paste, about 5 to 7 minutes. Remove from heat and let the filling cool completely.
- Preheat your oven to 350 degrees F (175 degrees C). Line baking sheets with parchment paper.
- Divide the chilled dough in half. On a lightly floured surface, roll out one half of the dough into a rectangle, about 1/8 inch thick.
- Spread half of the cooled nut filling evenly over the dough rectangle, leaving a 1/2-inch border on all sides.
- Starting from a long edge, tightly roll the dough into a log, sealing the seam well. Repeat with the remaining dough and filling.
- Slice each log into 1/2-inch thick rounds. Place the rounds cut-side up on the prepared baking sheets.
- Brush the tops lightly with the beaten egg white.
- Bake for 15 to 18 minutes, or until the edges are lightly golden brown. You want the tops to remain pale.
- Remove from the oven and let cool on the baking sheets for 5 minutes before transferring them to a wire rack to cool completely.
- Once cool, dust generously with powdered sugar.
Notes
- For the best texture, use very finely ground nuts. You can pulse them in a food processor until they resemble coarse flour.
- If you prefer a softer dough, you can chill it for only 30 minutes instead of a full hour.
- These cookies taste even better the day after baking once the filling moisture has softened the pastry slightly.
Nutrition
- Serving Size: 2 cookies
- Calories: 180
- Sugar: 12
- Sodium: 35
- Fat: 12
- Saturated Fat: 6
- Unsaturated Fat: 6
- Trans Fat: 0
- Carbohydrates: 16
- Fiber: 1
- Protein: 3
- Cholesterol: 30